
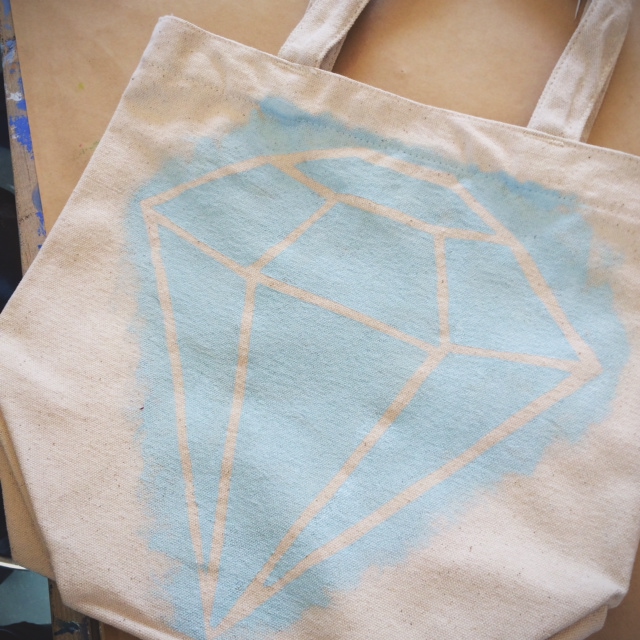
I didn’t realize when I had written my last post that so many people have never done, or even heard of, freezer paper stenciling or potato stamping! They are both such fun and relatively simple ways to add a unique touch to any fabric – clothes, pillows, napkins, bags, etc. If you want to find out more about freezer paper stenciling, there are lots of tutorials and examples you can find online, for example, Dana has a pretty in depth tutorial here. And here’s a basic tutorial on potato stamping on paper, which is basically the same as stamping on fabric – just be sure to use permanent fabric paint and put paper or cardboard under the fabric so the paint doesn’t bleed through to the other side. Also, be sure to read the directions for whatever fabric paint you use, because some of them need to be treated or set differently.
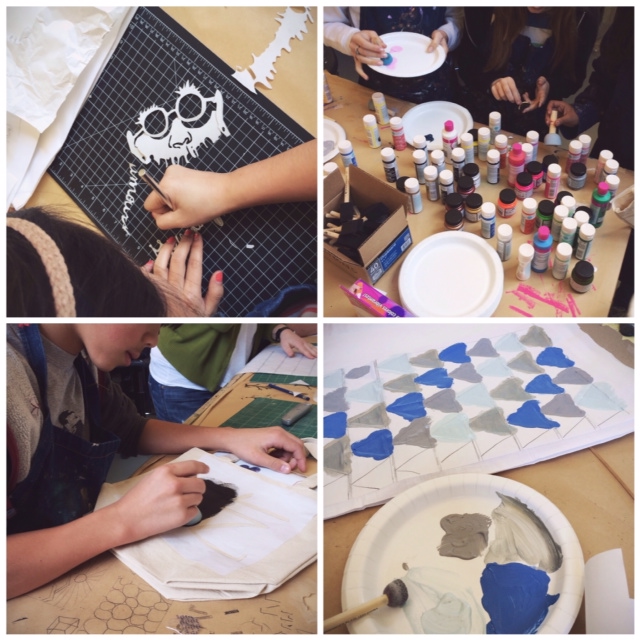
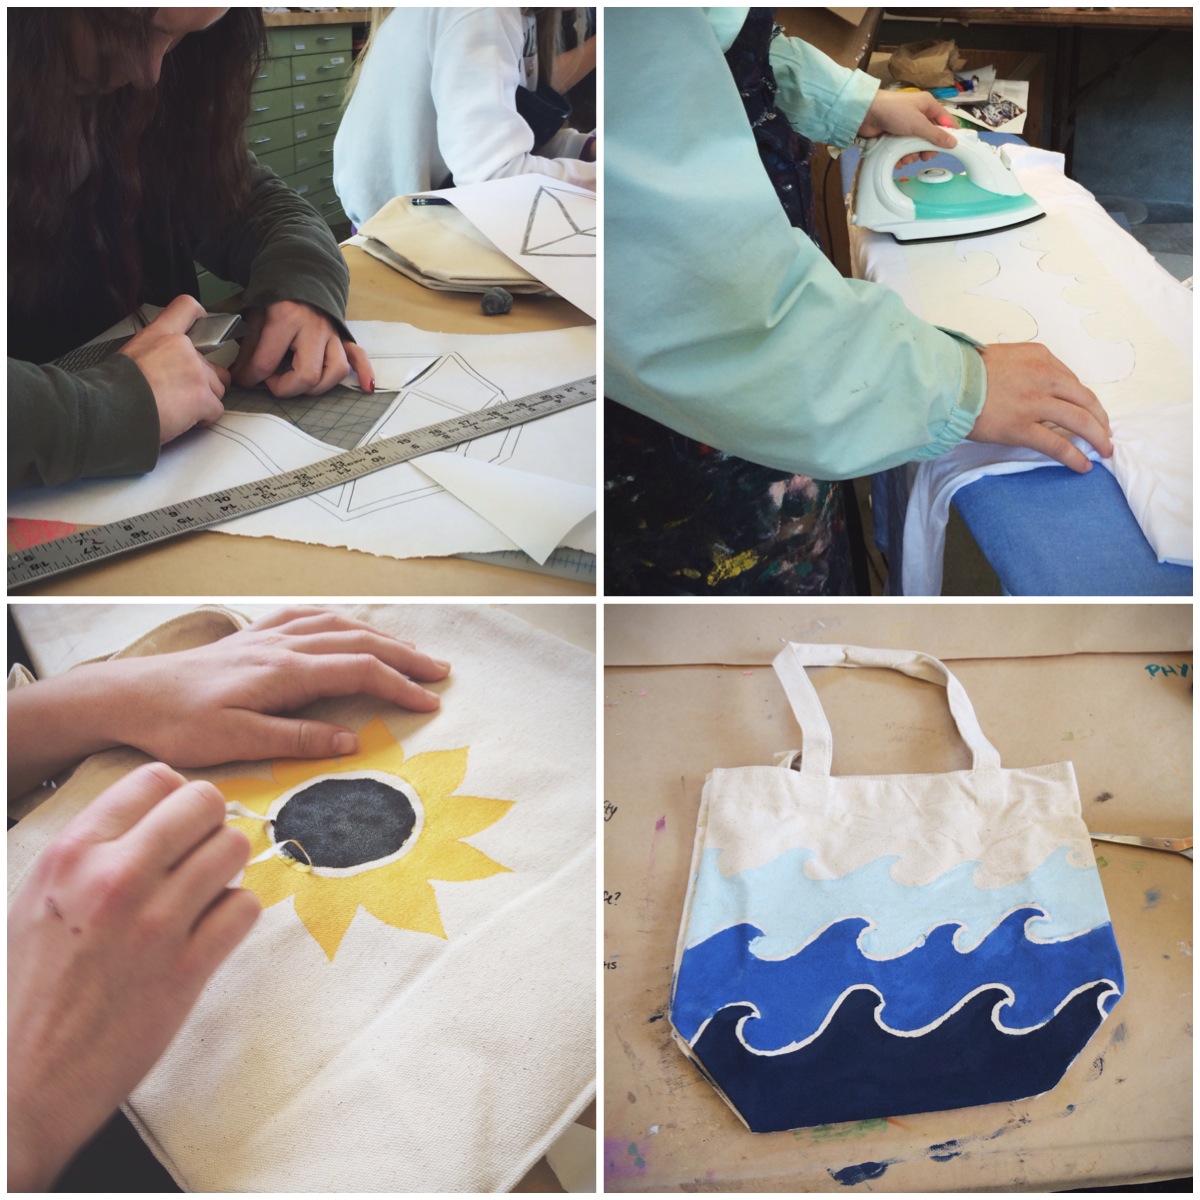
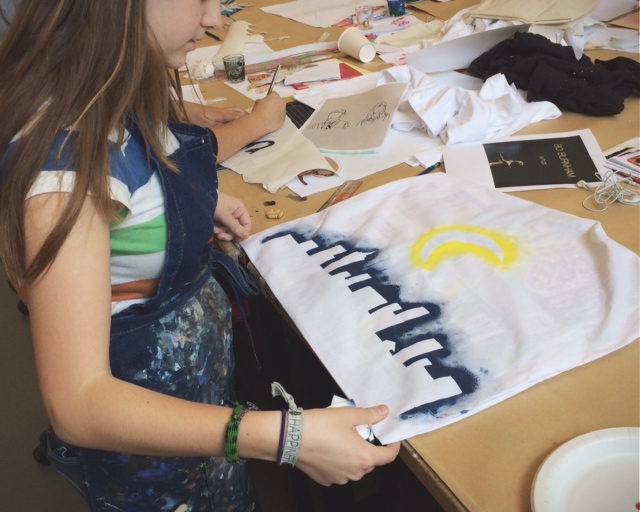
Well, the workshop I did with the high schoolers last week went really really well! I loved sharing the freezer paper stencil technique with them and they all did such a great job getting creative and having fun their projects. They were so into the stenciling that we never actually got around to stamping!
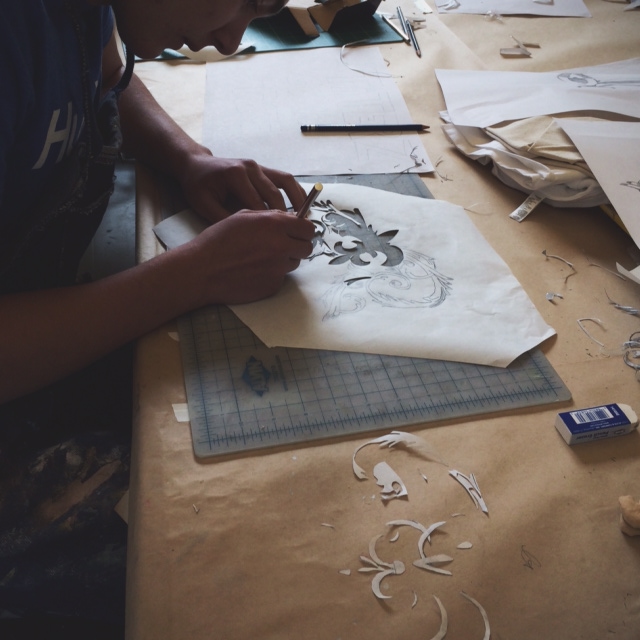
It was really fascinating to see how each student approached the project. Some just dove right in and moved quickly through the process. Some spent hours on one detailed design. Others were able to finish several projects in one day. Some asked lots of questions so they wouldn’t miss a step. Others tried to figure things out for themselves. And they all ended up with projects to be proud of.
A couple of them mentioned that they really enjoyed having the freedom to choose whatever image they wanted and then personalize something with that image. When you think about where high schoolers are at developmentally and how important expression of identity is, you realize that a project like this can be pretty empowering.
But really, I’m hoping that they at least had some fun 🙂 I know I did!
There were a couple of projects that I finished too. The first was the cat onesie for Kaya.
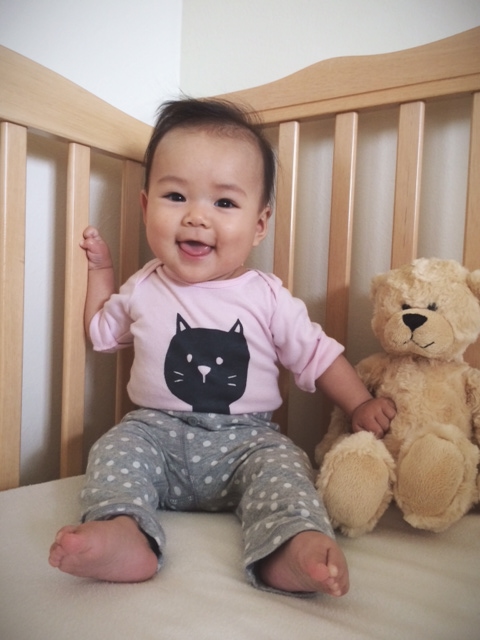
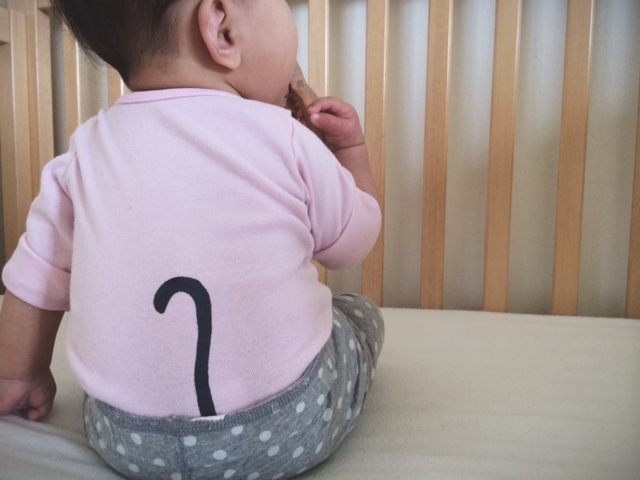
In hindsight, I could have printed the cat a little higher on the onesie, but otherwise, pretty cute, right?
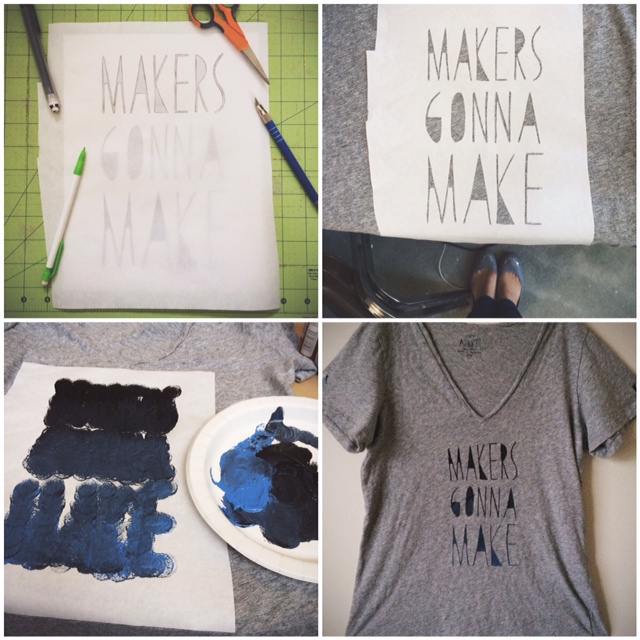
And I also finished my “Makers Gonna Make” shirt for me using Delia’s free printable . . .
you can see the basic steps of the stenciling process here: 1. draw or trace design onto freezer paper and cut out stencil, 2. iron stencil onto fabric, 3. apply fabric paint, let dry and repeat with second coat of paint, 4. peel off stencil to reveal image and heat set paint, if necessary.
I’m so glad that I tried this technique! It’s so fun and gives you the ability to create something truly one-of-a-kind. The possibilities are endless! I got my freezer paper from here and one roll will last you quite a long time.
Do you freezer paper stencil? If you haven’t yet, do you think you will try it?
