Hey! I got married last week!

Many of you may not know, but my beautiful and incredible partner is a woman. And until very recently same-sex marriages were not legal in California. Had it been, we would have been married long ago, but we’ve been waiting patiently and thanks to the recent Supreme Court rulings, same-sex marriages have resumed in our state!
So we made an appointment right away and planned for a very simple ceremony at the city hall. I debated sharing this personal news publicly for many reasons, but since it was such a big and exciting day for us, I thought – why not!?
Plus, there’s the dress. What does a woman who is 7 months pregnant with a wedding date less than 2 weeks away decide to do? Well, make her own dress of course!

I definitely considered a store bought dress, but my sewing consultants (Kristin and Jessica) talked me into making my own. Plus, I figured my store bought options would be very limited. Kristin suggested using eyelet, which I love, so my original plan was to get a nice summery white or cream eyelet and make a modified Washi dress. Something casual, simple and modern – something I could possibly dye afterwards and then wear again and again.

Well, I went to Britex (they have so many beautiful eyelet fabrics!) and fell in love with this almost peachy, super sheer, vintagey, sweet eyelet fabric. It was not what I had originally planned at all. It was soft and romantic and more formal than what I had imagined, and suddenly the modern Washi didn’t seem like an appropriate fit anymore.
But the Washi bodice is the only pattern I have that fits perfectly, and so the “Washi hack wedding dress” was born! Right around the time I was planning this dress, Kristin was making her beautiful Ristretto Dress, which, coincidentally, was kinda similar to what I had in mind. After seeing her neckline and gathered skirt, I knew it was what I wanted to do too. (By the way, if you’re not pregnant and looking for a nice dress to sew for you, I HIGHLY recommend you go check out the Ristretto Dress tutorial by Kristin – another Washi dress pattern hack 🙂 – it’s so gorgeous!)
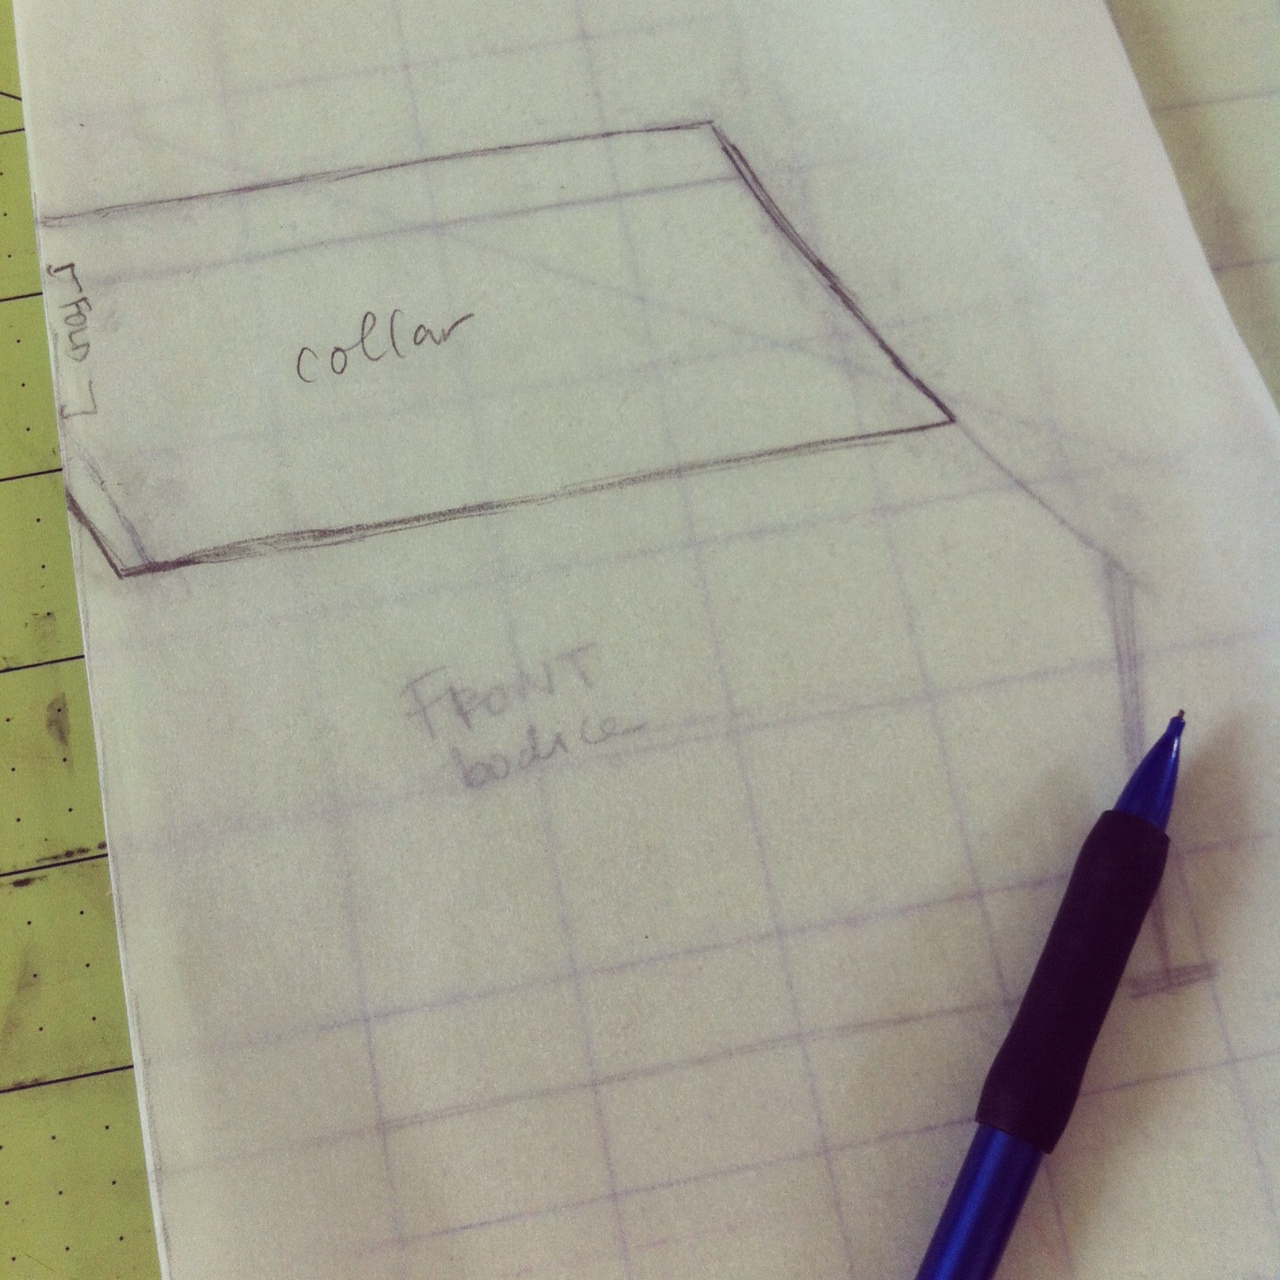
So, the only parts of the Washi pattern that I ended up using were the front bodice piece and the pockets. I kept the bust darts and the bottom line of the bodice the same and then pretty much changed up everything else. I made it a curved V-neck and narrowed the shoulder straps a little. I drafted my own back bodice piece (separate from the skirt piece) that was fitted, so that I wouldn’t need shirring or elastic, and made a V cut as well – quite possibly my favorite part of the dress. Because there is no elastic, I added a side zipper.

My arms are one of the things that I like least about my body, especially when looking at pictures of myself. Many a photo have been deemed unusable because of arm fat! I went back and forth about it, but decided to add these flutter sleeves to cover up my problem. Even the morning of the ceremony, I was kind of regretting adding them, but now, looking at pictures, I’m so glad I did. They did the perfect job of hiding my arms and Hideko thinks it makes the dress look more formal too.
The skirt pieces are two rectangles that I gathered before attaching to the bodice. And pockets!! I had to have pockets, but because of the fullness of the skirt, you can’t see them at all. Sneaky!
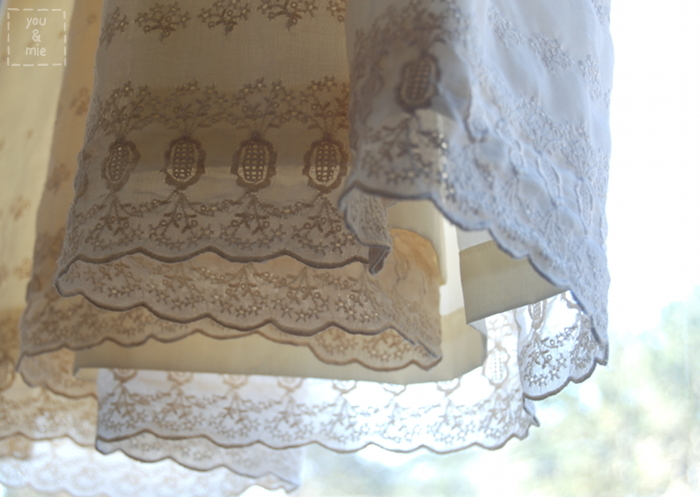
Here’s a close up of the beautiful fabric! I was so scared to cut into it. Because it’s totally sheer, the dress is fully lined, besides the flutter sleeves. The lining is a soft shirting, also from Britex, that worked perfectly under this dress to make it totally comfortable, but was substantial enough that I didn’t have to worry about my light dress being see through at all.
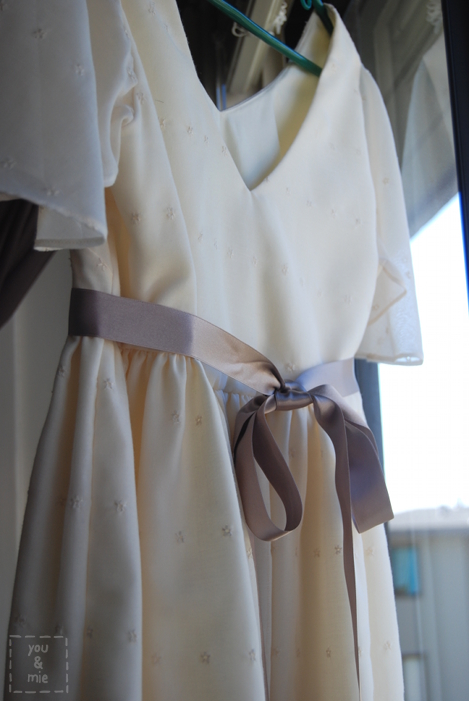
The sash is a warm mocha color ribbon (also from, surprise surprise – Britex!) that finished off the dress nicely.

Here’s a shot of the back of the dress and that V that I’m quite fond of 🙂
I certainly can’t say the dress is perfect, but I’m proud that I made it and like the way it came out. I made a muslin first and thankfully, it worked out pretty much the way I wanted it to. But that took the bulk of my time and I had less than 4 days to make the actual dress. I was up pretty late the night before our 10 am ceremony hand sewing the bodice lining in! Somehow the bodice for the actual dress came out snugger than the muslin so there was not even an extra millimeter of wiggle room! After the muslin bodice came out a bit loose in the shoulders, I decided to take some fabric off the shoulder straps. I didn’t realize at the time that this would raise everything by half an inch, the bust darts and the arm holes, so that might have had something to do with the bodice fit, and the bust dart position does irk me just a little.
But hey! I made a fancy dress for me! A year ago, I had barely started sewing for myself, so I’d say I’ve come a long ways.

The one other thing I wanted to do for our simple wedding was a bouquet. I’ve always loved beautiful flowers, and plus I thought Yuki might get excited about having her own bouquet too, since she was a flower girl recently (except she totally wasn’t into it and didn’t want anything to do with the mini bouquet I made her).
The day before, I went to a local gourmet/fancy grocery store, Bryan’s, with a gorgeous selection of flowers and picked out some pretty ones. I watched a few YouTube videos on making bouquets and boutonnières and had a really fun time putting them together with Hideko’s help.

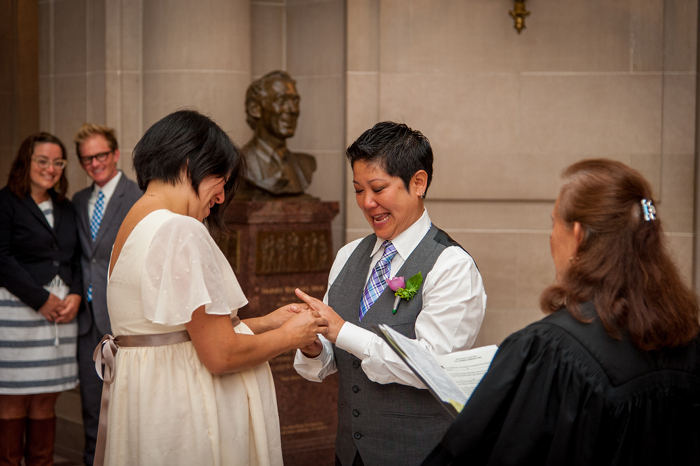
I have to give a HUGE thank you to my dad for taking these beautiful pictures from our special day. He’s an amazing photographer!
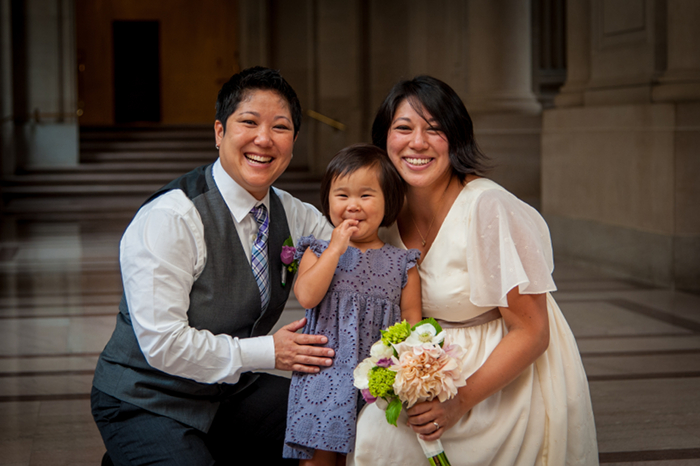
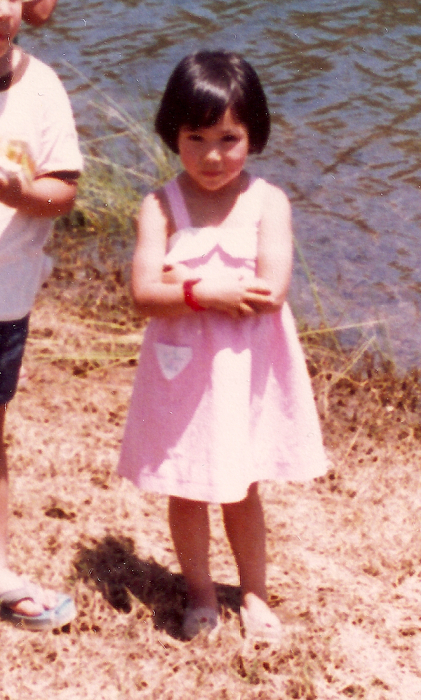
Yuki wore her eyelet Geranium Dress which still fits her perrrfectly!

It was such a sweet and simple ceremony, but a truly beautiful day for our family. We were so happy that our day had finally come and that we were able to share it with our nearest and dearest.
And that, my friends, is why I failed KCW. But it was totally worth it 🙂