
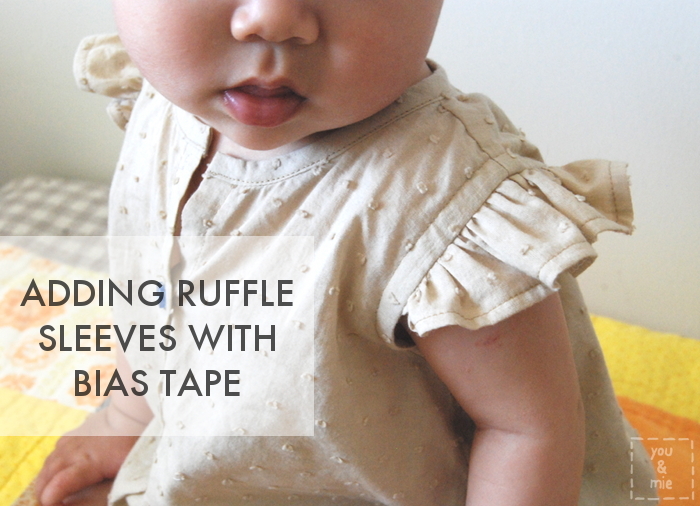
Last week I shared my daughter’s new baby bodysuit from the Oliver + S Lullaby Layette pattern set and one of the biggest modifications I made to the pattern was adding ruffle sleeves. Ruffle sleeves are a fun and feminine touch for any spring or summer top or dress. Super sweet especially on little ones.
When I was trying to figure out how to attach the sleeves, I looked for a tutorial online, but couldn’t find what I was looking for. I’ve attached ruffle sleeves or flutter sleeves when there was a bodice lining (like in the Geranium pattern), but there was no lining for the body suit. I wanted the ruffle to only cover the top of the arm hole, so I knew I’d need a way to finish the rest of the arm hole with bias tape. Took me awhile to figure out, but it’s so simple, I wonder why I never knew how to do this in the first place!
So some of you might think, “duh, Cherie!” But hey, if I wanted a tutorial like this to be out there in blogland, there must be others needing the same thing, right?! So anyways, here’s the tutorial on how to add ruffle sleeves to any unlined bodice pattern.
If you are starting with a pattern that is meant to have sleeves, the first step is to reduce the width of the shoulder. You can either do this to the pattern before you cut your fabric, or you can do it after. I didn’t remember to do it until after I had cut the fabric and sewed the shoulder seams together. Not a problem.
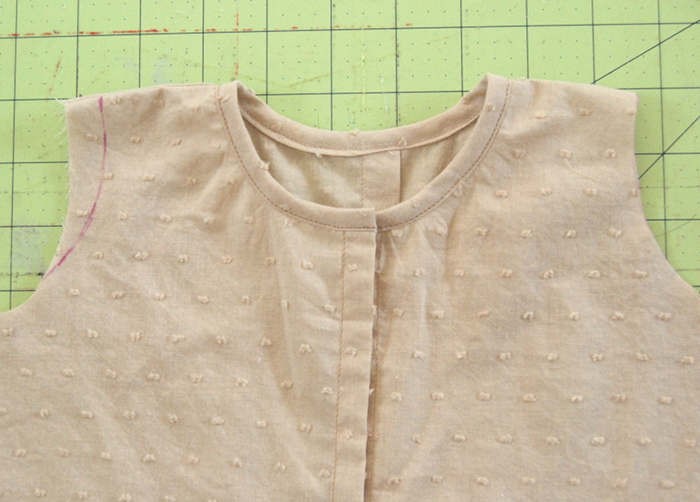
Trim off from the outer edge of the shoulder seam. The amount is up to you, I trimmed about 1/2 an inch from the shoulder and then gradually curved my line to meet back with the original arm hole. Your finished arm hole will be folded under 1cm (3/8 in), so take that into consideration when deciding how much to trim off.
If you haven’t already, go ahead and cut your front and back bodice pieces and assemble them as you wish/as directed by your pattern up to the point when they are sewn together at the shoulder seams. Side seams should not be sewn yet.

Next, cut your ruffle sleeves. Size will depend on the size of your garment and your preference. I cut my sleeve to be about 3 times longer than the desired size of my finished ruffle. For the height, you can make it however long you want the sleeve to be at the shoulder (longest point) plus about an 3/4 of an inch for seam allowance and hemming. By the way, none of this is very exact, but ruffle sleeves are pretty forgiving like that. 😛

To cut these pieces, cut 2 rectangles in your measurements. Mine were about 2.25 x 13 inches. Fold the rectangle in half widthwise and starting from the center fold, draw an arc to the corner. Cut that out and use it to cut your second ruffle sleeve in the same shape.
You will also need to cut two 1″ strips of fabric on the bias. Measure your armhole and add a couple of inches to that number to determine the length. My armholes were about 9 inches, so I cut 12 inch long strips that were 1″ wide.
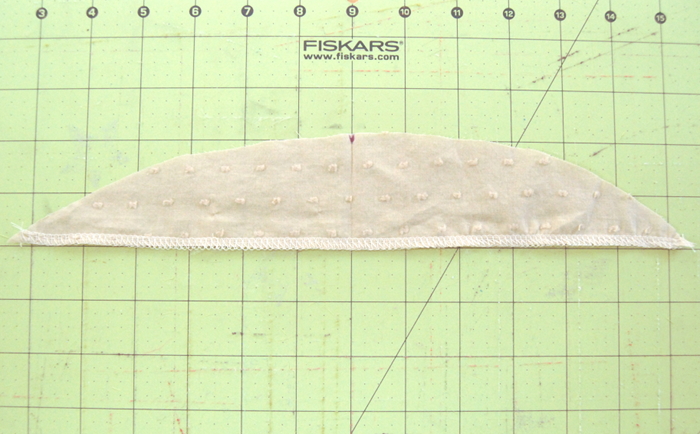
Mark the center of the sleeve along the curved edge. This will help later with placement.
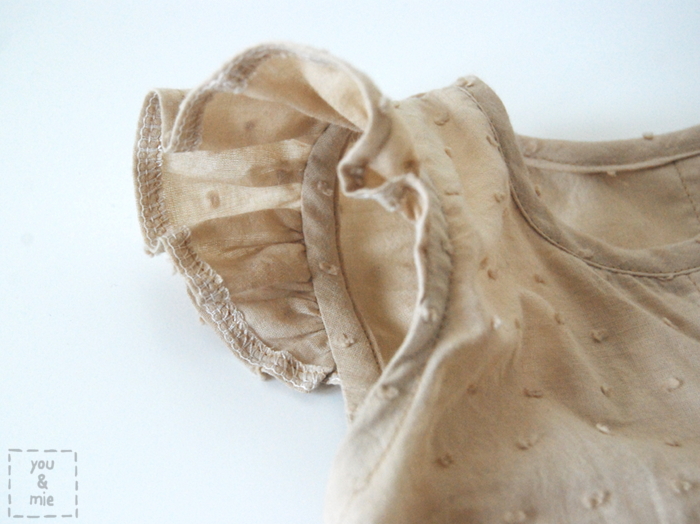
Finish the straight edge of the sleeve piece. You can do this in a number of ways. You can hem it by folding it towards the wrong side a 1/4 inch and pressing, then another 1/4 inch encasing the raw edge and sewing it down. You can do a zig zag stitch or serge the edge for a rougher, but cute finish like the Geranium flutter sleeve. I went with something in between by serging the edge and then pressing it under and stitching it down. It looks finished from the right side and you can see the serged edge from the wrong side. This will make it easy to distinguish the right and wrong side in the rest of the pictures.

Now to ruffle that sleeve! Set your machine to widest stitch possible and sew a basting stitch along the curved edge a 1/4 in from the edge. Do not backstitch at either end and leave a couple inches of thread when clipping. Carefully pull on one of the threads (either the top or the bottom) to gather the fabric. Gather the fabric to the length and ruffleness you desire. Make sure the gathers are distributed evenly.
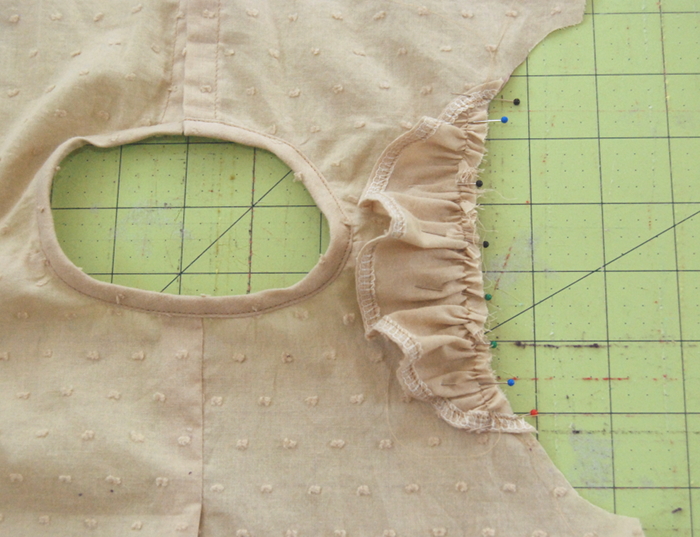
Pin your gathered sleeve to your bodice, right sides together and raw edges aligned, lining up the center mark on your sleeve with the shoulder seam. Baste the sleeve on with a 1/4 inch seam allowance. Repeat with the other sleeve.

Take your bias strip and fold it into thirds and press. If you want to be really exact, you should fold it in 1/4 in. on one side and 3/8 in. on the other side (the center section will be 3/8 in). Really though, when we start talking an 1/8 of an inch of a difference, I’m not sure if it matters that much.
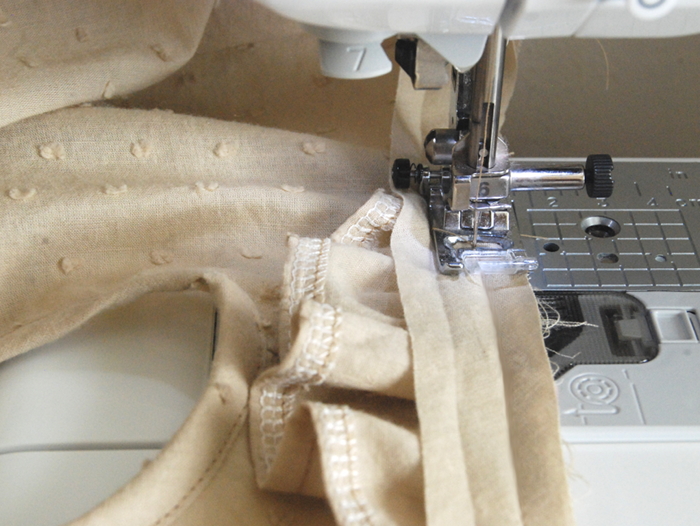
Pin your bias tape right side down (facing the wrong side of the ruffle sleeve) along the edge of the armhole. This should sandwich the sleeve between the bias tape and the bodice pieces. If you are going with the exact measurements, you want the 3/8 inch fold to be along the edge (right side in this picture). Stitch along the crease closest to the edge.

Fold the bias away from the garment and press.

Flip the garment wrong side up and fold the bias tape in once, then again towards the wrong side. The ruffle sleeve should flip out and the raw edge should be encased. Press carefully and pin.

Sew along the folded edge of the bias tape and trim off excess. Almost done!
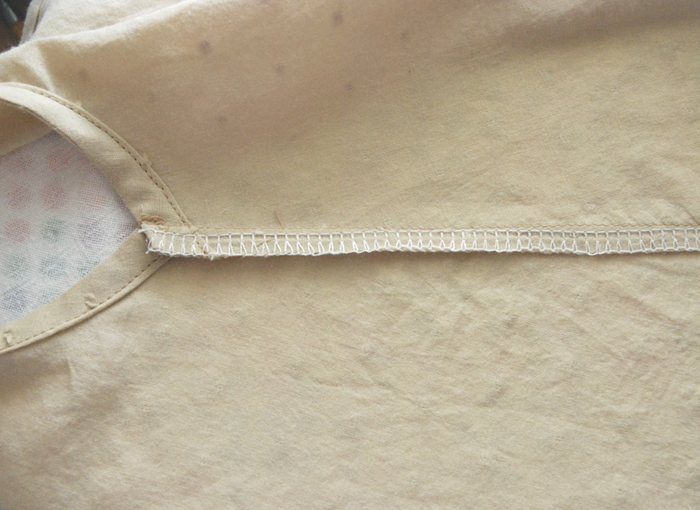
Sew side seams of the bodice, right sides together and finish edges as desired. Press seam towards the back. Tack the top of the seam down with a few stitches, if desired. You can see the tacking in the picture below, though it’s hardly noticeable when being worn.

Finish the rest of the garment as directed in your pattern and you’re done!

Enjoy those little arms in those little ruffles!
*As with all my tutorials, this was written extremely late at night when already sleep deprived, so if something doesn’t quite make sense and you need clarification on any part, please don’t hesitate to ask. It’s probably my fault, not yours.*
Happy Sewing! 😛
