
Everything sew-along:
Announcing . . .
Where to buy the book
Hoodie Inspiration
Mixing it Up
Fabrics
*UPDATED TO ADD MORE INFORMATION AT THE BOTTOM*
Oooh, the sew-along starts in less than a week! We’re in major preparation mode now and today I’m going to talk about what materials you’ll need to make the pull-over parka.
But first, did anyone try out some hoodie ideas with the sketch I provided last week? Yuki and I had fun coloring a few in and trying some different combos.

Yesterday, I posted on Instagram one of the combos I’m considering. And I also just added my favorite of Yuki’s hoodies in the flickr group. You definitely want to check that out. If you’ve got a sketch, don’t forget to share it! #happyhomemadesewalong
ANYWAYS, moving on to materials. Do you have your fabric picked out yet? I’m guessing that some of you do and some of you don’t. And that’s fine! If you’re in the latter group, we’re going to help you figure that out today! Meg is sharing with you some suggested fabrics types and an amazing selection of prints she rounded up. And I’m going to tell you how much fabric you need along with any other materials required for this project. Shall we get started?
First, you need to figure out what size you’re going to make. Here’s the size chart included in the English version of the book to help you determine the appropriate size.

The first number in each box is in inches. In parentheses is the measurement in centimeters.
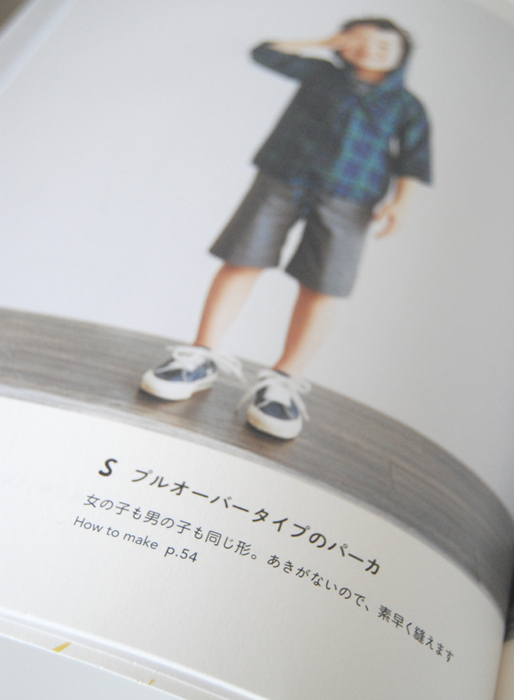
Most Japanese sewing books follow the same format: Pictures of all the projects in the first half of the book and instructions in the back. In the Japanese version of the book, the pull-over pictures are on page 22 and 23.
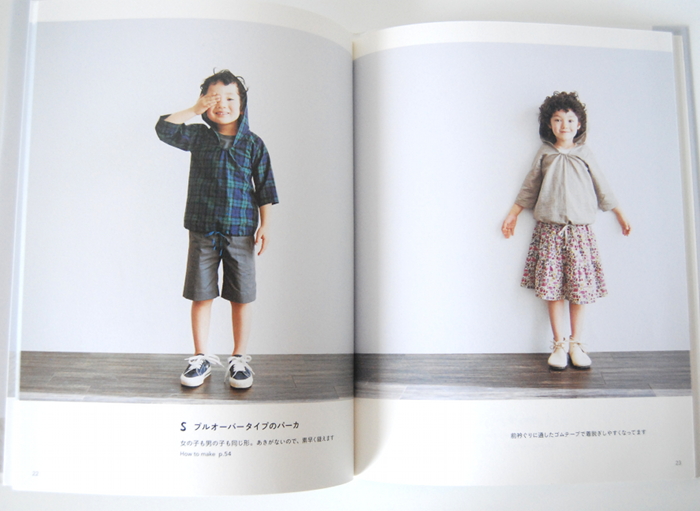
You can see the directions are on page 54.
In the English version of the book, the pull-over is on page 24, with directions on page 60.

Flip over to your directions page and in the top left corner is wear you’ll find a lot of the basic information that you need to begin.

The pullover parka hoodie is labeled pattern “S.” The first section tells us which pattern pieces we are going to need. In the Japanese book, it also tells you that you can find the pattern pieces on “Side A” of the pattern pages. We can skip this information for now – we’ll be diving into that part next week.

The next section is about the materials you’ll need. Japanese patterns don’t really give you suggested fabrics. Instead, it lists the fabric used in the samples in the book. So for example, while some patterns might suggest, “light- to medium-weight fabric such as quilting cotton, shirting, linen or voile,” Japanese patterns might say something like, “floral print cotton” or in this case, “herringbone cotton” or “tartan cotton.” This information can be useful if you want to replicate the book version, but as far as recommendations, they aren’t very helpful. Luckily, Meg is here to help you out with fabric suggestions!
What you should pay attention to though, is the number next to the fabric. Here it says, “40 in (102 cm) herringbone cotton.” That first number is the width of the fabric. Be sure that the fabric you choose is at least the same width as the measurement listed here.

This section has a ton of numbers, so it’s a little hard to separate what’s what, but I’ve color coded it to make it easier. Based on these numbers, here’s what I’d recommend buying for each size (I rounded up a little).
Size 2: 1 and 1/4 yards
Size 4: 1 and 1/2 yards
Size 6: 1 and 1/2 yards
Size 8: 1 and 2/3 yards
The other materials you’ll need are:
Fusible interfacing: 2 x 3/4 in
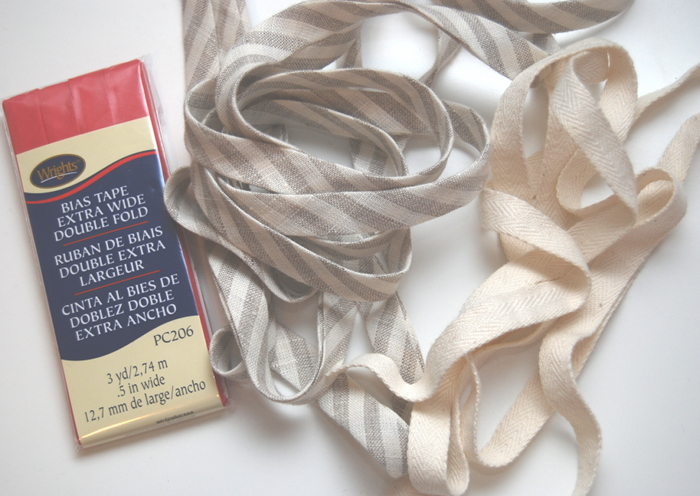
Cotton tape: 44 in
1/4 inch wide elastic: 2 and 3/8 in
The cotton tape is used to create a drawstring at the bottom of the pull-over. You can use twill tape, bias tape, cording, ribbon, etc. If you use bias tape, you’ll want to sew it shut along the open edge.
Besides fabric and notions, there a few other things that you’ll need to gather before you can begin.
- Tracing paper. The first thing we’re going to need to do is the find and trace the pattern pieces we need. You’ll want as large of sheets as possible, like this, which can be found at most art stores
- Ruler and pencil. I’m assuming you already have one, but since we’ll be adding our own seam allowance, you’re not going to be able to do that without a ruler.
- Safety pin. It will come in handy when threading the cotton tape through the casing.
Is it time to go shopping? I’m going to start with my stash and see if I have anything there first. Looking for fabric suggestions? Be sure to check out Meg’s post! She has rounded up a drool-worthy selection of prints to consider along with helpful suggestions on fabric types.
We’re getting close! Sew-along begins in SIX DAYS!


