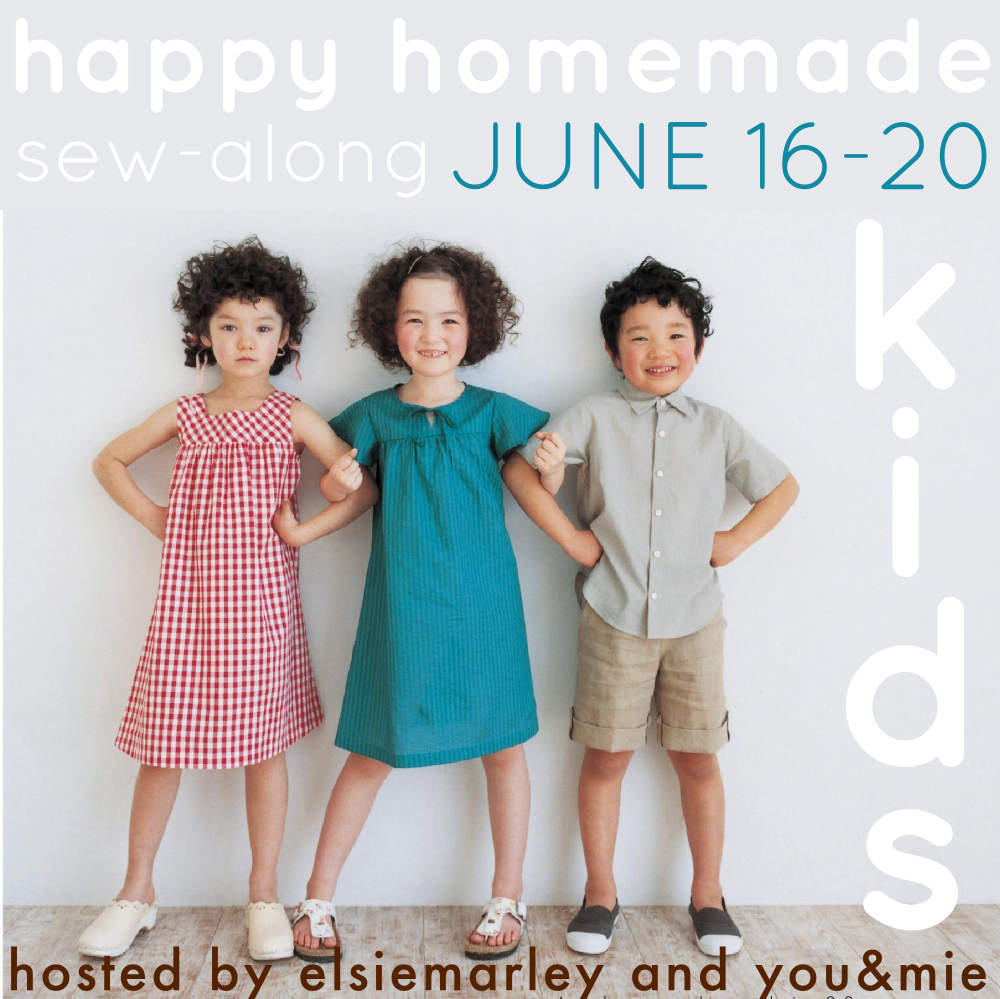
Did you finish your pull-over for the Happy Homemade Sew-along!? Today is the day you want to get your pictures into the Flickr group! Be sure to do that by the end of the day. Someone asked me what time “end of the day” is and I don’t have an exact hour, but basically by the time Monday finally slips away from this earth, try and have your pictures in the pool. Or before you go to bed tonight – whatever. Then check back in on Wednesday for our round-up and to find out if you’re the winner of the sew-along prize!!
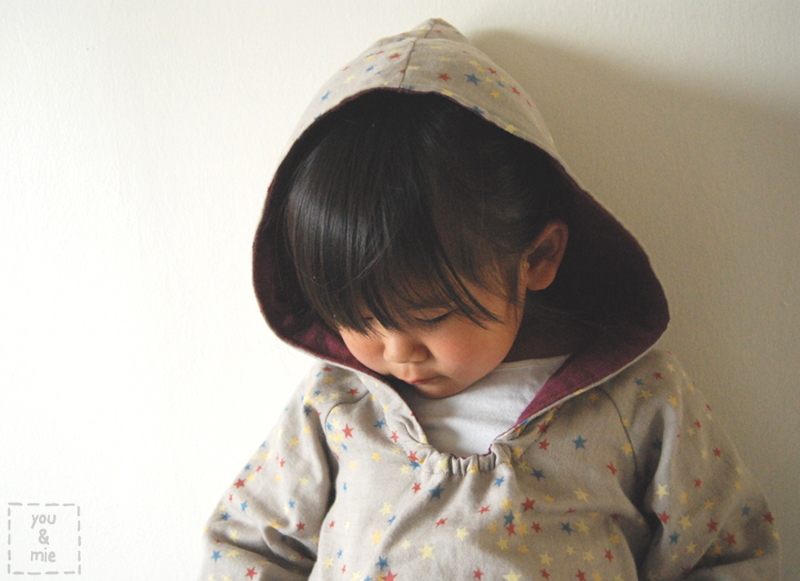
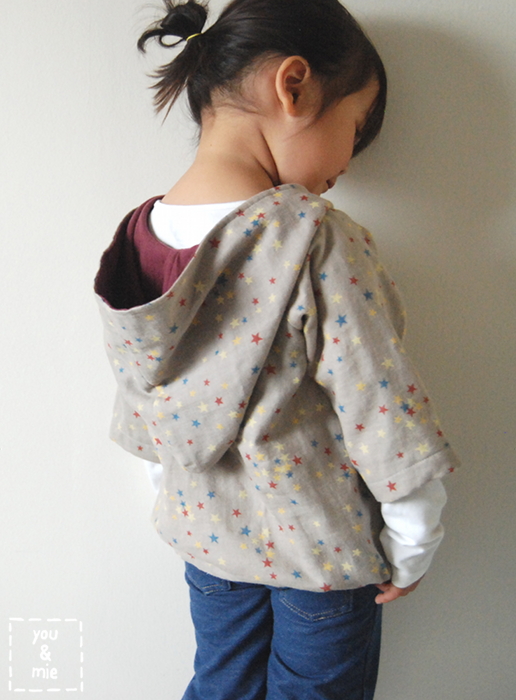
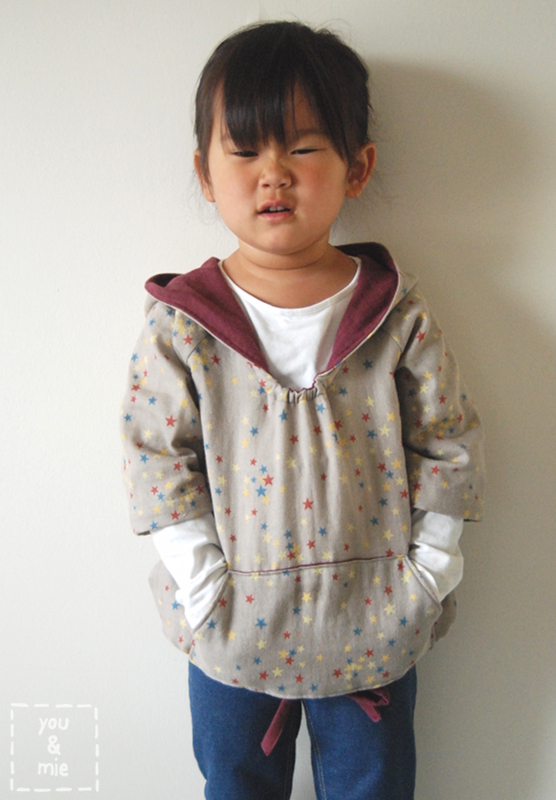
Though you’ve seen my hoodie throughout the sew-along, I thought I’d share some pictures of it finished and on my daughter. It’s always one thing to see a garment on a hanger and then another to see the actual fit on a person.
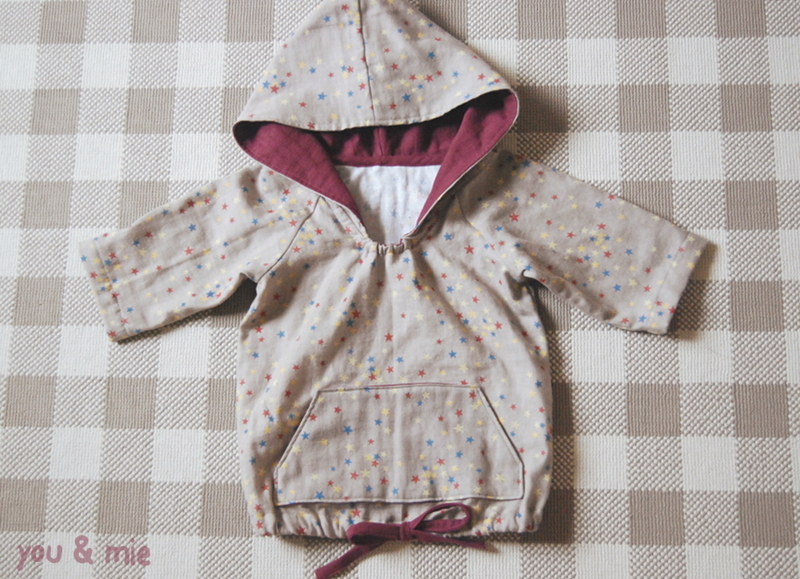
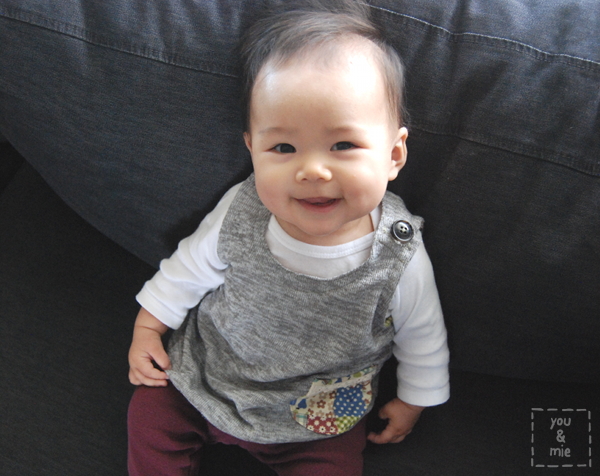
I made my hoodie in size 2, based on my daughter’s measurements. Looking at other people’s pictures in the Flickr pool, I probably could have gone a size up so it would last her longer, but at least she’s got a sibling who will grow into it eventually as well.
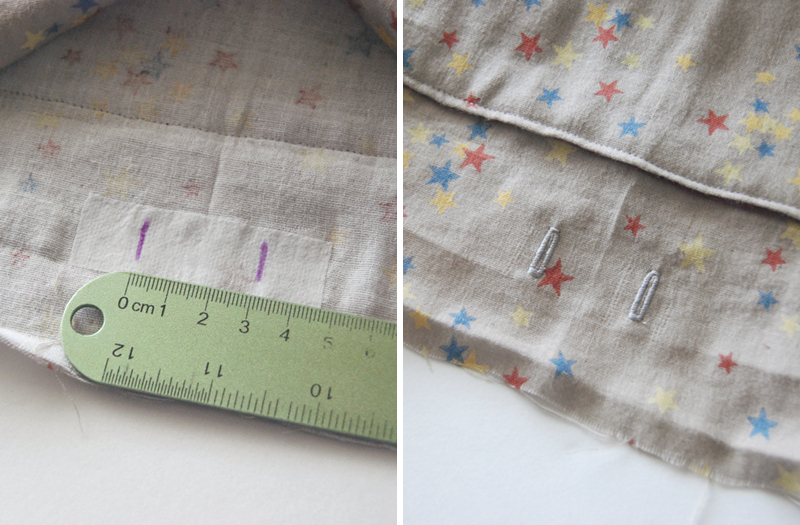
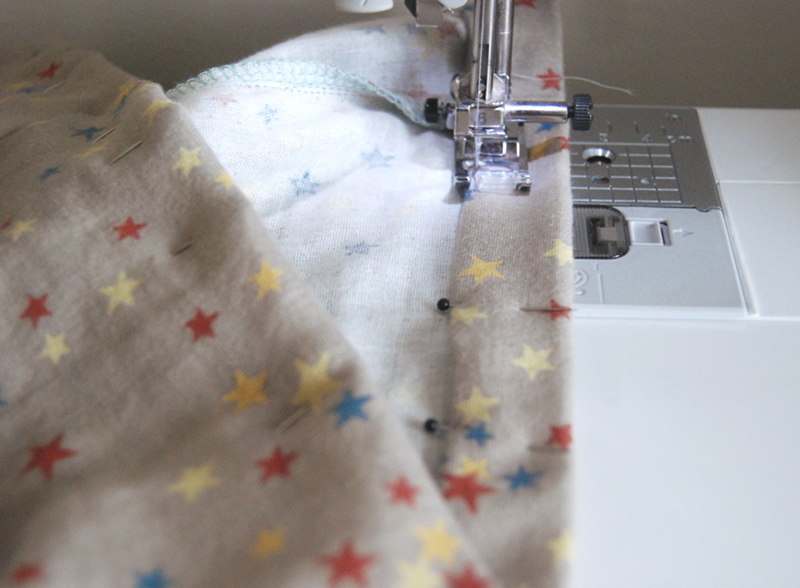
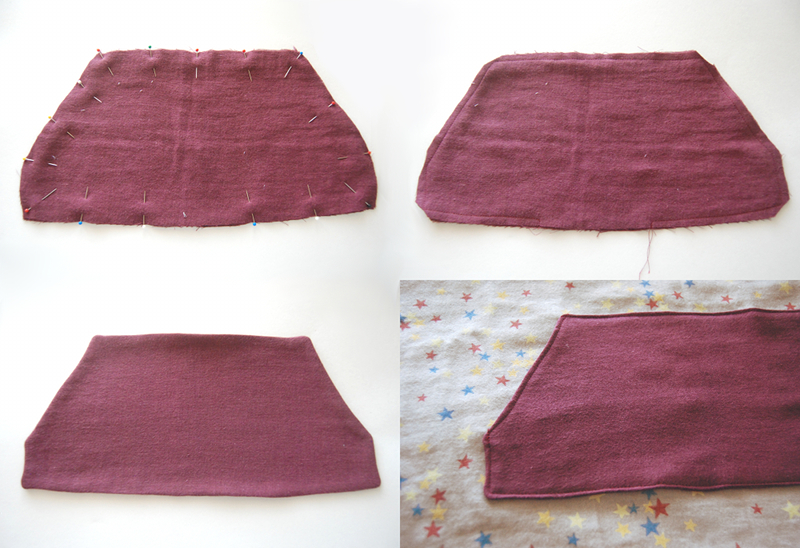
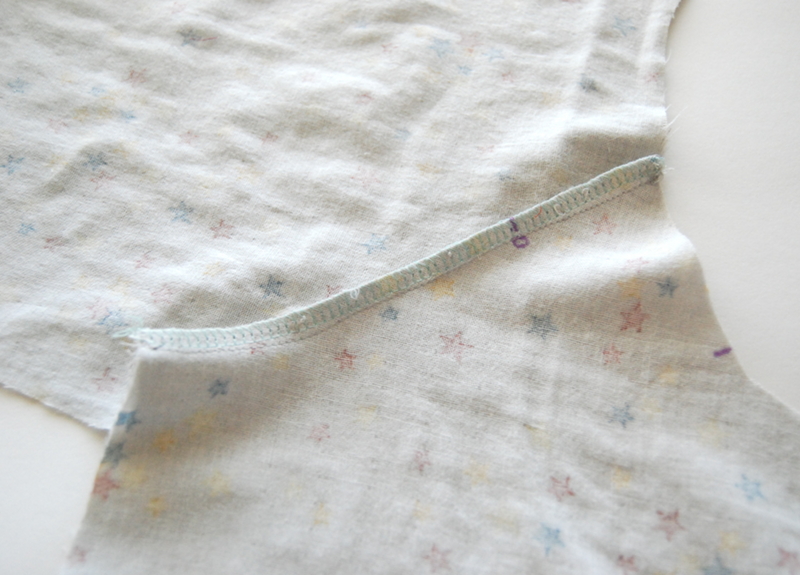
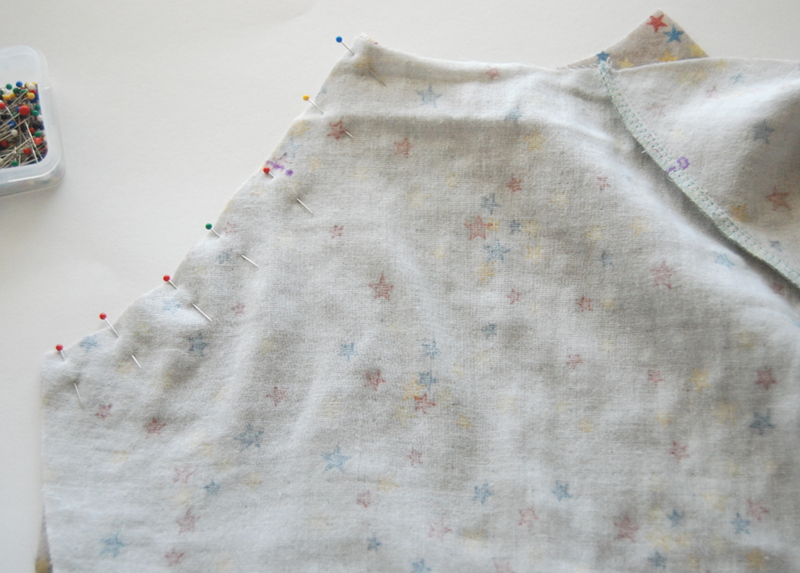
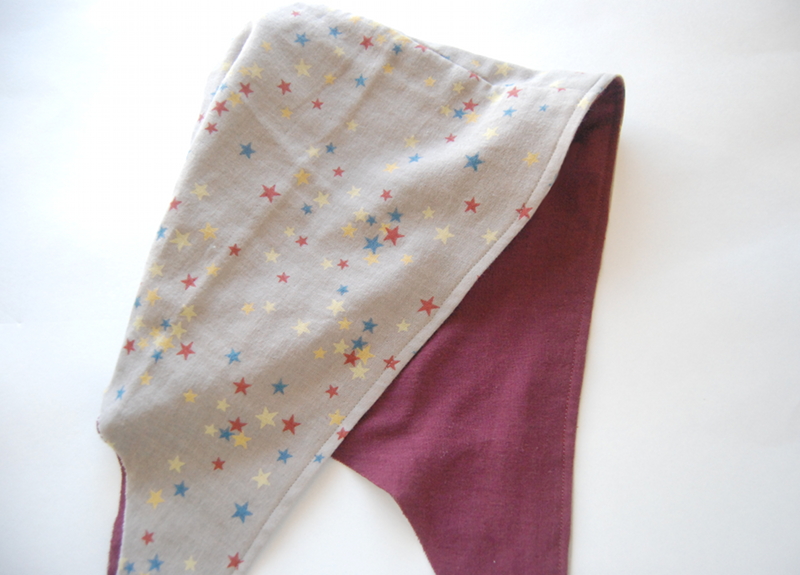
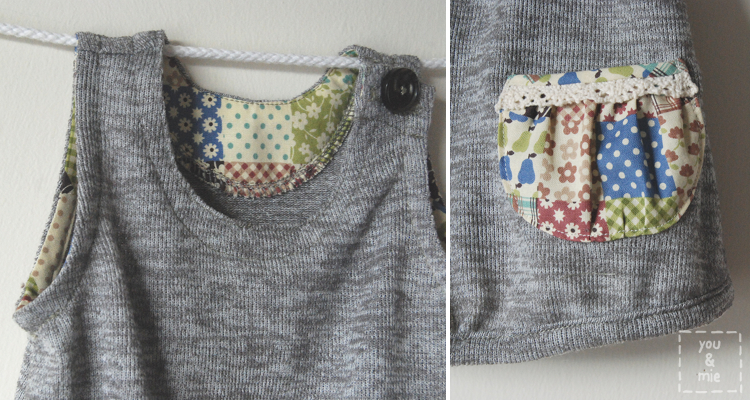
The modifications I made were adding the kangaroo pocket, lining the hood and also adjusting the shape of the hood slightly. Meg mentioned the hood being too small, so I also angled the straight edge of my hood forward and then I rounded out the back of the hood a little.

I think that it helped, but even still, there’s something a little strange about how this hood fits and the shape. I think it has something to do with the very open and low neckline. When the hood is up, you can see how it starts at the shoulder, as opposed to closer to the neck like I’m used to.
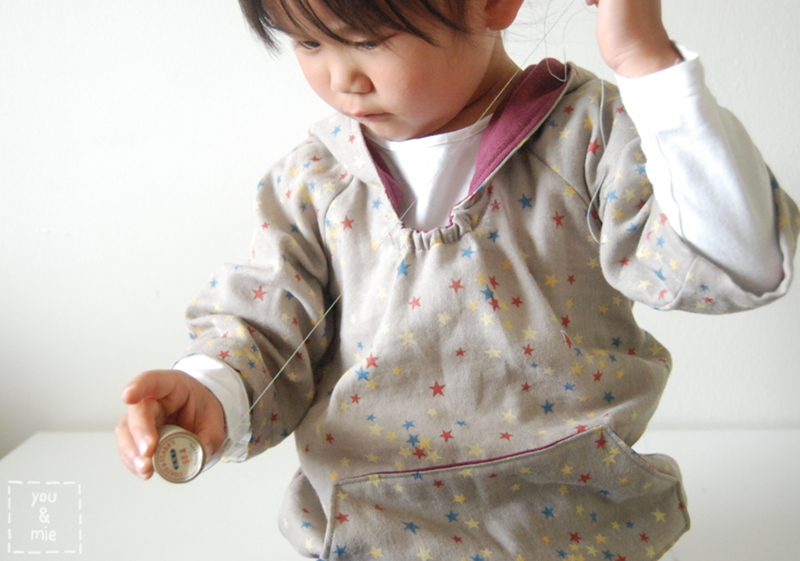
But besides that, I really love the hoodie. In these pics, they are styled a little more appropriately for fall, but I like the versatility. It can be layered for the cooler months, or paired with shorts and a tank top for warm weather, or thrown over a bathing suit as a cover up. And I love that it looks great on all kids, boys and girls.

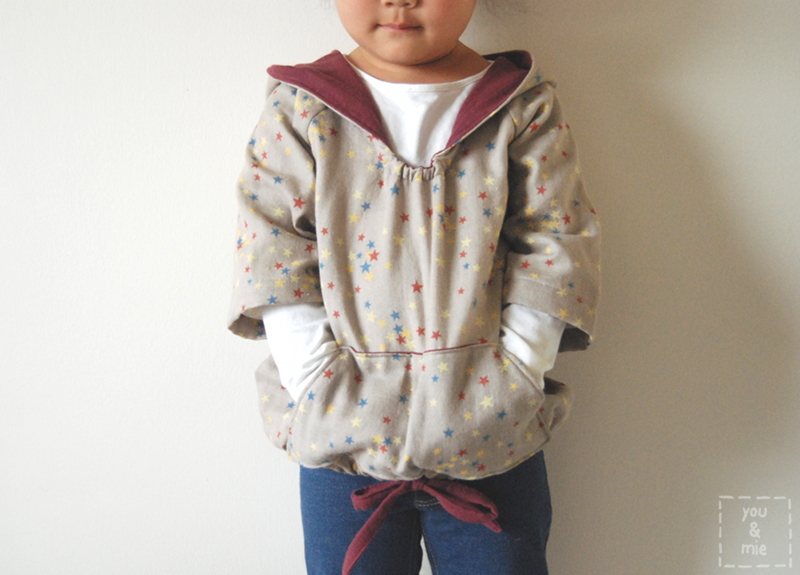
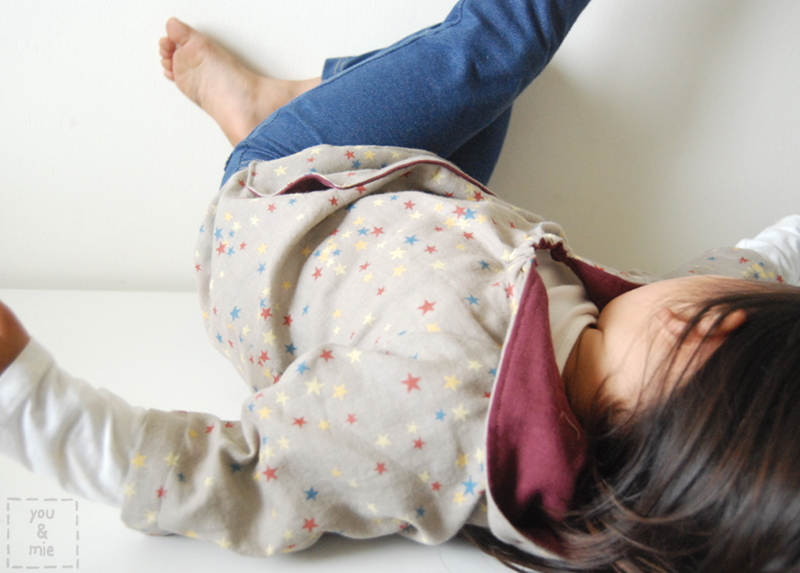
The main fabric I used is double gauze that I bought at Bolt back when I visited Portland in 2013. I’d been saving it for who knows what. I have to say, I LOVE the way it looks as a hoodie, but part of me is really sad because I don’t think Yuki will wear this and I really really love the fabric. The first time she saw the hoodie she said she liked it. Then when it was time to put it on she said she didn’t like it. When I said that it made me a little sad to hear that since I had worked so hard to make it for her, she said, “Well, I LIKE it, I just don’t want to wear it.” 😦 Hah!
But this is basically how Yuki feels about it. Sigh. Maybe her sister will wear it someday…
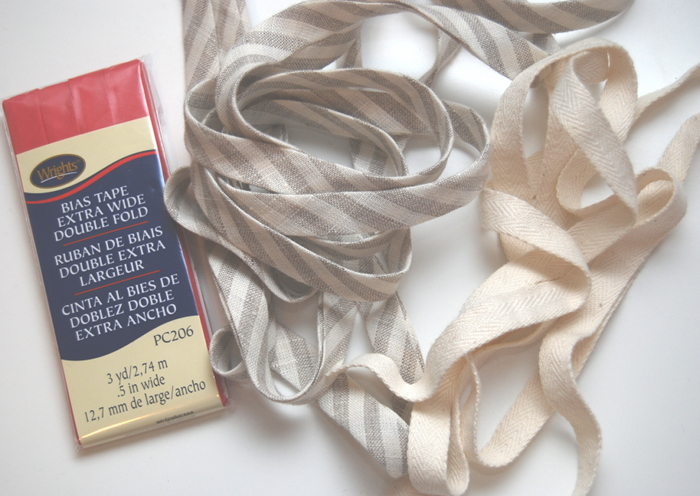
The lining and drawstring were made with double gauze that I bought from Imagine Gnats. It doesn’t actually match the color of the red stars, but close enough!
You guys know that I love double gauze. It’s really soft and comfy. Feels warm but still really breathable and perfect for hot weather. I wish this hoodie fit ME!
Anyways, it has been soooo exciting seeing all the of the hoodies pop up in the Flickr group! I love how they are all so different! Everyone put such a unique spin on it with their choices of fabric and other modifications. It’s so great and really makes me happy that people actually participated! Thank you SO much to everyone who sewed along! Be sure to check back in on Wednesday!!

See the rest of the sew-along posts here:
Announcing . . .
Where to buy the book
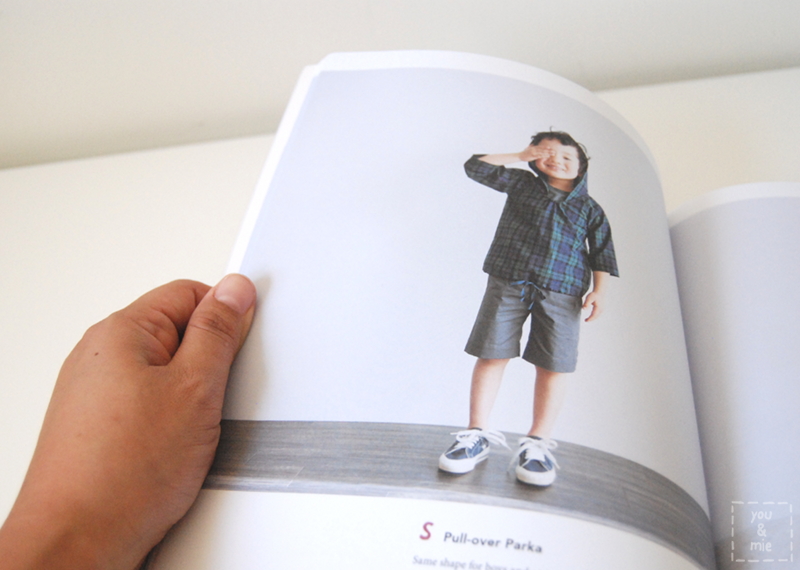
Hoodie Inspiration
Mixing it Up
Fabrics
What you’ll need
Schedule and Sew-along Prize
Day One
Day Two
Day Three
Day Four
Day Five