
Ok, so technically today is Day 6, but this tee was made mostly on Day 4 and finished and photographed yesterday, so we’re calling it Day 5, ok? OK!
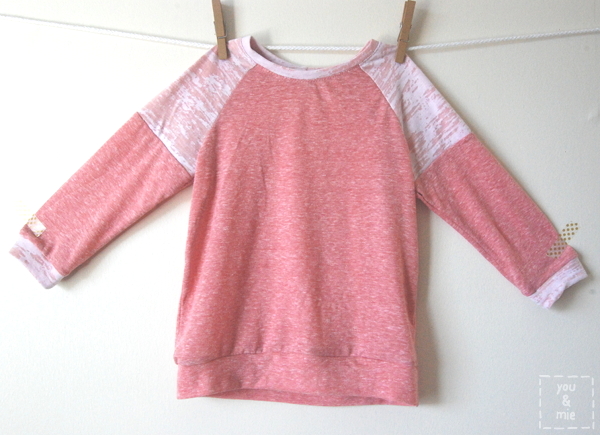
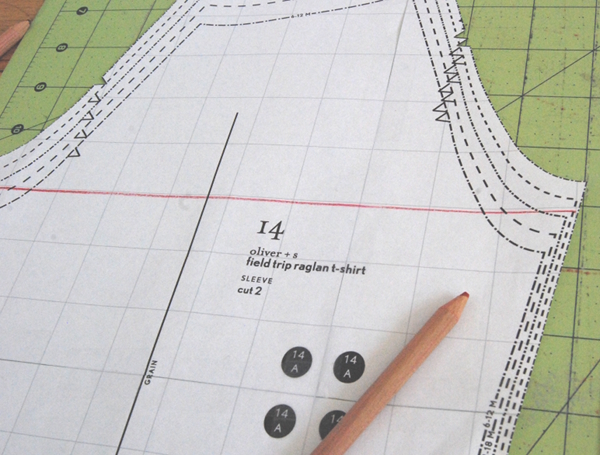
The pattern is the Oliver + S Field Trip Raglan T-shirt which is now available as an individual PDF pattern! I’ve had my eye on this raglan shirt pattern for awhile, but couldn’t fork over the cash for the set, knowing I’d probably never make the cargo pants. But Oliver + S have started offering some of their basic pieces as separates! And a good raglan pattern seems like a staple for any collection. This one doesn’t disappoint and I already have several ideas for more raglans and remixes that I can’t wait to try.
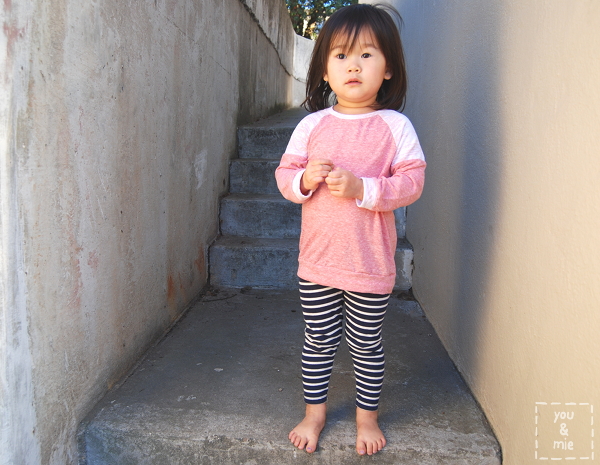
I made the shirt in size 3T and it is a little large for Yuki, which isn’t much of a surprise considering her petite size. I probably could have gone down a size, but this is great because I know it’ll fit her for awhile. It’s definitely a looser fitting shirt than the Flashback Skinny Tee, which, of course, is supposed to be a skinnier/tighter fit. I had to shorten the sleeves a bit.
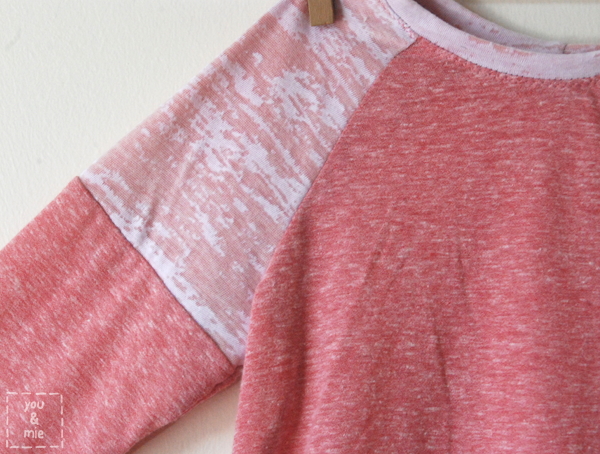
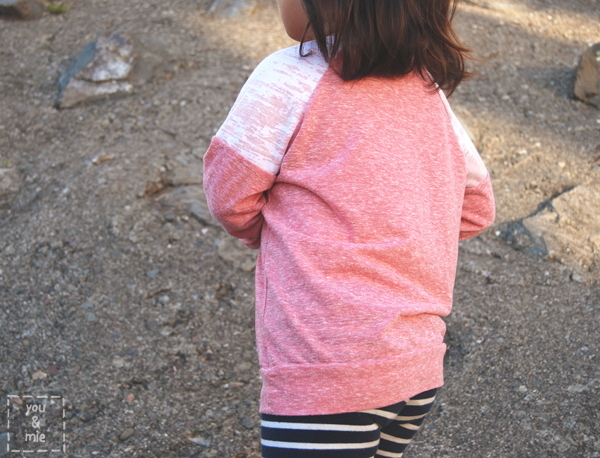
The biggest adjustment I made to the pattern was adding color blocking to the sleeves. It was super simple to do and I love the finished look. I also decided to finish the sleeves and bottom with bands/cuffs instead of just hemming it and omitted the pocket.
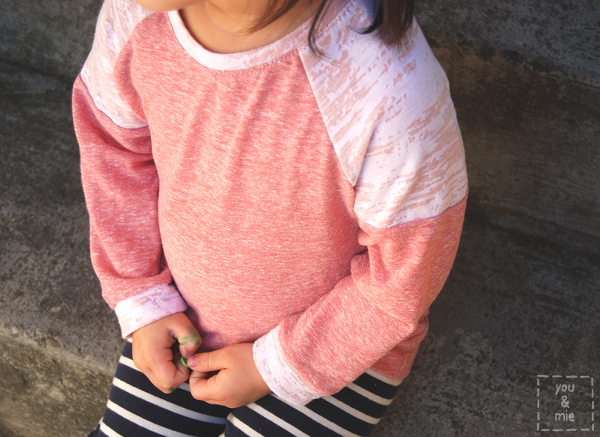
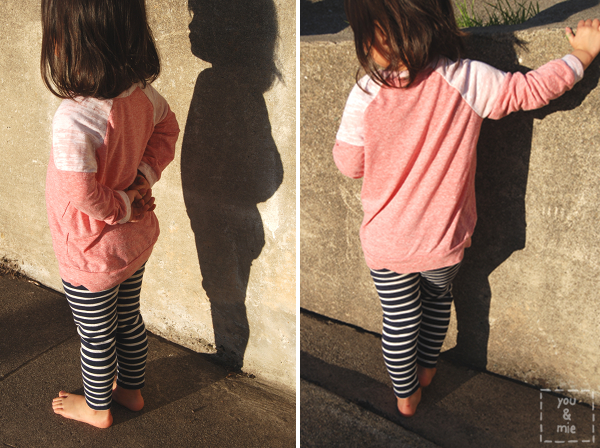
The main fabric is a suuuuper thin and soft heather red knit. It’s so heathered that it looks pink. I bought it from the remnant bin at Discount Fabrics awhile back. I picked it out because it is really soft and comfortable, but I don’t think I realized just how thin it is. I wasn’t sure if it’d be stable enough or opaque enough for a shirt, but it worked out fine, it just isn’t very warm. But definitely soft and comfy. The color blocked shoulder, neckband and arm cuffs are actually two layers. An ever MORE suuuuuuuper thin and see through, burnout tissue knit in white on top of the heather red knit. I don’t even know why I bought this burnout knit since it’s pretty impractical on it’s own (unless you can pull off the see through top look, which unfortunately, I cannot). I actually had thrown it in my “get rid of” pile because I didn’t think I was going to use it, and then fished it out for this. Turns out, it looks great layered!
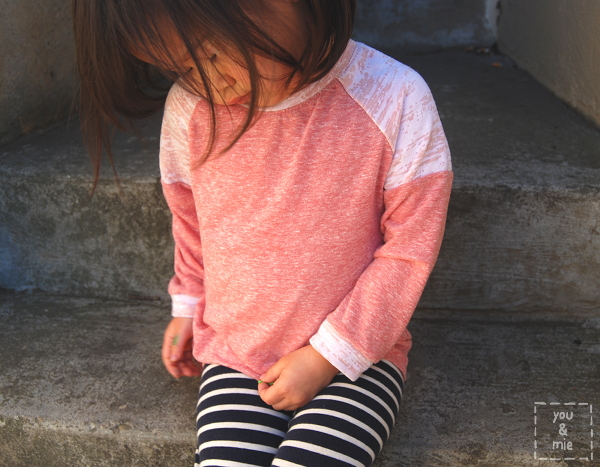
You can kind of see how see through the top is here, over Yuki’s striped leggings.
I knew that these knits, being as thin as they are, were going to be a bit of a challenge to sew. In fact, they were a challenge to cut! They are so stretchy that if you’re not really careful, your pieces can come out a little misshapen. I tried the stretch stitch with a ballpoint needle and my walking foot, but even with all that, the fabric was getting sucked into the machine and stretched out. I probably could have busted out the tissue paper trick and been fine, but instead I switched over to my serger and it sewed up so easily. So I constructed the entire top using only my serger – this is my first time doing that – and I loved it! The only time I used my sewing machine was to topstitch the neckband down with a stretch stitch. I would have used it to hem the sleeves and bottom, but since I finished those with cuffs instead, I didn’t need it. SO EASY.
Doing a color blocked shoulder panel/sleeve is a very simple pattern adjustment, but if you’re not sure how to do it, I’ll tell ya!
First, I cut out my sleeve pattern in the appropriate size. Then I drew a line horizontally across the sleeve where I wanted to add the contrast fabric. My line is 1/2 an inch below the bottom of the armhole.
Place a piece of tracing paper on top of your sleeve pattern piece and trace the top of the pattern up to the line you created. You’ll want to add a 1/4 inch for seam allowance.
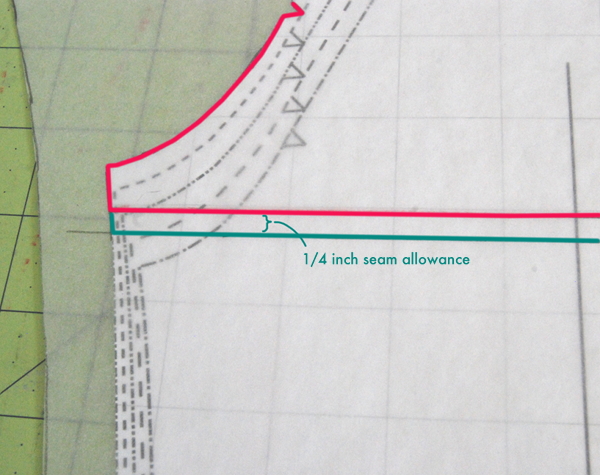
On a separate piece, you’ll need to do the same for the bottom part of the sleeve. Trace around the bottom of the sleeve up to the line you created and then add a 1/4 inch for seam allowance above the line. Now you have your two sleeve pieces!
The first thing I did after cutting out my fabric was sew the two sleeve pieces together with a 1/4 inch seam allowance and press. Then I followed the rest of the pattern instructions as directed! An easy alteration that makes a pretty big statement 🙂
This Oliver + S pattern, like all Oliver + S patterns, is really well written, with clear directions and diagrams and helpful tips. I can never speak highly enough of their patterns. They are just so reliable and . . . GOOD. The shirt comes together really quickly and is a great first-knit-project, if you’re looking for something to get you started. It’s a great basic for boys and girls and now that it’s offered as a separate pattern, there’s no reason NOT to get it.
So that’s a wrap for my Kids Clothes Week. I made two things, this and the Knit Baby Vest. Back in the day I might have tackled 6 projects, but I’m just not that same young sprightly thing I used to be! 😛 I love both of the things I made and that makes me feel happy.
How did your week go? I haven’t actually had a chance to do much browsing of other people’s projects unfortunately, but maybe that’s what I’ll do today and tomorrow. But if you sewed along, leave me a link to your favorite project from your week and I’ll be sure to check it out!
*This pattern was generously given to me for this review, but all opinions are 100% my own.*

the contrasting shoulders really make this – lovely!
Cherie, all your projects look storebought. You’re such a wonderful seamstress. I wish I were as good at this as you are.
Aww, thank you!! But seriously, if you look closely, they don’t always look so neat 😛
Yeah, but you’re the artist, so of course you don’t think they look so neat. From my vantage point, they look superb.
I love the sleeves!!! Yuki is so stinking cute 🙂
Just adorable
This tee is so cute and cool at the same time.
It’s lovely, and the colour works well on her! I did neatly sew along, but am only really getting in the right mindset now, so maybe I’ll try to squeeze in a few extra hours of sewing tomorrow… I made an infinty scarf, a Clara Dress, leggings and a Bimaa so far. Not surprisingly, the Bimaa is my favourite: fast and soooo cute! http://pienkel.blogspot.nl/2014/02/kcw-day-6-another-bimaa-at-last.html
Wow – very productive!! Nice job!
It’s lovely. What a great wardrobe staple with so may exciting future possibilities! I’ve been sewing up a similar, really simple knit top for all my girls in lots and lots of different ways over the past few weeks. It’s great fun!
Yes, I agree! I love finding a good basic pattern with potential to use again and again!
This is so cute! I love the colors! I would totally wear this. 🙂
Thanks! And yeah, I kinda want one for myself now too . . .
So cute! The colors are lovely and I may steal that color blocking trick!
The sleeve alteration was a great idea!
http://lifeamongtrees.blogspot.com
super cute! what serger do you have and do you like it? (read: easy to use?)
I have a Brother 1034D, which seems to be a really common serger for basic needs. I think it’s great and would definitely recommend it. The best part about it being so popular is that you can find YouTube videos and other resources that can be helpful when you’re learning to thread it.
thanks! It seems affordable too, thats always a plus!
that looks so great!! I have this pattern, but never thought to use it for my girls!! thanks!
Thanks! Oh yeah, I love unisex patterns! 🙂
Oooh, I love this!! So many possibilities for customization. I like the layers with the burnout knit. Looks so unique and comfy, too!
too cute. Great idea to color block the sleeves. Almost all the tees I make for my boys are simply serged. I rarely use my machine first. Makes for quick projects!
Pingback: My Signature Style | FROO & BOO
Pingback: customizing: field trip raglan t-shirt | Blog | Oliver + S
Pingback: Straight Lines and Angles day 6 – You and Mie and Welcome to the Mouse House | If Only They Would Nap...
Pingback: Frozen’s Elsa-Inspired Dress | you and mie
Pingback: Princess Unikitty of Cloud Cuckoo Land! | you and mie