
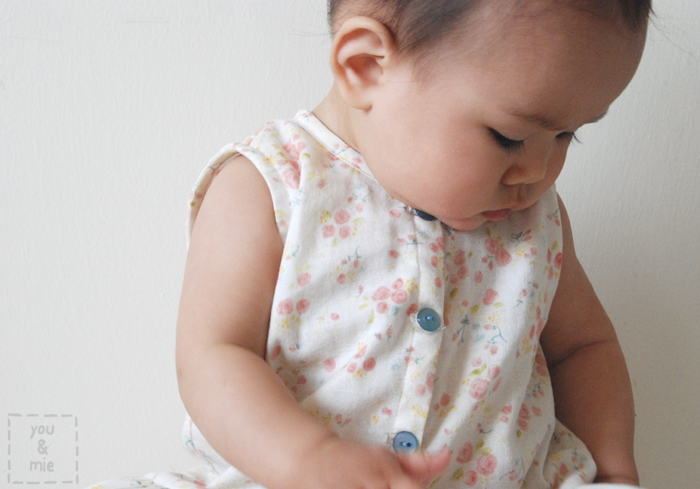
Ack! I can’t believe it’s the last week of July – where has the summer gone!?! *sniff sniff* So I’ve actually been suuuuper busy sewing and having all sorts of fun. Did you catch my weekend getaway on Instagram? Ridiculously fun times were had with some very awesome people. You should check out our hashtag #seamripcity. Anyways, I’ve got so much to share, but I’m still lagging with my blog posts. So here’s a tutorial on making a sleeveless bodice from a sleeved pattern that originally appeared on the Oliver + S blog as part of their “customizing” series. This top (made with super vintage nani IRO fabric that you can read more about here) is absolutely one of my favorite things I’ve made for Kaya so far.
***
Hi! I’m going to show you how to modify a sleeved pattern to a sleeveless version and finish the armholes with bias tape. I am using the Lullaby Layette Shirt pattern (View B) in this example, but you can do this with pretty much any pattern!

The first step is to reduce the width of your pattern at the shoulder. Patterns that are meant to have sleeves extend to the tip of the shoulder. A sleeveless top generally has narrower straps.

The amount you want to take off the shoulder will be determined by personal preference. Just keep in mind that you’ll lose another 3/8 inch (1cm) when you finish your armhole. I reduced the width of my 3-6 month size shirt pattern by 3/4 inch from the outside edge of the pattern (shoulder tip, not neckline). From the shoulder seam, draw a curved line to meet the existing curve. For the front of the shirt, I curved the line a bit more, for the back, I kept it slightly more straight. Cut your pattern on your newly drawn lines.
When you cut out your fabric, you’ll also need 2 strips of fabric cut on the bias to finish your armholes. The fabric will not show from the outside of your garment, so you can either use your main fabric, or something coordinating. Measure your armhole edges (front + back) and then add 3-4 inches to determine the length of your bias strips. The width is 1 inch.


The pink arrows show the grain of the fabric. I’ll refer to these as “binding” from now on.
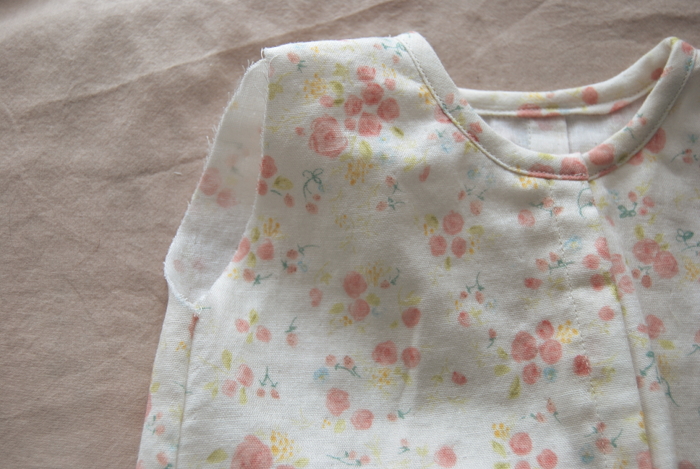
Follow your pattern to construct your top to the point where you have sewn the shoulder seams and the side seams together.
Fold and press your binding 1/4 inch towards the wrong side along the long edge. Repeat with other strip.

With your garment right side out, start pinning the raw (unfolded) edge of your binding to the armhole, right sides together. Start at the side seam and leave at least an inch of the binding strip extending past the side seam as you start pinning.

Continue to pin all the way around the armhole.

Make a small mark on the binding where it meets the side seam.

Do the same on the other side of the binding. This is where you’ll want to sew the two ends together so they will meet along the side seam.

Pull the bias tape away from the garment (you may need to unpin a few inches) and sew the bias tape, wrong sides together, at the marks that you made. Trim excess fabric, press open and pin to the armhole at the side seam.

Sew all the way around the armhole 3/8 inch (1 cm) from the edge.

Press the binding away from the shirt.

Flip your garment inside out. Refold your binding along the previously pressed 1/4 inch fold then again along the seam. This will flip the binding completely to the inside of the garment and enclose the raw edge. Pin all the way around the armhole.

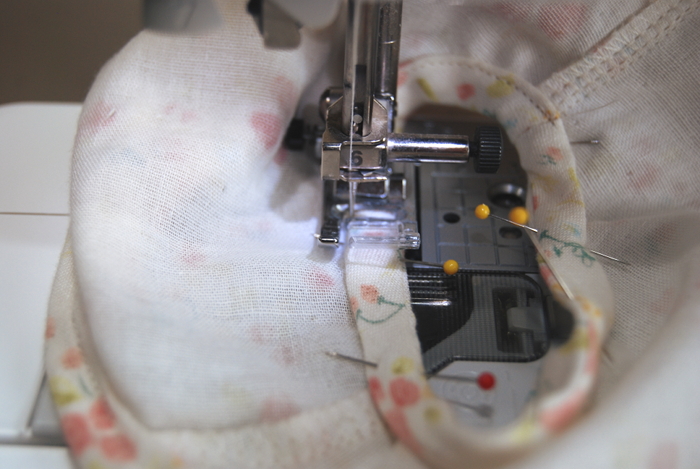
Machine stitch around the armhole close to the folded edge. Or you can hand stitch it, which will make it less visible from the right side of the shirt.
Repeat the steps to attach binding to the other armhole. Give it one more good press, and you’re done!

I love making sleeveless tops for my kids and myself, especially as the warmer spring and summer months hit. You can use this method to finish any top pattern! For this post, I made another Lullaby Layette Shirt for my daughter, but this time I shortened the shirt and added a gathered skirt for a sweet spring dress. You can check out more details here.


Oh, this is so cute and your model beyond adorable!!
Useful tips. Lovely dress too.
Awesome advice and so cute!
Hi there! Love your blog!! I love it so much I’m nominating you for the Liebster Award! Of course, you are not obligated by any means to participate; however, if you would like to, please see my post http://www.savvydarling.com/liebsteraward/ for additional information and an example of what to do next. Looking forward to your next posts!
Thanks
Savannah
http://www.savvydarling.com
Thanks for this trick! And yes, the model is utterly adorable!!