

Woohoo – finishing up with the last watermelon project today! Last week I shared a couple of projects from Yuki’s Watermelon Party: the watercolor invitations and a hand stamped dress. I was hoping to share this last one last week as well, but you know, tutorials take time. And I’m guessing that no one was sitting on the edge of their seat waiting for this last watermelon post, but if you were, I apologize! 😛
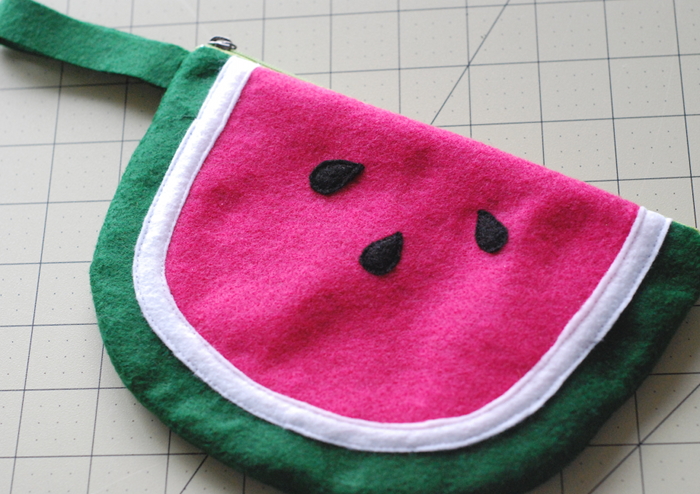
My last watermelon project was a stack of felt pouches to pack up the party favors.

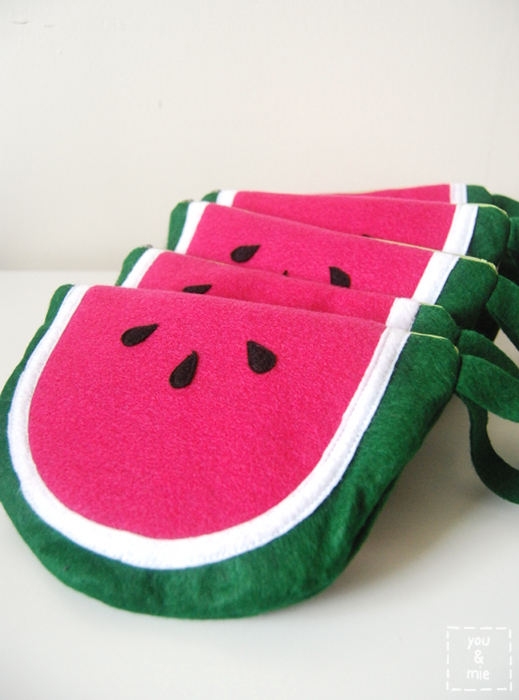
And I made a free pattern and tutorial in case anyone else wants to make one too!
But let me just lay all the fine print out here . . . This is not a professional pattern – just something I put together for fun to see if I could do it and to help anyone out who wanted to make one too. It’s definitely not perfect. And second, it’s a simple clutch for a kid made with felt – it’s not meant for long term use or anything. You can probably adapt this pattern to be for other types of fabric, but this pattern is made for felt and counts on the fact that it doesn’t fray. This is just for fun, ok!! Nothing fancy! 😛
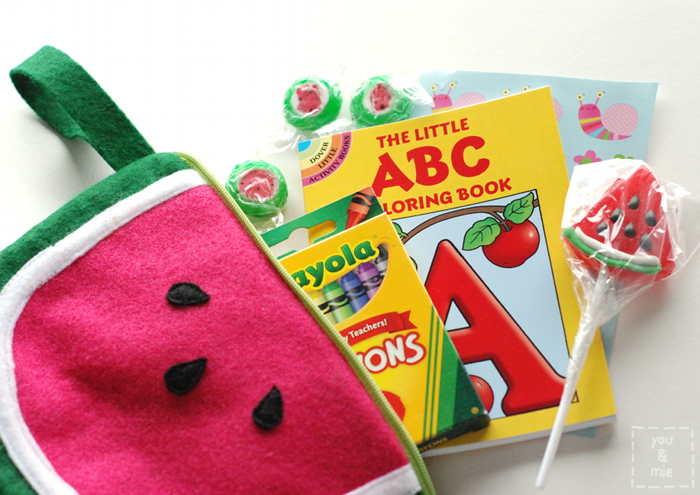
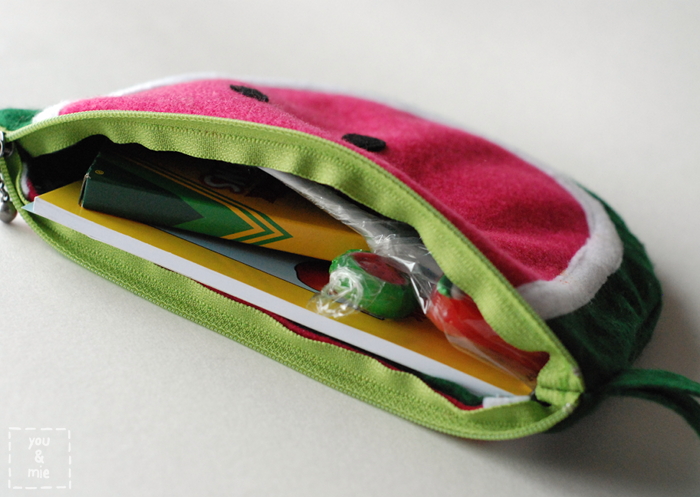
So here’s what I stuffed inside . . .
The Little ABC Coloring Book (affiliate link)
8-pack Crayola Crayons (affiliate link)
Watermelon Lollipop (affiliate link)
A sheet of stickers (bought in a pack from Target)
Watermelon hard candies from Party City
Here’s what you’ll need to make one! If you’re only making one pouch, you can buy the 9×12 sheets (quantity in parenthesis). If you’re making multiples, I’d recommend buying yardage of the green, pink and white.
Free Watermelon Pouch Pattern
Green felt (2 sheets)
Pink or red felt (1 sheet)
White felt (1 sheet)
Black felt (scraps)
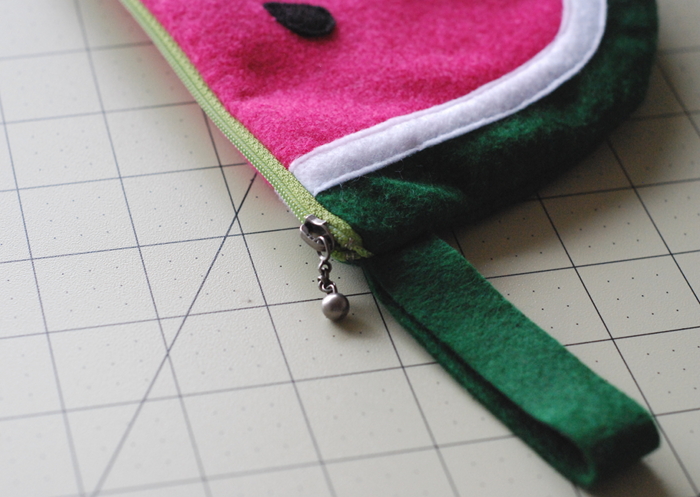
8″ zipper (a 7-9″ zipper will work fine)
Coordinating thread (black, white and matching your zipper)
Print your pattern at 100% or no scaling. I forgot to add a square to make sure it’s printed correctly, but to double check, the long straight edge of the GREEN watermelon piece is 8 and 3/4 inches.
I happened to find a bunch of these 8″ zippers for super cheap and they were perfect for what I needed. If you have a 7-9″ zipper, it’ll be longer than you need, but that’s totally fine.
Shall we get started?
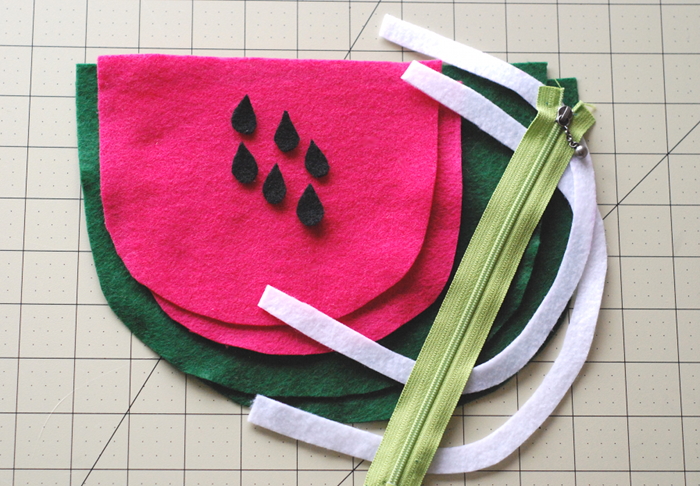
Cut out your felt pieces as directed on the pattern. The one thing that isn’t mentioned on the pattern is the rectangular piece you’ll need for the wrist strap. You’ll need a piece of green felt that is 7 inches by 3/4 of an inch.

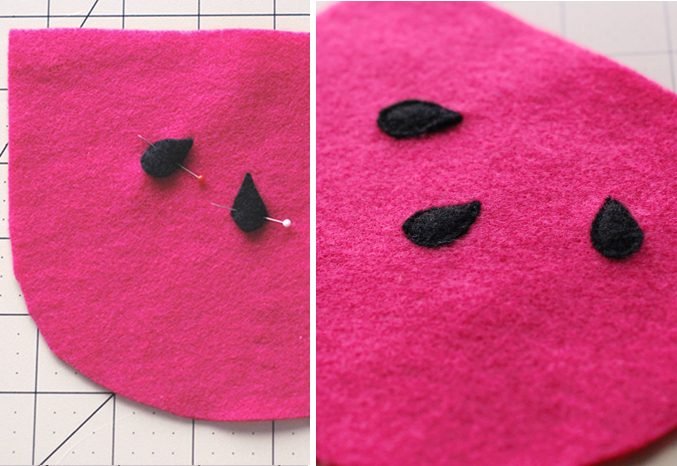
Pin your seeds to the pink felt pieces and top stitch down. Go slow around the curved edges.

Pin the pink pieces on the green, centering it (you can fold each piece in half and line up the center marks). Baste in place.
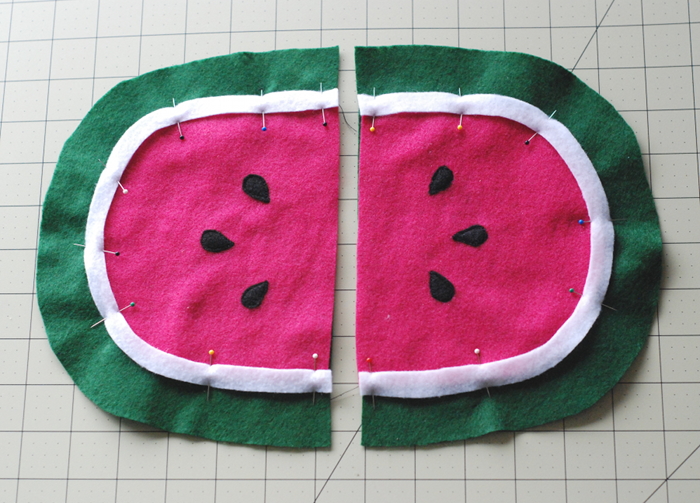
Pin the white felt piece down so that the inner edge is on the pink and the outer edge is on the green. I like to lay my pieces out like this so I can line the white pieces up with each other so they’ll line up when the zipper is installed (though mine still ended up uneven).
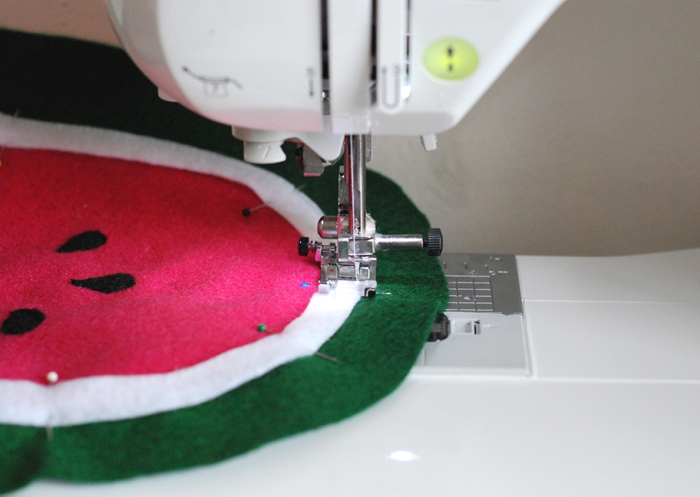
Sew along the outer and inner edge of the white piece as close to the edge as possible.
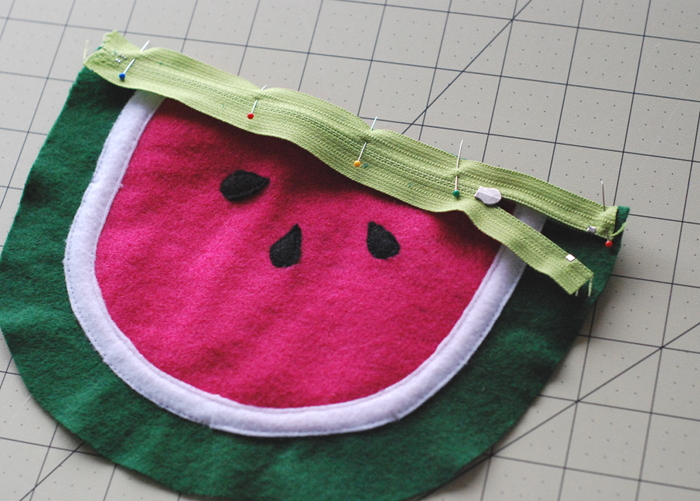
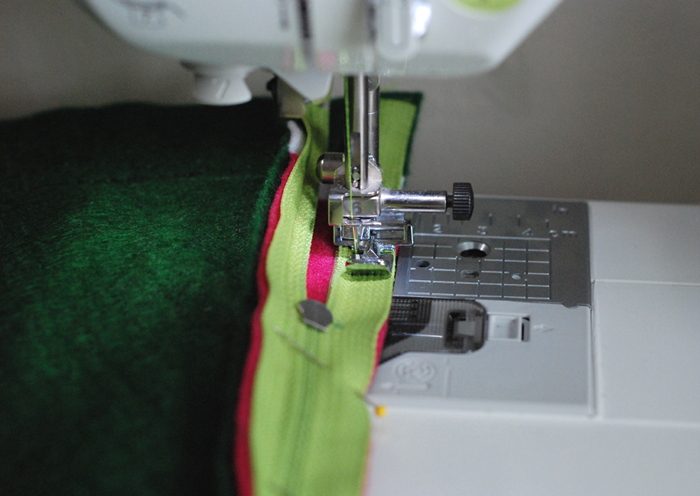
Pin one zipper edge to one side of the pouch, right sides together. Place the end with the zipper pull 1/2 an inch from the edge. If you have an 8″ zipper, it should be centered. Sew along the edge of the zipper using a zipper foot.
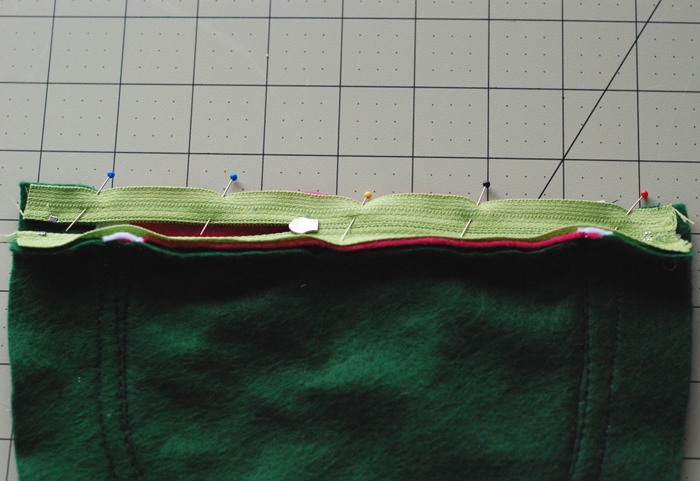
Pin and sew in the other side of the zipper along the edge of the other side of the pouch.
Press the sides of the pouch open with your iron on low. If you want to top stitch along the sides of the zipper, that will prevent it from flipping out when you unzip the pouch. I skipped this step because it was starting to get thick and I was worried it wouldn’t look very nice.
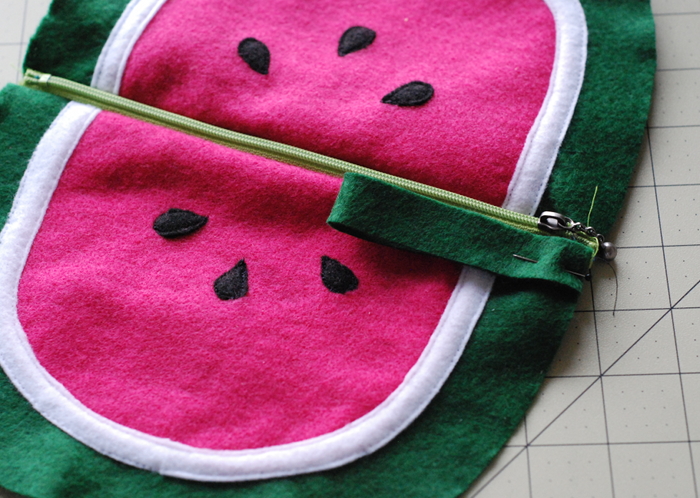
Fold your strap in half and pin it to the right side of one side of the pouch with the raw edges aligned, just under the zipper. Baste in place.
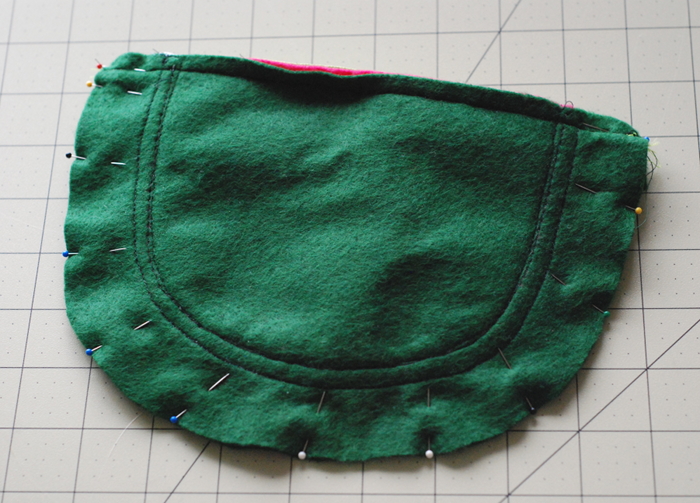
Fold the watermelon in half along the zipper, right sides together. Be sure the zipper is open at least halfway so you’ll be able to flip it right side out later. Sew along the curved edge with a 1/4 inch seam allowance and be sure to reinforce both ends by backstitching a few times. If you need to trim the zipper, do so at this time.
Flip right side out and you’re done!!
Woohoo!!
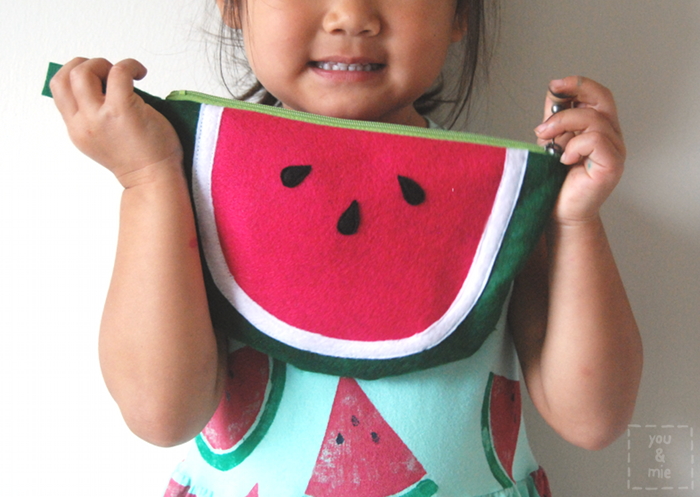
Enjoy!
And if you decide to make one of these pouches, please share it with me by email or in the you & mie flickr pool! I’d love to see it!

What a fun fun adorable party for your little sweetie!
you are the best mom ever. i really want to come to your next “fruit” party. all of your ideas were so amazing!
Those pouches are so cute!!
These are so cute!
They are gorgeous! Bet the party goers were delighted!
Cherie this is brilliant!! Pinning!
these are just soooo cute!!! What a fun summery party! 🙂 love it all!
oh it’s just so darn cute. and honestly i bet the felt holds up better than you think – i’ve made a couple felt halloween candy totes over the years and they tend to quickly become everyday-haul-kid-stuff bags once the holiday is over. it always surprises me how well they hold up (based on how quickly i slap them together especially, haha). anyway, thanks for the tute! 🙂
Adorable!!! I’ve got a Craft Gossip post scheduled for later today that links to your tutorial:
http://sewing.craftgossip.com/free-pattern-watermelon-wristlet-clutch/2014/09/13/
–Anne
Thank you!
Pingback: Free pattern: Watermelon wristlet clutch – Sewing
So cute.
So cute!!
so, so, so super cute! But of course I am going to make this as a pencil case for school next year! super adorable and all my friends will be asking for some as well! You could make this with so much more fruit. Fabulous 🙂
Adorable!
I love this! Thanks for the tutorial–the watermelon is so cute!
Thanks!!
Pingback: DIY Watermelon Pouch | ohpoppu
This is adorable! I’ve never tried sewing a zipper, but with this tutorial I’m going to give it a try. (fingers crossed! lol!)