
 It’s the last day of the Happy Homemade Sew-along!! So excited to finish up our pull-overs today! I know that some of you have already gone ahead and finished your hoodies, and some people are just getting started, and that’s totally fine! Move at your own pace, you still have the weekend to finish up. Or if you’re done early – go ahead and make another one! 🙂
Today, we’re finishing up with steps 5 and 6. If you prepped the hems back on Day 2, these steps are super fast. But even if you didn’t, it shouldn’t take us long to finish this puppy up!


Fold the edge of your sleeve towards the wrong side 1 cm and press. Fold again, this time 2 cm, enclosing the raw edge and press.

Pin and sew along the folded edge. Repeat with the other sleeve.

Fold and press the bottom of the pull-over the same way you did with the sleeve (but don’t pin and sew yet). If you haven’t already, attach your strip of fusible interfacing to the center front of your pullover, just above the higher of the two fold lines.
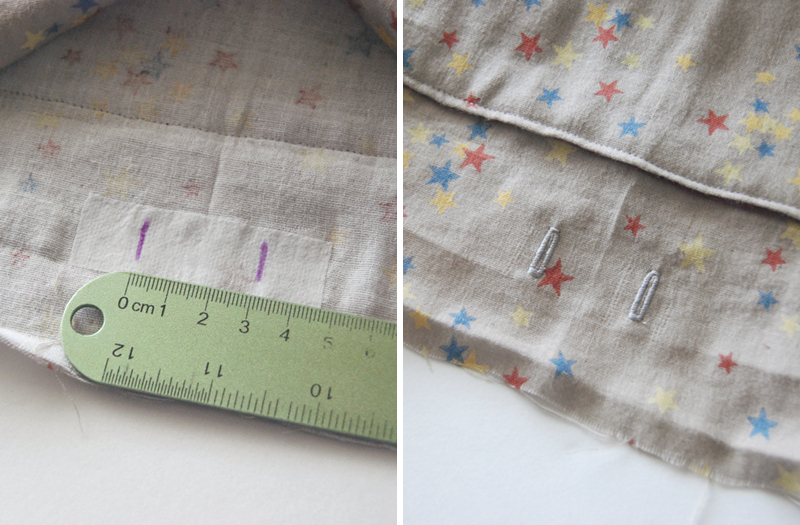
Find and mark the center of your pullover by folding it in half and finger pressing or ironing a little crease by the interfacing. Using that center mark, measure 1.5 cm to either side and mark your buttonhole placements. I transferred my markings to the right side of my pull-over and sewed from that side since it tends to look nicer.
If you are not familiar with making buttonholes on your machine, there are a few more detailed directions on page 59 that may help.

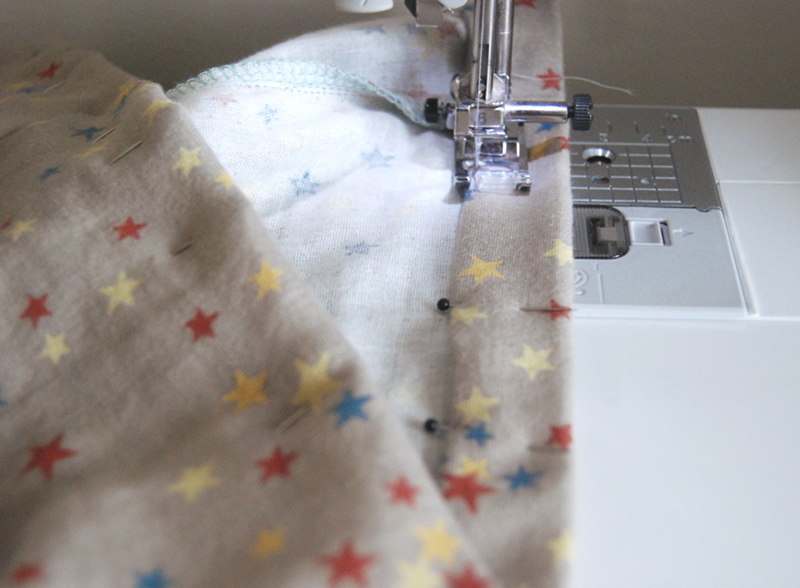
Fold the hem back up, pin and sew along the folded edge.

We’re almost there!!

Attach a safety pin or bodkin to one end of your cotton tape/drawstring material and thread through one of the buttonholes, all the way around the hem, and back out the other buttonhole.

Tie it up and you’re DONE!

So, what do you think!? How did it go? Do you like the pull-over? Was it easy to sew up? Will you use this pattern again?
I have yet to try this on my little one, so we’ll see how the fit is and if she approves, but I think it’s adorable and I hope she wears it! I’ll try and take some pictures of her wearing it over the weekend and post them on Monday. Be sure you get pictures of your finished pull-over (on the hanger or on a model – either is fine!) and add them to the Flickr pool by Monday, June 23 to be included in our round up and a chance to win the fantastic sew-along prize!!
I’m loving all the in progress and finished sew-along pictures popping up on Instagram and on Flickr. You guys are doing an amazing job! And I suspect we’ll see a lot more added over the weekend. Can’t wait! I’ll check back in with you on Monday.
See the rest of the sew-along posts here:
Announcing . . .
Where to buy the book
Hoodie Inspiration
Mixing it Up
Fabrics
What you’ll need
Schedule and Sew-along Prize
Day One
Day Two
Day Three
Day Four

So cute 🙂
It looks so great! As I mentioned to Meg, I really resist wovens but this one looks really soft and comfy.
Yeah, I get it – my kid doesn’t like anything but knits. But double gauze?? Yes, super soft and comfy. I wish I could live in it! 🙂
eek! it looks so cute! now I need to go get started on mine…….
Yes! Get to it! 😛
It looks so cute + comfy!! I can’t wait to start sewing it. What kind of fabric do you use? I think I will try the hoodie lining as well with mine, I have a piece of flannel in my stash waiting to be used. Thank you for this wonderful sew-along!
I used double gauze and it is really soft and comfortable! If you want other recommendations, Meg wrote a whole post about it: http://www.elsiemarley.com/happy-homemade-sew-along-fabrics.html. Flannel would be great!
Almost done a little behind should get it done by Mon though.
Wahoo finished. http://seamsoddlouise.blogspot.co.uk/2014/06/my-first-sew-along-happy-homemade.html
Looks very practical
Pingback: Happy Homemade Sew-along // Finished hoodie | you and mie
Pingback: elsie marley » Blog Archive » happy homemade sew-along: day five
Pingback: elsie marley » Blog Archive » happy homemade sew-along: the hoodie!
Pingback: Happy Homemade Sew-along // round-up, winner and many thanks! | you and mie