Well hellloooooo! Last time you heard from me I committed to blogging once a month about my Year of Making projects, but that was 4 months ago and it’s become clear to me that 1. I’m not really great at making huge commitments and 2. I really really don’t like blogging. I’m still trying to practice my creativity every day, but at some point life got super busy and then I got really burnt out and it’s been hard getting back on the wagon. I AM participating in Me Made May again and wearing something handmade every day. Maybe month long challenges are more my speed.
But I’m not here to talk about my commitment issues! Despite how much I dislike blogging, I could not turn down the opportunity to review Sanae Ishida‘s newest book, Sewing Happiness (affiliate link). Sanae is one of those people with a generous heart, a humble spirit and loveliness just oozing out of her. Her words, her paintings, her carefully crafted sewing projects – everything she touches has a sense of calm and beauty.

From the moment I started flipping through the book, I was captured by the beautiful photos and sweet sewing projects. But as others started sharing about the book, they kept talking about reading it, about Sanae’s story.

Now, I don’t know about you, but I have never read a crafting or sewing book. I’m just there for the projects and instructions and pretty pictures, you know? But I’d heard a bit about Sanae’s story through her blog and I was intrigued, so one night I started from the beginning and read the book. And it too, was beautiful and captivating – I couldn’t stop.
Sanae shares the story of how she turned her life around with the help of sewing. Her words are deeply intimate and while her story is unique, she has a way of making it touching and relatable to all of us. I would be lying if I said I didn’t tear up a few times while reading.

The sewing projects are organized by season and with each one, Sanae shares why it’s included in the book, making each one feel very personal. They are simple and appropriate for beginners and carry potential for elaborating and personalizing. It was hard to choose which project to start with.

I decided to make myself an apron first (more on that below), but also love that the book includes a Sashiko primer, a section that includes the basics about Sashiko, a style of Japanese embroidery. I’ve been wanting to practice so this seemed like a great opportunity.


The Sashiko Trivet was a fun and quick project. I got to practice sashiko stitching on a small and manageable piece of fabric and turn it into something pretty and practical.

I used a really lovely navy brushed linen from Miss Matatabi fabrics for both the trivet and the apron. I fused a lightweight interfacing on the wrong side of the linen and drew the pattern on it. The stitches aren’t even or precise, but one of the things that I really took away from Sanae’s book was letting go of perfection and just making things YOU. “Perfection is overrated!” she says and I took that as permission to just make for the joy of making and not getting hung up on making it look this way or that. It’s so freeing.

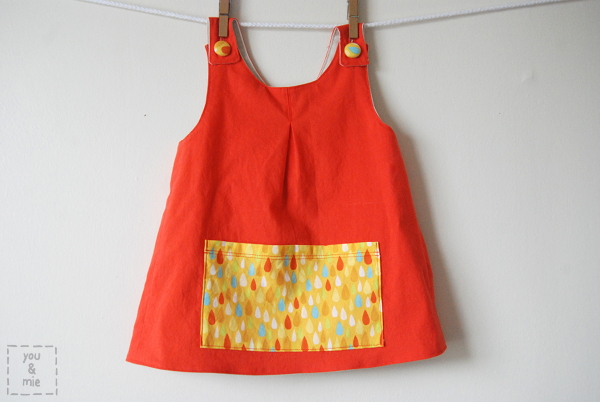
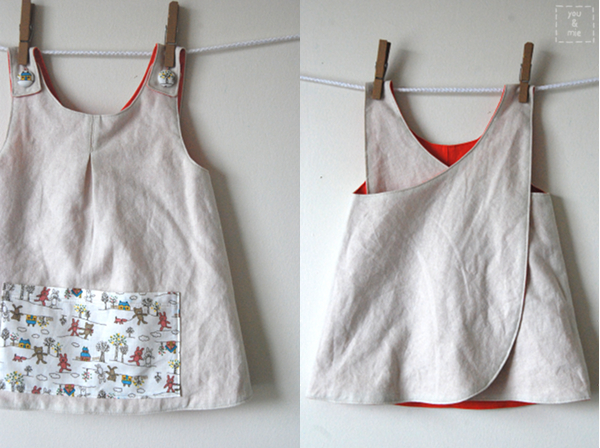
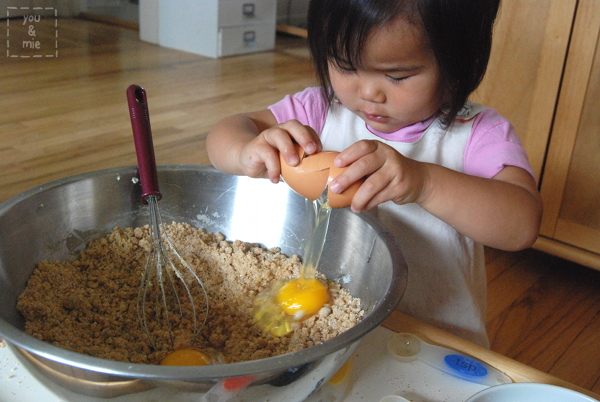
Like I mentioned, the first project I actually decided to make was the Crossback Apron because I thought it would be practical for all the painting, play dough playing, cooking and dishwashing I do.


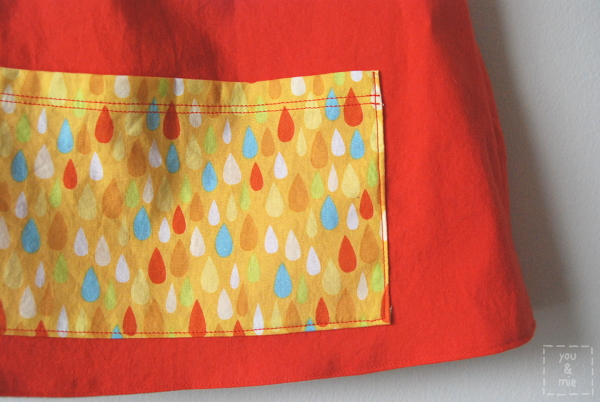
I like the simple design and that you don’t have to tie it in the back. I made size Medium and it fits well (the fit is really forgiving, of course). The only thing I modified was the pocket. I increased the length so that it would reach almost across the entire width of the apron and separated it into 4 pockets.

This brushed linen is really quite amazing. I felt a little bad using it for something like an apron that would get so dirty. But I do love the look and feel, though it’s a bit shifty and wrinkly, like most linens. It would be great for the Origami Pillow, Eco Bag, Baby Kimono Top + Bloomers, or so many of the other projects in Sanae’s book.
I didn’t get any pictures of the apron on me, but you can check out Delia’s apron to see some amazing photos of the apron action!
If you’re a fan of Sanae’s blog, you’ll love her book. I highly recommend it – it’s a must have for your book collection. I did receive the book and the fabric for this post for free, but I would never make this stuff up – it’s a wonderful book and you won’t be disappointed.
Thank you, Sanae for sharing your beauty with us!