PHEW! We made it to the end of the sew-along. Today is the day we wrap it all up.
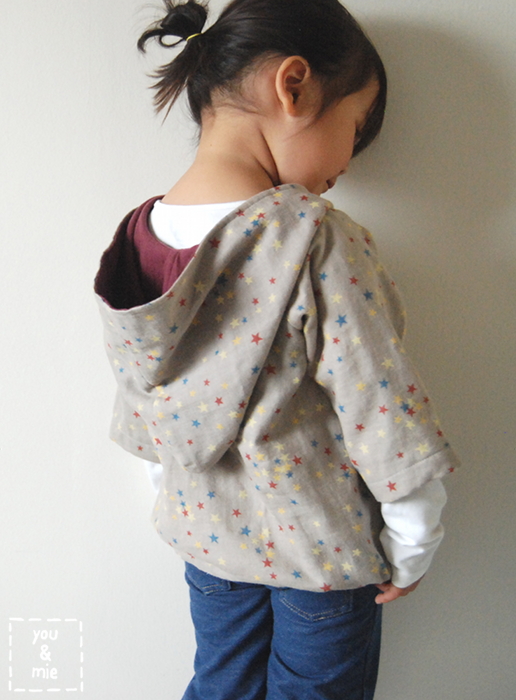
I am sooooo amazed by all the different hoodies that were made during the sew-along! I loved seeing all of the ‘in progress’ pics and getting feedback and questions along the way. And the finished hoodies are all so awesome and SO different! I love the variety – it’s amazing how one pattern can be interpreted in so many different ways!
Meg and I have rounded up all the hoodies that were in the Flickr group (as well as a few from Instagram) and are sharing them on our blogs for everyone to see. But FIRST, I’ll just go ahead and announce the winner of the sew-along PRIZE, since you all are probably dying to know if it is you 🙂
A big thank you to the wonderful sponsors of our giveaway prize:

The winner is going to receive:
And the randomly selected winner is (drumroll please) . . .

Lucinda P. who made this awesome hooded DRESS from an upcycled button up shirt!
Congrats Lucinda!
Seriously, all of the hoodies are all so unique and original, I loved seeing each new picture being added to the group. Links to the original photo are below each collage and start with the picture in the top left corner and go clockwise. Half of the hoodies are here and the other half are on Meg’s blog, so be sure to check out her post too!
One of the fun ways that people remixed the hoodie was by playing with contrasting fabrics and color blocking. I love all these combos!

It’s all about the details in this group of hoodies . . . floral binding, embroidery, applique, piping, added ties . . . such unique touches!

I also love the simplicity of these solids and classic stripes and polka dots. They really let the design of the pull-over shine.

And in the last group, we’ve got some comfy looking hoodies made from knit fabric and a couple of fun floral fabrics too.

Be sure to check out the rest of the hoodie parade HERE!
I want to give a huge THANK YOU to everyone who participated in the sew-along!! I’m really glad that we were able to sew together – even if you didn’t get to finish your hoodie yet, that’s ok! I had so much fun. I especially loved hearing people tell me that they were always too scared to attempt a Japanese pattern and that this gave them the final push to try it. That was the whole point of the sew-along, so I’m happy that we were able to do this together!
And definitely a big thanks to Meg, my co-host for the sew-along. Definitely could NOT have done it without you, Meg! You’re a rock star! But I think we all already knew that.
Ok, so before I really wrap this up, I wanted to ask you guys for any feedback you have regarding the sew-along. Who knows if I’ll do this again, but I’d love to hear what you thought – even if you didn’t participate in this sew-along at all!
What did you like? What didn’t you like? How was the pace? The timing of the sew-along? Anything you want to see more of? Was there anything particularly helpful or still way too confusing? Would you want to do another sew-along? Another pattern from this book? A different Japanese sewing book? Any suggestions? I’d love to hear it!
Alright friends, that’s a wrap on this sew-along. Time for me to catch up on some sleep 😛

See the rest of the sew-along posts here:
Announcing . . .
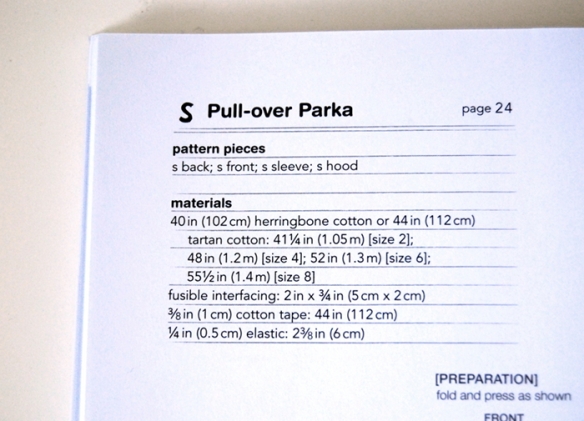
Where to buy the book
Hoodie Inspiration
Mixing it Up
Fabrics
What you’ll need
Schedule and Sew-along Prize
Day One
Day Two
Day Three
Day Four
Day Five