Like I said, I didn’t make too many Christmas gifts this year. But I did make one more. This is the last one. I’m pretty sure.
Our best friends, Sanjai and Jude, are truly amazing. They invite us over to their house every week, cook amazing meals, are the BEST with Yuki and overall, just take great care of us. Over the last several years we’ve become very close and their house has become our second home. And it. is. gorgeous. If you follow me on Instagram (@youandmie), you’ve probably seen pictures of their house. And one day maybe I can give you a full tour because it really is magazine worthy.
Anyways, we love spending time there and so does Yuki. They take great pride in their home and they have amazing style. When I was thinking of a gift for them, a throw pillow seemed most appropriate because I knew they could put it wherever they wanted and switch it out with other covers depending on how they were feeling/decorating at the moment.
Around that time, Jessica from A Little Gray posted a work-in-progress picture of this pillow cover she was working on and she happened to mention “flying geese” in the caption. Lucky for me, because I didn’t know these cool triangle patterns had a name! (but of course they do). Once I looked up what “flying geese” were, I was hooked. I’ve totally fallen for the triangle craze and I was drawn to this particular pillow cover. I was just going to copy it exactly, with a row of triangles, but as usual, I had to go and make it all complicated 😛
So I played around in my sketchbook a bit and came up with this design.

 I call it the Confused Geese Pillow Cover.
Why confused? Because all of my geese are flying in different directions . . . get it!??
Haha. Anyways, it’s a simple envelope pillow and I like the way it came out except it’s a bit too snug on the pillow form. I had read somewhere that for an 18×18″ pillow form, a 16×16″ cover would fit well. But it’s a bit too snug, on two sides anyways. Maybe I’d give it an extra inch for room if I were to make it again.
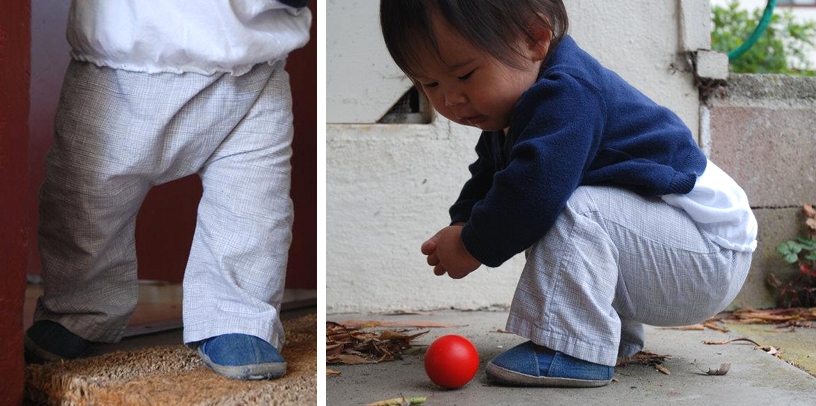
I used a mustard linen blend that I had originally bought for another project – but it ended up being perfect for this. Great color, soft enough for comfort but sturdy enough for a throw pillow. The geese and center diamond are made from fabric scraps in my stash. The dark gray is the chambray I used for my Darling Ranges Dress, and the light gray is a quilting cotton that I used to make my first pair of pants ever for Yuki when she was about one. I never blogged it, so here’s a picture.
 Awww, baby Yuki learning to walk . . .
Anyways, there are tons of great tutorials out there to teach you how to make flying geese (which is how I learned), but in case you wanted to put together this exact pattern, I thought I’d show you how. There are a lot of numbers, but I have all the measurements for you, so even if you’re not a quilter or you’ve never made flying geese before, it’s really quite simple. I will say, however, it takes a bit of patience and attention to detail if you want all your corners to come out sharp. Mine certainly aren’t perfect (so don’t look too close)!!
As I mentioned, my finished pillow cover was 16×16 inches. I’ll give you all the measurements for that (and in parenthesis I’ll note the size I’d use to make a 17×17 inch cover). If there is no parenthesis, you should use the measurement listed for both size pillow covers.
For your main fabric, you’ll need:
– 4 squares that measure 7 x 7 inches (7.5 x 7.5)
– 4 rectangles that measure 4.5 x 3 inches (4.5 x 3.5)
– 12 squares that measure 2 7/8 x 2 7/8 inches
– 2 rectangles that measure 12 x 17 inches for the back of the pillow (12.5 x 18)
For Accent Fabric A (which in my case is the dark gray chambray), you’ll need:
– 2 squares that measure 5.25 x 5.25 inches
For Accent Fabric B (the light gray), you’ll need:
– 1 square that measures 5.25 x 5.25 inches
You’ll also need:
– a 17 x 17 inch (or 18 x 18) piece of fabric to use as backing for the pieced pillow cover. I used my main fabric, but you can really use whatever you like as it will only be on the inside of your pillow cover and won’t really show.
*seam allowance for piecing the entire pillow top is 1/4″
*seam allowance for sewing the pillow front to back pieces is 1/2″
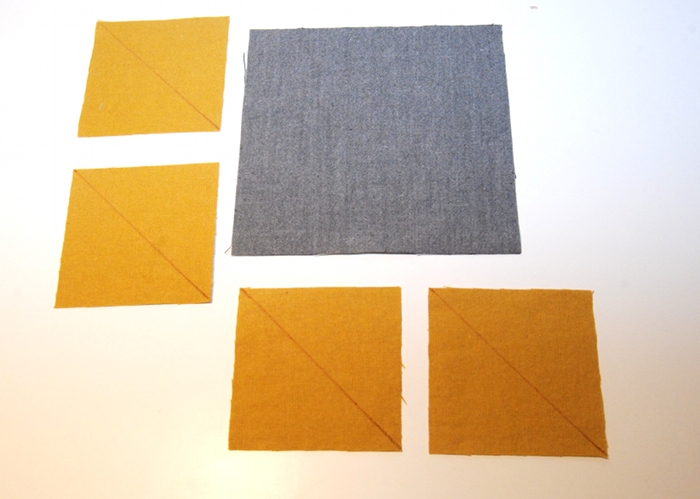
Ok, to start, you’ll need to make your flying geese! Grab one Fabric A square and 4 of your 2 7/8 squares. The large square will become the “geese” (large triangles) and the small yellow squares are called “sky” pieces.
 Now go and follow this tutorial on how to make 4 flying geese. I like this tutorial, not only because it’s easy to understand but because she is making the exact same size geese as we need!
Take your time and make sure to sew straight and press well. This will help get neat looking triangles. Now repeat with Fabric B to make 4 more flying geese. You should have 4 geese with Fabric A and 4 with Fabric B.
To make the diamond in the center of the pillow, you’re going to need your last Fabric A square and the last four 2 7/8 squares of your main fabric. It’s going to start out a lot like you’re making flying geese.
 Draw diagonal lines from one corner to the opposite corner on all 4 of the small “sky” squares.
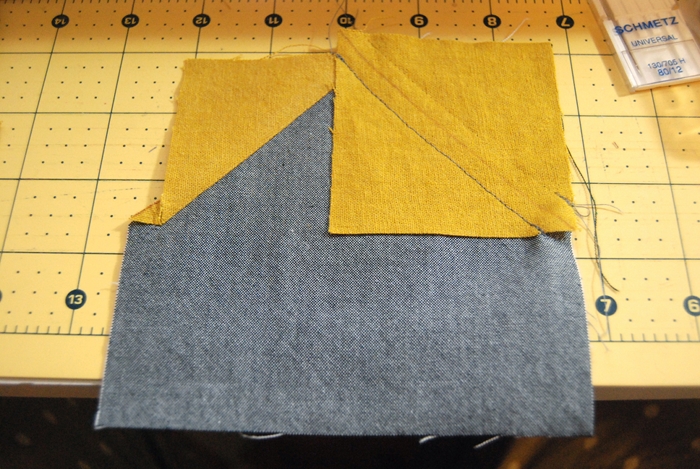
 Place one “sky” piece in the corner of the large square with the diagonal line cutting across the corner (not lined up with the corner).
 Sew 1/4″ along the inside of the line (towards the center of the large square). Cut away the excess fabric directly on the line and press open.
 Going clockwise, place another “sky” piece in the next corner and repeat (you can see that I accidentally sewed on the outside of the line and then went ahead and unpicked it, even though it was going to get cut off in the end! Doh!)
 Repeat with the next corner. Trim and press.
 Done! Now you’re ready to piece all your geese together!
 Line up one edge of your diamond piece with the base of a Fabric B triangle, right sides together. Sew with a 1/4″ seam allowance. Press open.
I didn’t take pictures of every step here because it gets a bit repetitive. It should be fairly straightforward though.
Attach a Fabric A “goose” to the Fabric B “goose” in the same way. Repeat to the opposite side of the diamond. Your center panel is now pieced and should look like this:
 (Excuse my rough sketch – it is not to scale)
Sew one of the 4.5 x 3 inch (4.5 x 3.5) rectangles (in the main fabric) to the top of the panel and one to the bottom, using a 1/4 inch seam allowance.
Set that aside. Sew together the top of a Fabric B triangle to the base of a Fabric A triangle. Then attach the top of the Fabric A triangle to your 4.5 x 3 (4.5 x 3.5) inch rectangular piece of the main fabric. Press each seam open and repeat with your last two geese. These are what your 3 pieces should look like:
 Following along so far? Ok, good!
 Grab your 7 x 7 (or 7.5 x 7.5) inch squares and sew them onto the sides of the 2 small rows of the triangles to complete the side panels.
 Line up the edges (right sides together) and sew with a 1/4 seam allowance. Repeat with the other 3 corner pieces and your side panels should look like this:

 Now sew the side panels to the center panel with a 1/4 inch seam allowance and your pillow cover top is complete!!
 Place it on top of your 17 x 17 (18 x 18) inch backing and quilt the layers together however you like. I kept it simple.
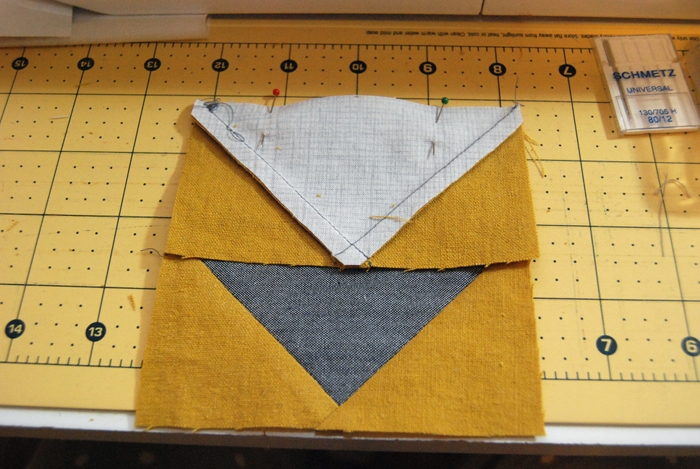
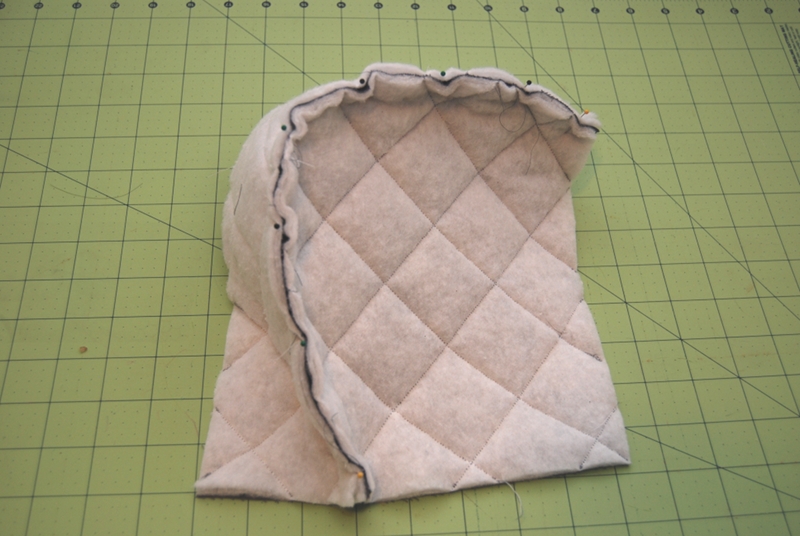
Now to complete your pillow cover, take one of your 12 x 17 (12.5 x 18) inch rectangles and hem one of the longer sides by folding under by 1/4″, pressing, folding under another 1/4″, pressing and then sewing along the fold. Repeat with the other back piece.
Now to sew the front and back pieces together, place your pillow top right side up on a flat surface. Place one of the back pieces on top, right sides together, lining up 2 of the the corners and with the hemmed edge towards the center. Place the other back piece, right side down, also with the hemmed edge towards the center of the pillow, lining up the corners. The back pieces should overlap by about 6 inches.
Pin along the outer edges of the pillow and sew around all 4 sides with a 1/2″ seam allowance. Trim and/or finish edges as desired, turn right side out and press.
You’re done! If the construction of the front and back pieces is confusing without pictures, search for “envelope pillow tutorial” and I bet you’ll find a million.
Now stuff the pillow cover with your pillow form, step back and admire your work!
 If you make a Confused Geese Pillow Cover, don’t forget to upload your photos to the you & mie flickr group!
Hope you all have a wooooonderful weekend! 3 days off for me – yipee!

 Remember, if you didn’t win, you can still hop on over and buy the pattern now! The awesome part about PDF patterns is you can download it, print it and start sewing immediately! Just enough time to whip one up for your little Valentine for Valentine’s Day!

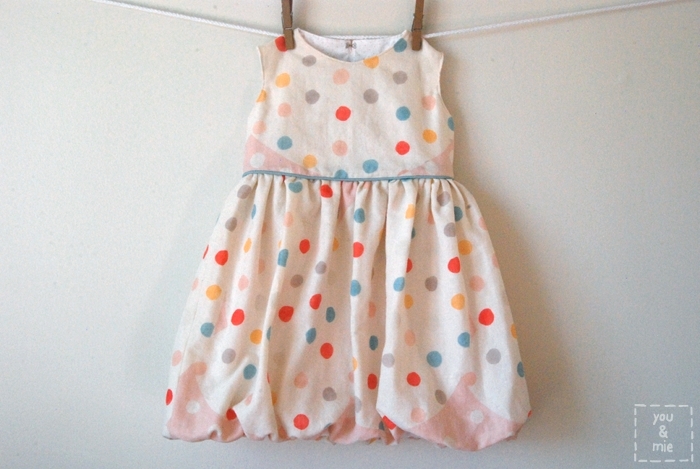


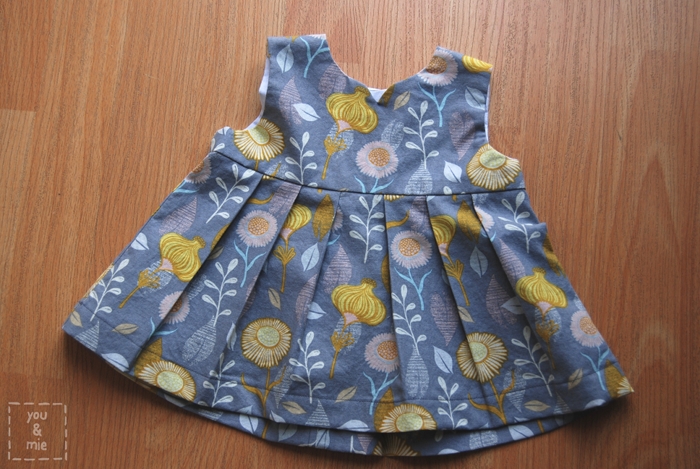
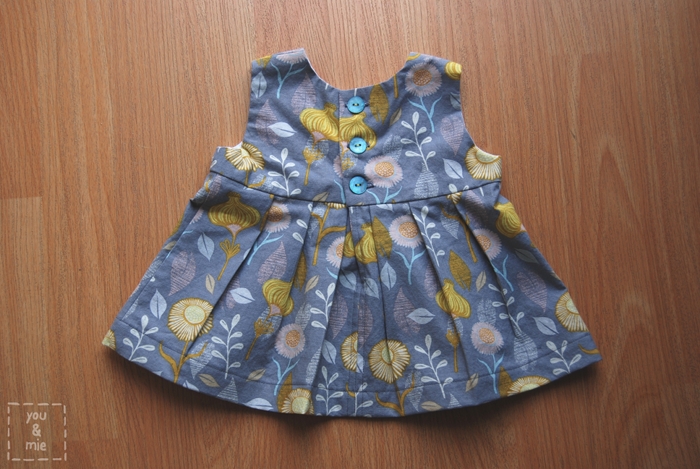
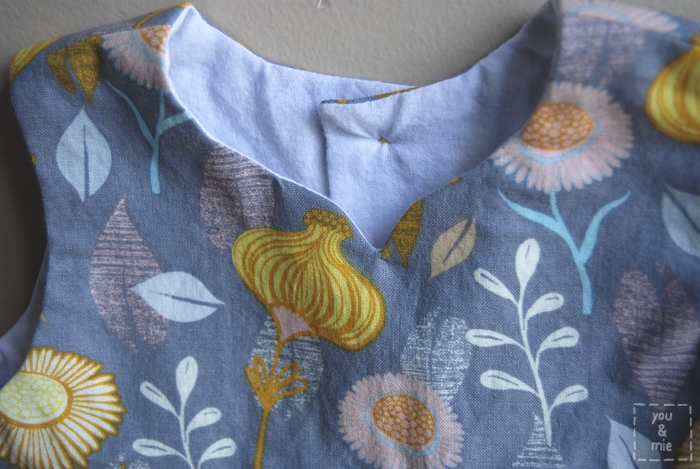
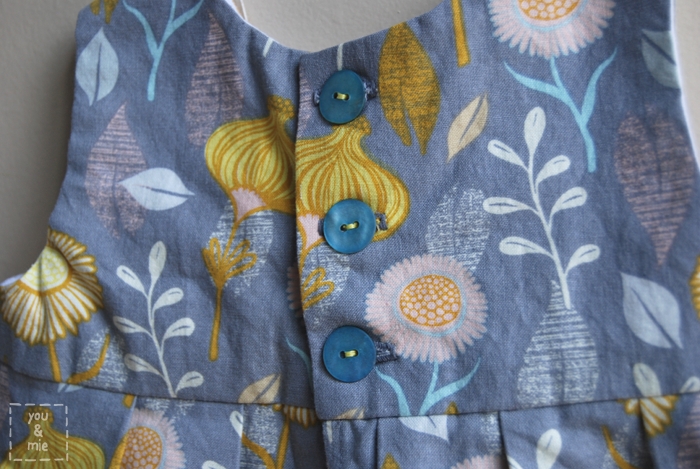
 I made this dress in size 2T. It fits wonderfully when on, but the bodice is a bit snug getting her into it. Because of the design of the dress, I’m not sure how you can open up the bodice any deeper. Maybe place the heart cutout lower? Otherwise, it looks great on.


 . . . from our family to yours.