
Hey! I’m still here! No baby yet, so I’m keeping busy by checking things off my “stuff I gotta do before the baby comes” list. One of those things was obviously sewing up another new Oliver + S pattern 😛
Haha, ok, so maybe I should be spending my time doing other things, but seriously, who could resist the Art Museum Vest + Trousers pattern? This is part of the recent Oliver + S fall pattern release and I was so excited to have the opportunity to get my hands on this pattern early. I love a good unisex/boy pattern and this look is so darn snappy looking! The pattern is available in both PDF and paper form and in sizes 6M-4 and 5-12.

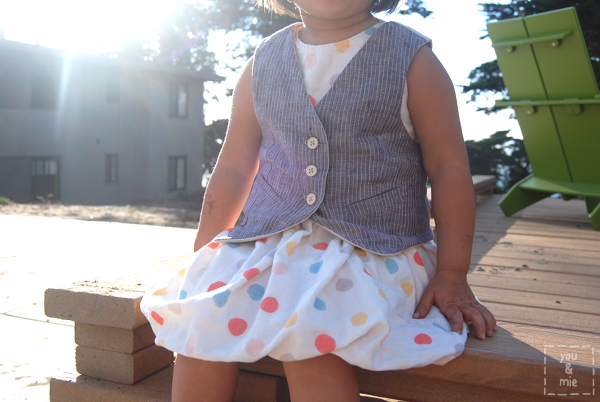
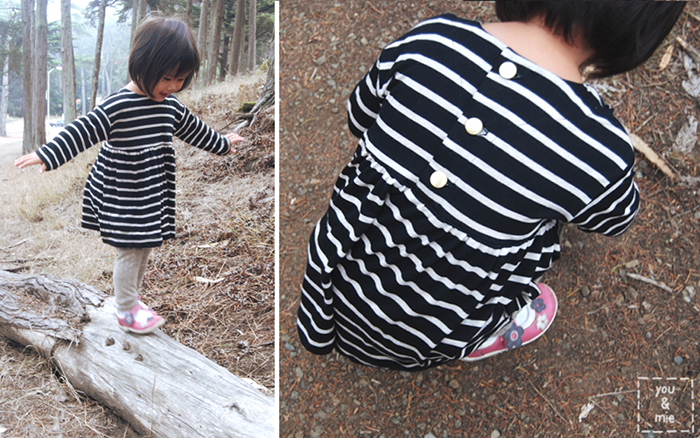
Though the trousers look totally awesome, I opted to just sew the vest this time around because Yuki will not wear any pants that aren’t knit. And I love this vest! I was going to pair it with jeggings and a white t-shirt for more of a gender neutral look, but love that it can be taken in so many directions – dressed up, or down, totally feminine, boyish or gender neutral!
My favorite thing about sewing with Oliver + S patterns is how professional looking your garments come out because of their precise patterns, reliable sewing techniques and awesome instructions.
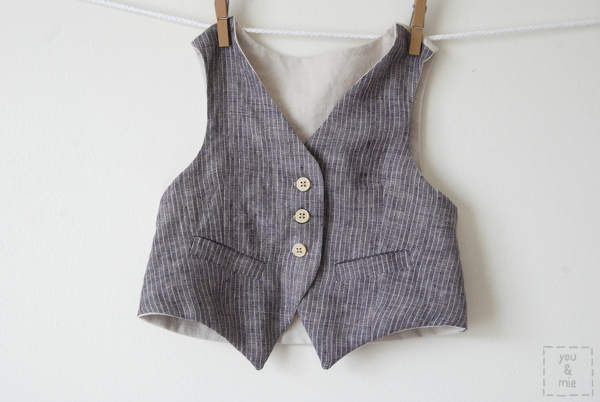
I made my vest in two linens, both from Joann’s. The main fabric is soft, striped and, though it’s hard to tell, a subtle purple. I actually bought it to make something for myself, but thought it’d look pretty awesome as a vest too. I used a basic off-white linen for the rest.
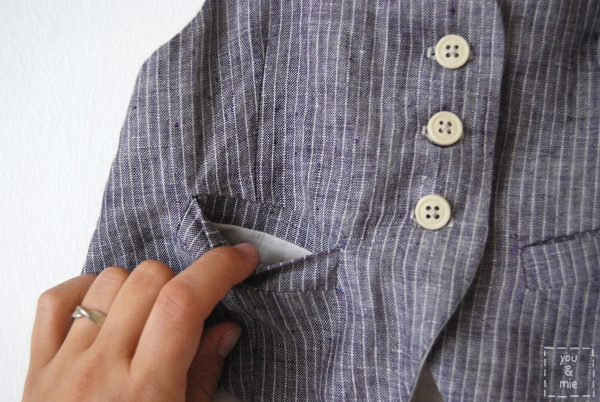
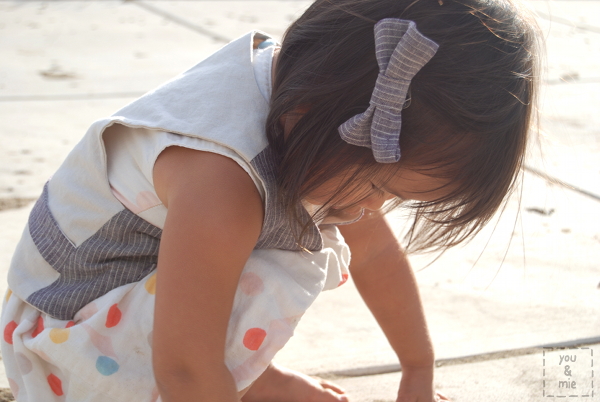
Check out my tiny welt pockets! This is the most difficult/time consuming part of the pattern. If you’ve never sewn welt pockets before, they can be a little intimidating, but the pattern does a good job of walking you through the steps and before you know it, you’ll have some sweet looking pockets. Even with the great directions, there was one part I got a little hung up on, but reading carefully, taking it slow and asking friends for help got me through it 🙂
Once you get through the welt pockets, the rest of the vest comes together super quickly!

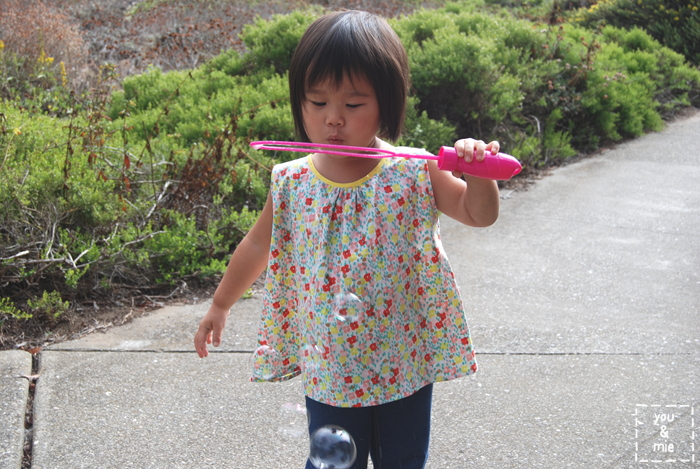
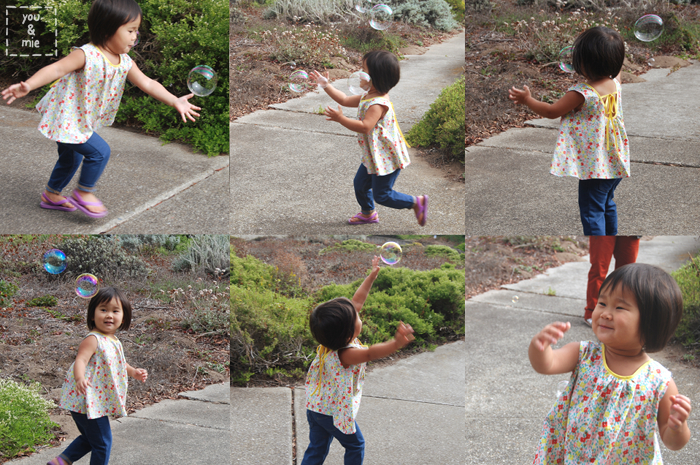
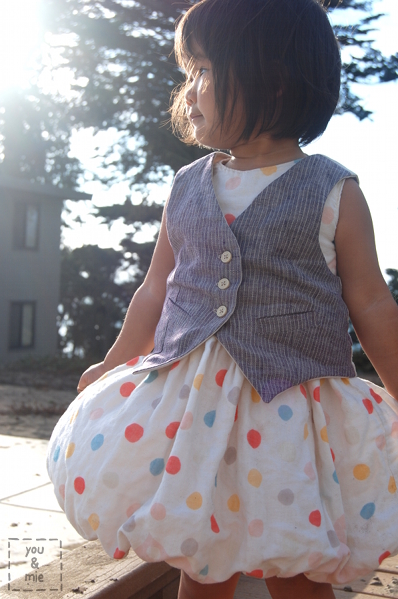 Yuki is wearing the vest with her Sweetheart Bubble Dress. It’s surprisingly become one of her favorites! Which makes me happy because a lot of the stuff I make for her barely gets worn! She actually got mad at me just for touching “her favorite dress!” This girl is starting to get an attitude . . .
So I can only speak for the vest part of this pattern, but I highly recommend it! If you want to check out the trousers, be sure to head over to skirt as top to see Kristin’s dapper vest and trouser set and probably actually for Gail’s adorable baby trousers. The pants pattern looks super professional and again, I can imagine them being made for everything from special occasion to everyday school wear. If you’re interested, you can buy your pattern from the Oliver + S shop here!
And if you haven’t seen it yet, go check out Gail and Kristin‘s versions of the new Library Dress also!

Now go off and enjoy your weekend! Happy sewing!
*The Art Museum Vest + Trousers pattern was generously given to me for this review, but all opinions are 100% my own.*


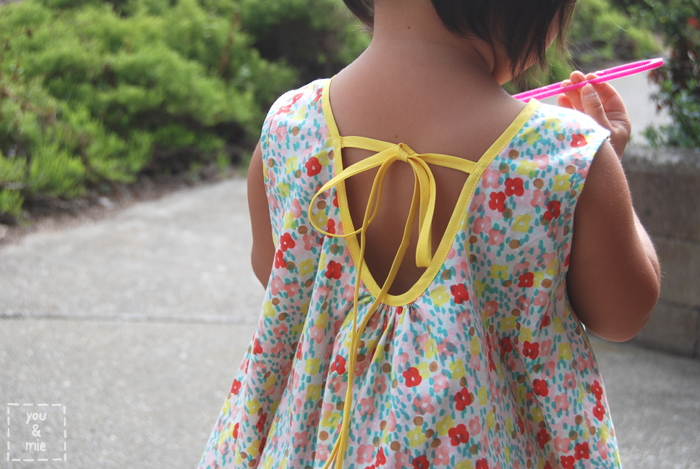


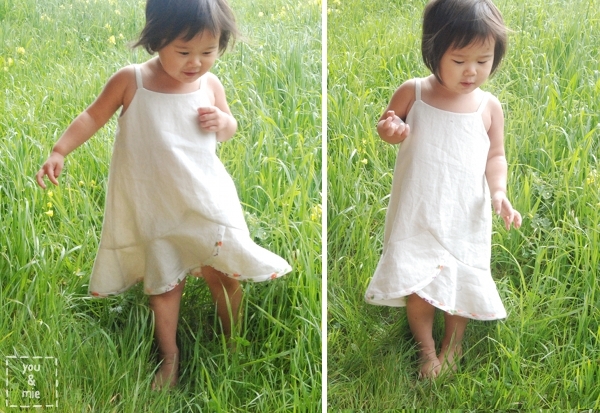


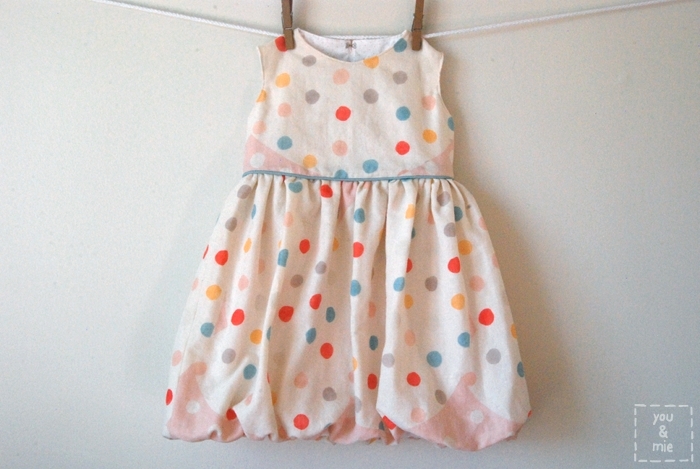


 I made this dress in size 2T. It fits wonderfully when on, but the bodice is a bit snug getting her into it. Because of the design of the dress, I’m not sure how you can open up the bodice any deeper. Maybe place the heart cutout lower? Otherwise, it looks great on.


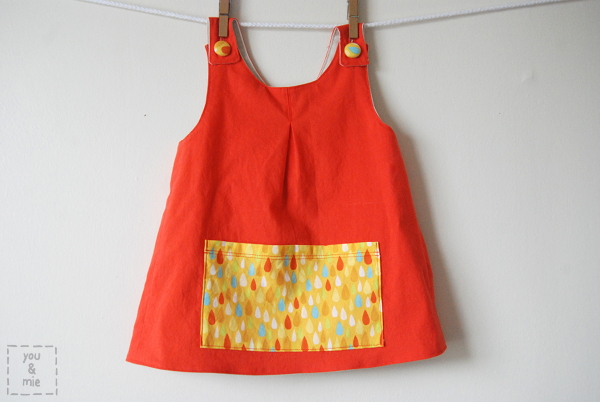
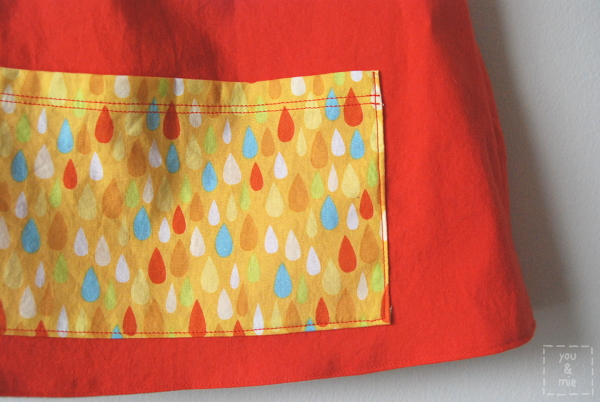
 There are 3 sleeve options, 3 neckline options, 2 skirt options, 2 length options, and an optional patch pocket. With this one pattern you can make a million variations!

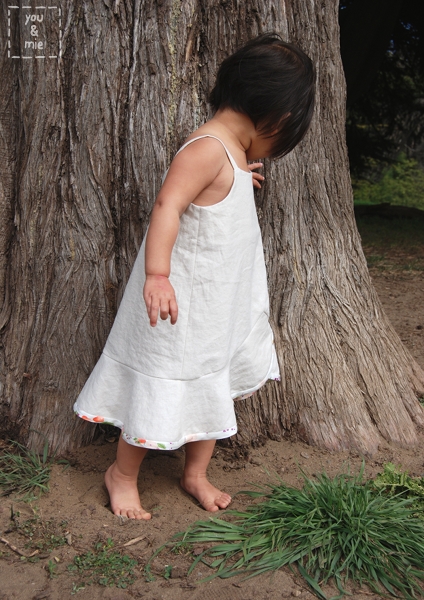
 Sewing with eyelet was a fun new challenge for me. It really wasn’t too difficult at all, but of course, required a few extra steps. For one, you’ll need more lining fabric than what the pattern calls for since you’ll have to line the entire skirt and I also double lined the bodice. After cutting out a lining piece for every eyelet piece, I basted them together along the edges and then sewed as directed. Because of all the stitching on the eyelet material, plus the lining fabric, it can get a bit thick in places, so just be aware of that and take it slow. One thing I had to do differently was instead of double folding for the hem and skirt seam, I just finished the edges with my serger and sewed it down. In the end, it was probably easier 🙂
 I chose the
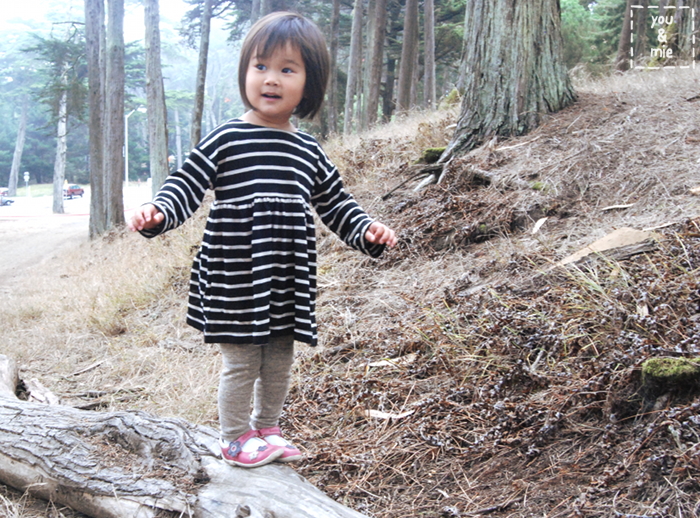
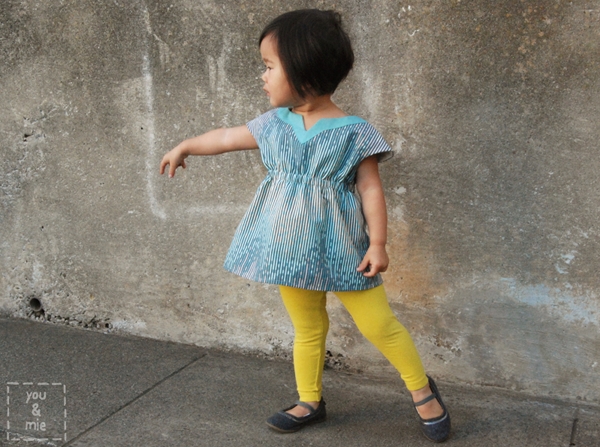
  I just think it’s adorable and I’ve thought so since I first saw the pattern come out. I love the colorblocking, the curved pieced bodice, the little cap sleeves, the pleats – I love how stylish it is, but still so appropriate for kids (
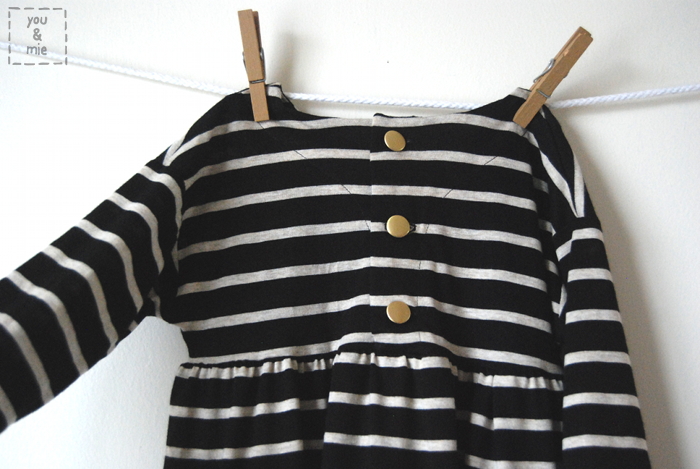
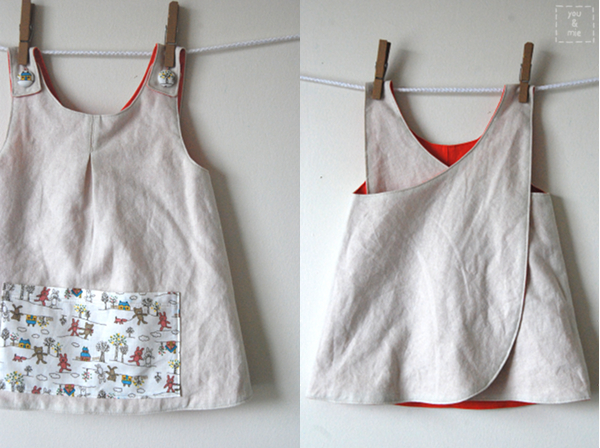
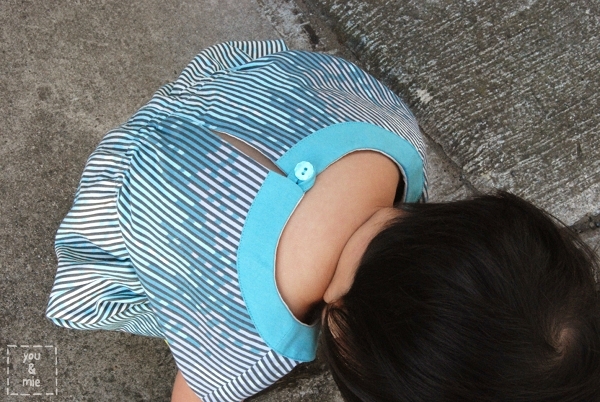
 The Maggie Mae can be made as a tunic or a dress (the version I made is the tunic) and comes with inseam pockets and buttons in the back.
  This project is a good intermediate beginner pattern. The construction is fairly simple even with the curved bodice piecing. You’ll have to do some pleating and of course buttonholes, but if are comfortable with those things, you can sew one of these up in a snap. Despite that, this project was a little bit of a nightmare for me to sew up (at no fault of the pattern – purely my own stupidity). I just wanted to share the story with you so you know that I have really bad sewing days too. Because this pattern is pretty simple, I was excited to get it done quickly. Well I was finishing an edge with my serger, which I’m still learning how to use, when a corner of the bodice was gobbled up into the serger with the slicing blade on, so SNIP! Off goes a small corner of the bodice. 😦 Then, it literally took me forever to get my pleats looking good – centered, evenly sized and spaced. Unfortunately, there are no pleat markings on the pattern, so you have to figure it out yourself and I don’t know why it took me so long – but I must have pleated, pinned, basted and torn them out 5 times before I got it just right. When I was just about done, I accidentally hemmed the tunic up in a thread that stood out a lot more than I expected and I didn’t like it. As I was tearing the hem out with a seam ripper to do over, I tore a small hole in the front of the dress at the hem line. WTF – is this project trying to kill me!? Have you ever had a project like that? Where everything goes wrong? And to top it all off, I had meant to make this a dress and didn’t realize until I put it on my daughter and her booty was hanging out the bottom that I had used the tunic measurements instead!!! Haha, seriously, I was having issues that day. BUT, despite all that, I still looooooove the way it came out. So all of that to say, even if you’re a complete knuckle head like me, you can still make this adorable top/dress (just make sure you’re reading the appropriate measurements off the chart depending on whether you want to make a skirt or a tunic).
  I made the size 2T for my 2 year old and it fits her pretty well. The only thing that I would change if I make it again (and I’m sure I will), is to lengthen the top bodice piece just a little bit to make the armhole a little roomier. It fits her just perfectly, if not a little snug there. Otherwise, the sizing seemed just right.
  I love that there are sooooooo many possibilities with this dress depending on what coordinating fabrics you choose. I’m already dreaming up combinations for the next one. What colors/prints would you choose? Well lucky for you, you have a chance to win an amazing giveaway prize and trust me, you’re gonna want to win this. {CLOSED}


