 This past weekend my sister got married and if you follow me on Instagram (@youandmie), you’ve probably seen some sneak peeks of the fun and beautiful weekend. The entire week before the wedding was pretty much devoted to wedding prep – I had wedding projects piled up all over the place. Menus, table numbers, escort cards, signs, and of course, the flower girl dress. But it all got done and everything went so smoothly – I really don’t think it could have been any more perfect. The lovely bride and groom put together a really amazing wedding weekend and was surrounded by all of the people who love and support them – it was a really awesome thing to see.
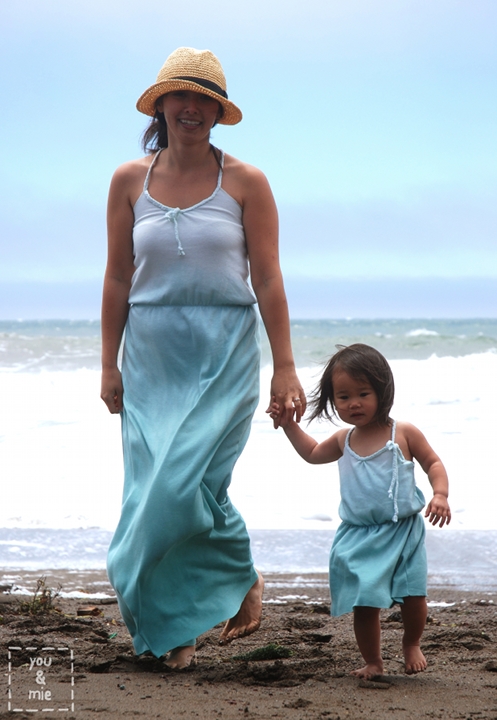
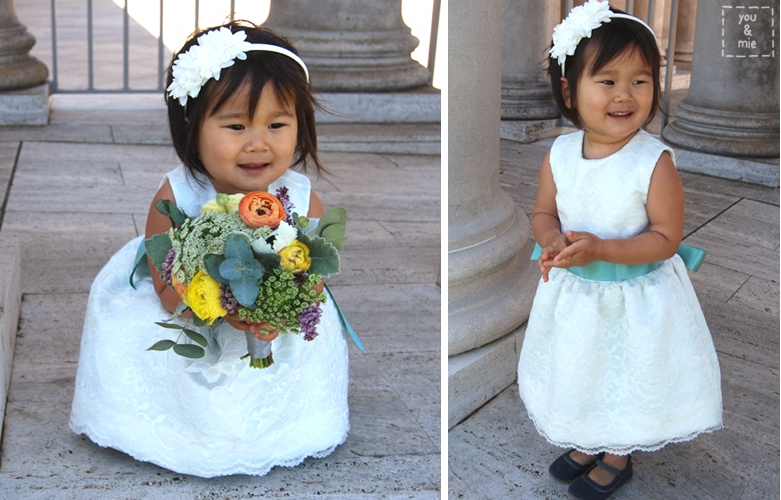
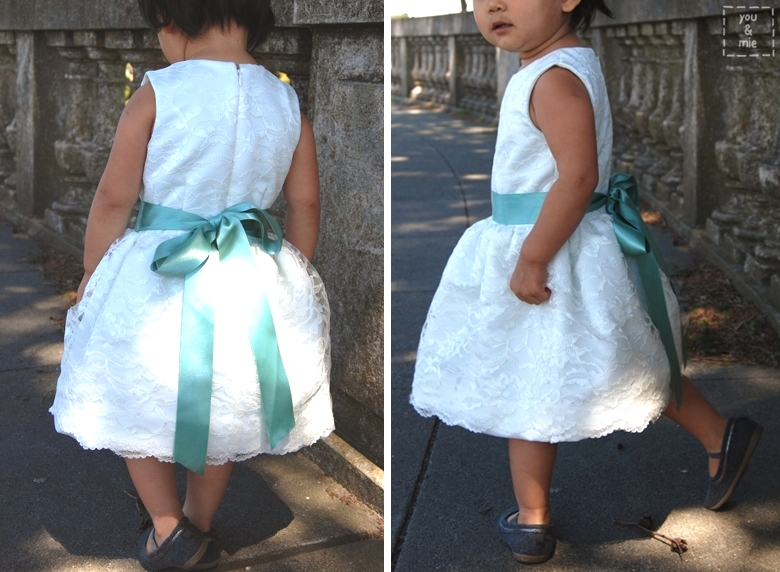
Unfortunately, I didn’t take any pictures, so I can’t show you all of the little projects that I worked on, but as I collect pictures from friends and family members, and of course, the professional photographer, I may be sharing some of those with you. My only big sewing project for the wedding was Yuki’s flower girl dress. Since I didn’t get any pictures of her during the wedding, I made her put the dress back on yesterday and quickly snapped some new ones. Amazingly enough – she really likes the dress! She wore it for 9 hours straight on Saturday and never once complained or asked to take it off! And the truth is, I like it too!
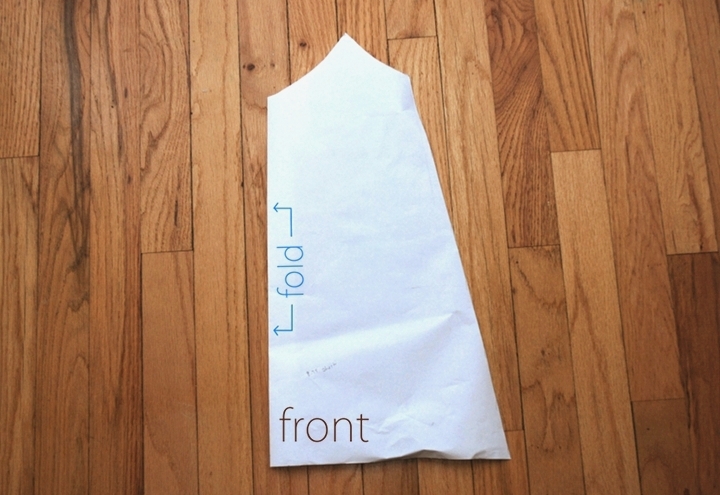
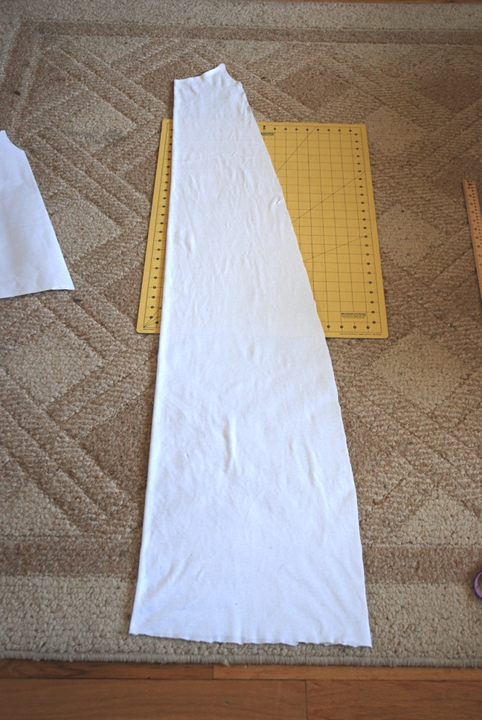
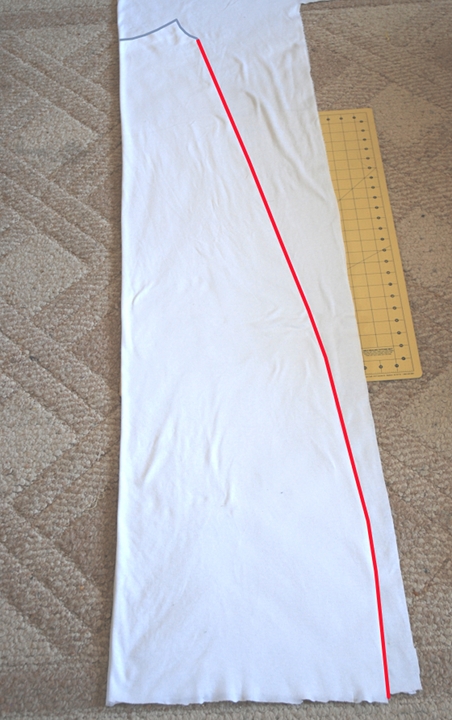
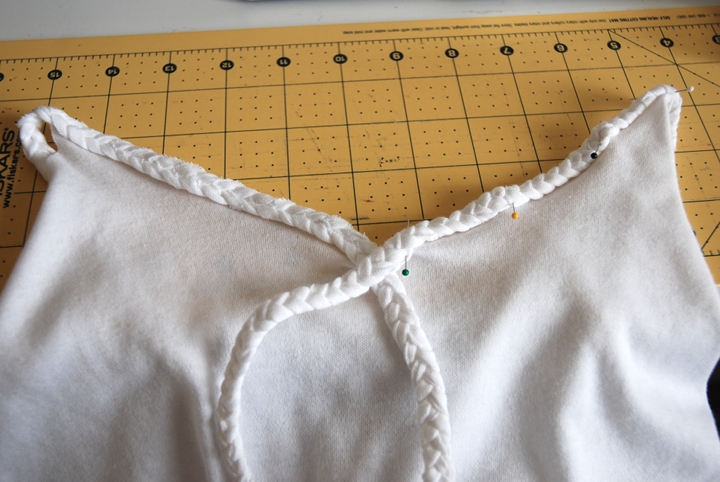
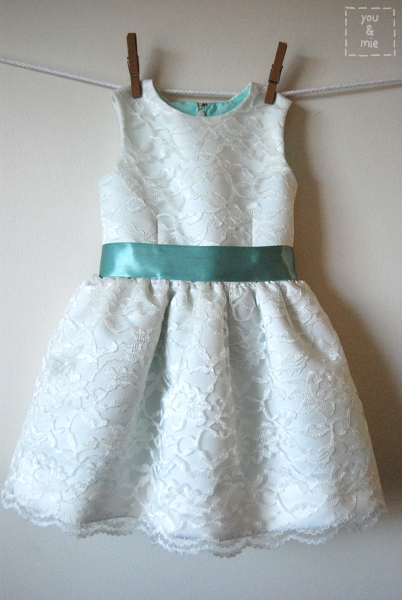 The pattern is the Oliver + S Fairy Tale Dress. The dress is simple in it’s design (which is great for special occasions or for adding embellishments), though it is not necessarily a simple dress to construct, BUT the result is pretty stunning! The pattern comes with two views: sleeveless and sleeved, with two different kinds of collars, an optional sash or waist tie. For my version, I made it sleeveless, but omitted the collar and added a ribbon sash instead of the one included in the pattern. I did, however add a lace overlay and my fabric choices, though they ended up looking exactly how I envisioned, made construction a bit tricky.
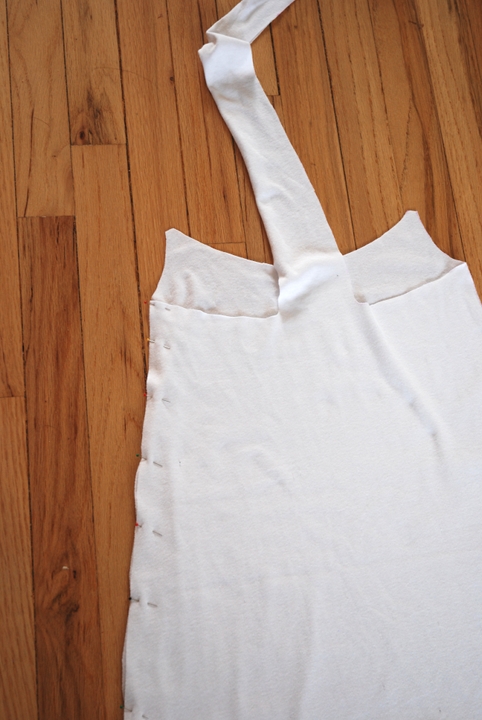
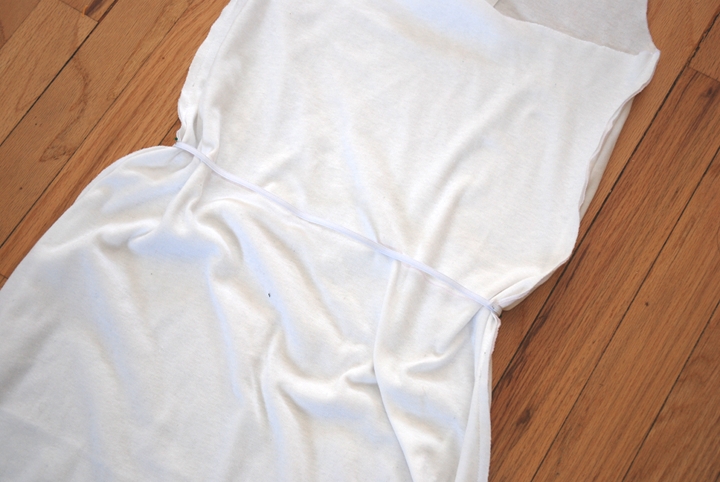
 I made the dress in size 2T and it fits Yuki perfectly. The bodice (for sizes 2T and up) have darts in both the front and back, which make for that perfect fit and professional look. It has an invisible zipper in the back and is fully lined. It also has an optional layer of tulle for skirt volume. As you can imagine, there are a lot of steps to constructing this dress and I did quite a bit of hand sewing to give it a truly professional finish. It takes time, but really, I think it was worth it!
 All the materials besides the lace, I bought at Britex Fabrics. I decided splurge on something high quality for this special occasion dress. The main fabric is a synthetic satin in eggshell and is pretty thick. I think this also made construction a bit trickier in places (the pattern calls for light to mid-weight fabrics) but I really love how well the fabric holds it shape because of the heavier weight. I used a polyester lining that was a pain in the butt to work with – it was soooo thin and slippery and shifty. Probably the right choice for this project, but still no fun to work with. The ribbon is a double sided satin ribbon that was chosen to match the color scheme/bridesmaids dresses. The lace was a last minute decision and I picked that up at my local Joann’s.
 The flowers in these pics are not her actual bouquet from the wedding, but rather those from a table at the wedding. The flowers for the wedding were done by my sister’s friend, Jaclyn K. Nesbitt Designs, and they were all soooo gorgeous! I wrapped these up in some ribbon so Yuki could have another bouquet. I think the flowers were the most exciting part of the flower girl job for Yuki!
 And she was such a trooper the entire wedding. She didn’t have any meltdowns, she kept her dress on (and UNSTAINED) the entire time and escorted me down the aisle during the ceremony. She had to leave the ceremony towards the end because she was starting to get bored and when she watched the wedding party walk back down the aisle at the end she started getting really upset saying she “didn’t get married” because she was “too loud.” Omigosh, it was too cute. She thinks that all of us who walked back down the aisle got married and she didn’t get to because she was making too much noise. Poor sweet thing.
 Anyways, this dress was definitely a labor of love and I don’t even know if she’ll ever wear it again, but I think it was worth it. She was the cutest flower girl I’VE ever seen and I think she felt pretty darn special. I think I will use this pattern again, though in more casual and lighter weight fabrics. I’d definitely recommend this pattern for a special occasion dress! Like all Oliver + S patterns, it is a high quality pattern with clear instructions and great diagrams. You know the techniques are legit and you always end up with a professional looking garment. I feel like I give this same shpeal every time I talk about O+S patterns, but it’s always true – you really can’t go wrong with them!
So it’s been pretty busy around here and just when you think things might settle down, KIDS CLOTHING WEEK rolls around! 🙂 Can you believe it’s already next week? I honestly haven’t given much thought about what I’ll be making and I probably won’t be quite as involved as I have been the last 2 rounds, but I am looking forward to getting some good ol’ kids clothes sewn. If you don’t know what KCW is, check out all the important info here and know that it is a TON of fun. And it’s not too late to get in on the action! Coming up later this week, I’ll be posting on the KCW blog about one of my favorite patterns, so be sure to check that out 🙂


 I made this dress in size 2T. It fits wonderfully when on, but the bodice is a bit snug getting her into it. Because of the design of the dress, I’m not sure how you can open up the bodice any deeper. Maybe place the heart cutout lower? Otherwise, it looks great on.


 There are 3 sleeve options, 3 neckline options, 2 skirt options, 2 length options, and an optional patch pocket. With this one pattern you can make a million variations!

 Sewing with eyelet was a fun new challenge for me. It really wasn’t too difficult at all, but of course, required a few extra steps. For one, you’ll need more lining fabric than what the pattern calls for since you’ll have to line the entire skirt and I also double lined the bodice. After cutting out a lining piece for every eyelet piece, I basted them together along the edges and then sewed as directed. Because of all the stitching on the eyelet material, plus the lining fabric, it can get a bit thick in places, so just be aware of that and take it slow. One thing I had to do differently was instead of double folding for the hem and skirt seam, I just finished the edges with my serger and sewed it down. In the end, it was probably easier 🙂