Here’s another summer addition for your wardrobe and you can make one for your little one too! This was for Melly’s Sews’ 30 Days of Sundresses series.
________________________________________________________________
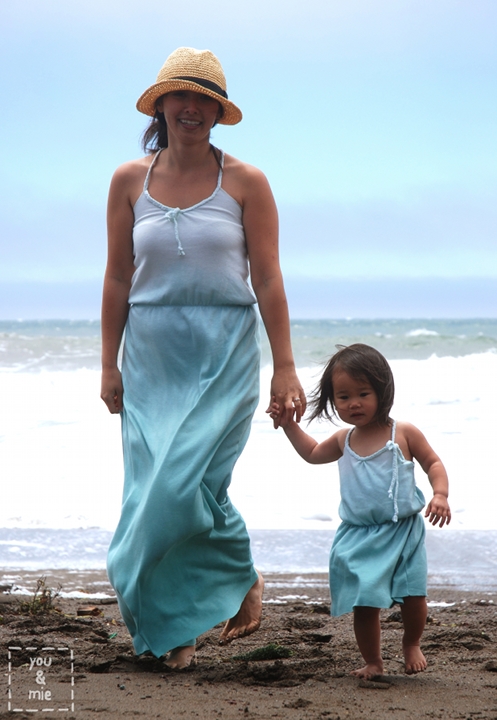
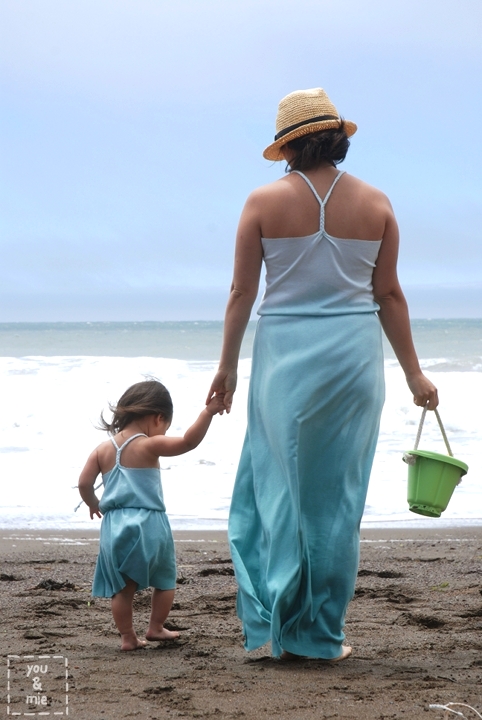
Children’s clothing is kinda my thing, so I naturally started brainstorming lots of cute summer frocks for little ones. But for some reason I landed on an idea for a women’s sundress and I couldn’t get it out of my mind! So, enter my beautiful little sister who is modeling for you the Braided Beach Maxi Dress!
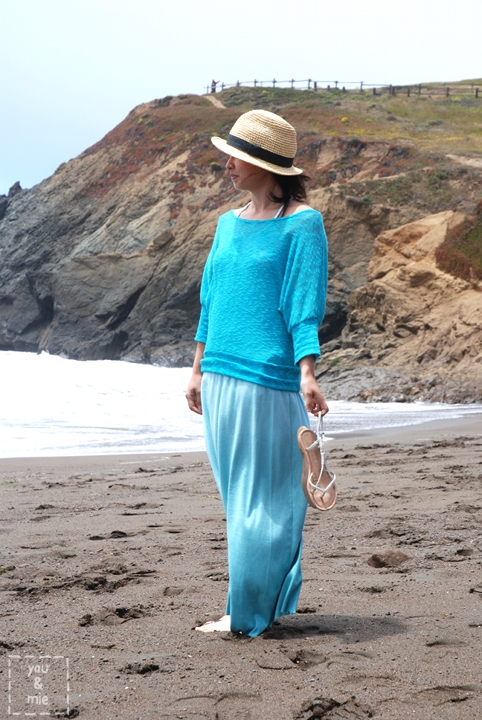
The best thing about this is that it is super simple with very little sewing! It’s made of knit and has a few unfinished edges which makes it very casual and perfect for a bathing suit cover-up. I got this knit for $2.39 a yard, so it was very affordable too!
And just in case you were really hoping for something for your little one, don’t fret!
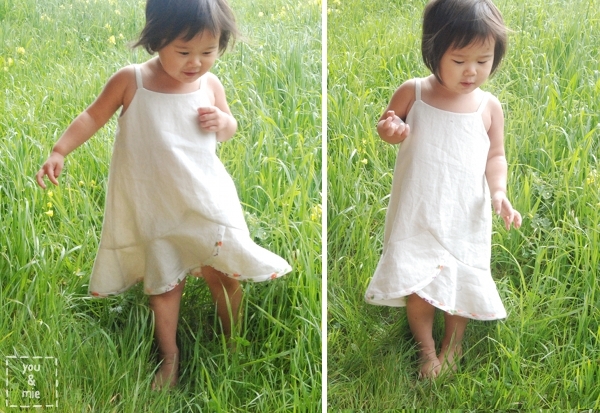
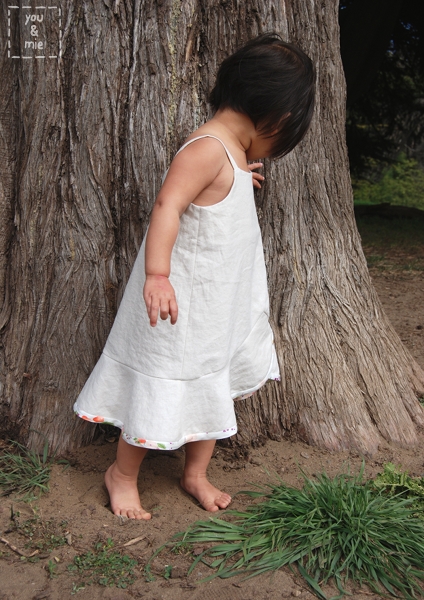
Yup, I couldn’t resist. After the first one, whipping up a mini version was a breeze! The tutorial is for the adult maxi version, but you can alter this to fit just about anyone!
So here’s what you’ll need:
– 2.5-3 yards of knit fabric
– 1/4 or 1/2 inch wide elastic for the waist
– Sewing essentials
I used a plain white knit to make the dresses and then dyed them afterwards. This tutorial will not include instructions for dyeing, but if you’re interested I’m sure there are tons of resources online. Otherwise, use any solid or patterned knit fabric and you’ll be done even faster 🙂
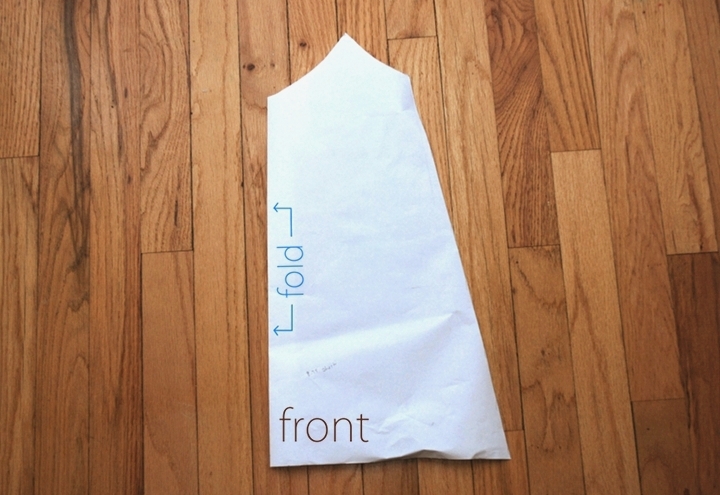
To make your front pattern piece, grab a knit (stretchy) camisole, fold it in half down the front and trace the neckline and armhole. From the armpit, draw the side of your pattern into an A-line shape. You want the dress to fit nicely around the chest and then widen from there. I only drew the top part of the pattern, but keep in mind that the dress will extend far past the bottom of this pattern.
To draw the back pattern piece, lay your front piece down on paper and trace it from the armpit (tiny yellow star) down the side and across the bottom. Trace along the other side (marked “fold”) stopping about 2 inches from the top of the pattern. Remove the top pattern piece and draw a curved line to connect the sides.
Now, if I were to make this dress over again, I’d want the braided straps to be thicker, so I’d make this next measurement bigger. But for the sake of this tutorial, I’ll just describe it the way I did it and you can make adjustments accordingly.
Measure 1.5 inches in from the “fold” line of your pattern and make a mark.
Extend both the “fold” line and the mark that is 1.5 inches in a few inches. This is going to become the braided racerback and straps.
Your pattern pieces should look like this when cut out. Keep in mind that when you cut your fabric, it will extend past the bottom edges of the pattern and for the back piece, the strip coming off the top will also be much longer (see the red arrows). I made my patterns like this to save paper, but don’t cut your fabric like this or you’ll have something very very different!
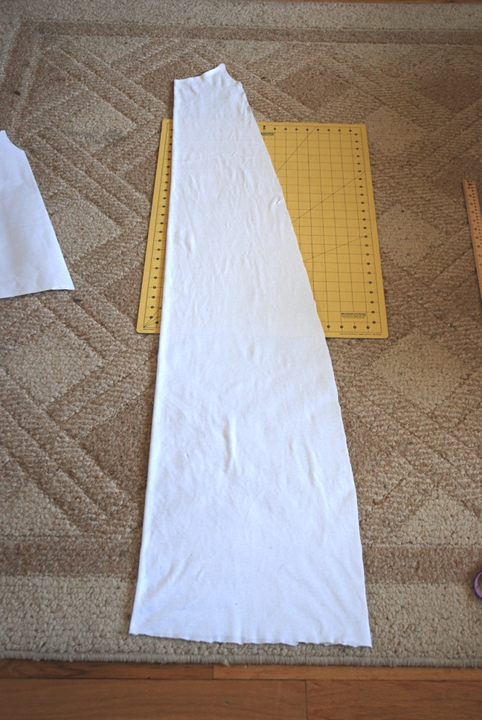
To cut the front piece of the dress, fold your fabric in half lengthwise. Measure the desired length of the dress from just below your armpit and add a few inches. Place your pattern on your fabric accordingly. From the bottom of the pattern to the bottom of the fabric I just cut in a subtle curve getting wider and wider towards the bottom (I tend to “just wing it” A LOT. Thank goodness knit is so forgiving!).
To cut your back piece, fold your fabric in half lengthwise and place your front piece on top. Now you can’t see it in this picture, but my fabric extends for another yard above. THIS IS VERY IMPORTANT! You’ll need all that extra fabric above the pattern piece to cut your strap material.
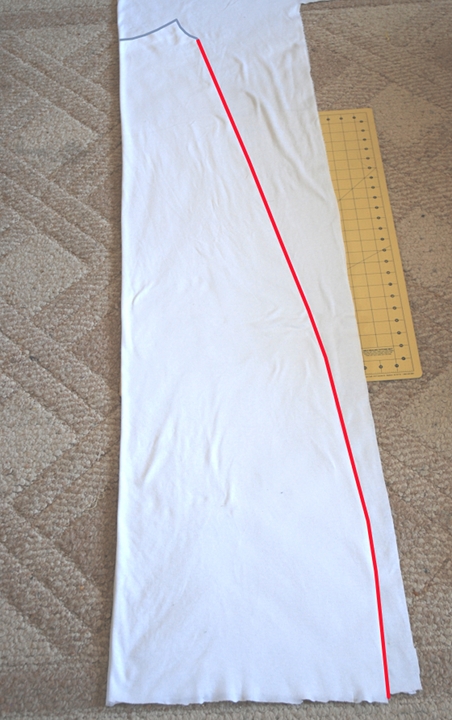
Now trace the entire side of the dress from the bottom up to the armpit (red line).
Remove the front dress piece and place your back pattern piece lining up
with the armpit. (You like how many times I’ve had to use the word
armpit in the tutorial?? I probably should have said “bottom of the
armhole” or something. Ooops, oh well).
Trace the pattern along the curved edge and up the straight line, then use a ruler to extend the line all the way to the edge of your fabric, keeping it 1.5 inches from the folded edge the whole way. I had a little less than a yard, but I wish I had had more. The longer you have, the more you can do with the straps later.
The hard part is over! Now it’s the fun part 🙂
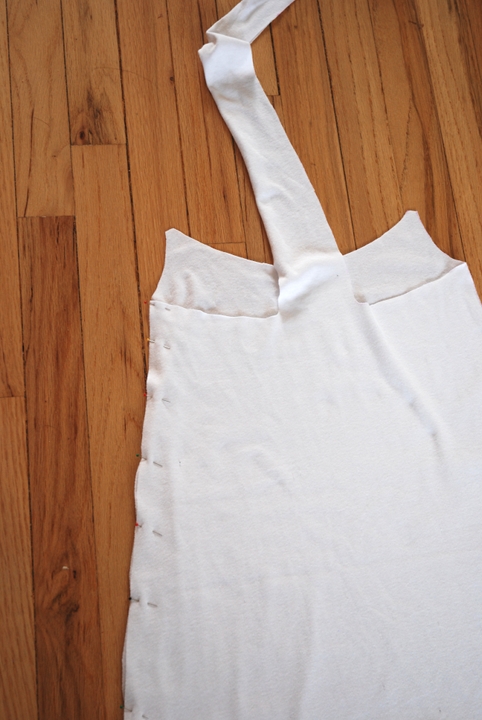
Open up your front and back pieces and place them right sides together lined up at the armpits. Pin along the side of the dresses and sew.
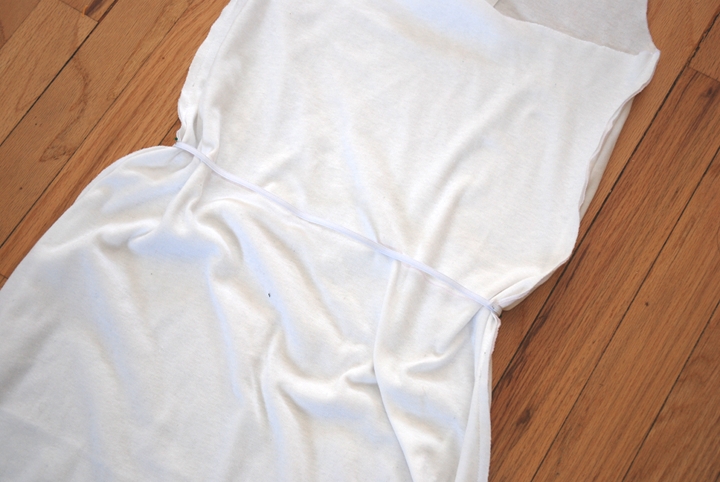
Now find where the smallest part of your waist it (you may need to hold the dress up to your body or try it on) and mark a line 2 inches below that on both sides of the dress (wrong side is still out).
Cut your elastic to your waist measurement. Overlap the ends of the elastic by 1/2 an inch and sew them together to create a loop.
Slide the dress through the elastic loop and pin the elastic to the dress on the sides. The dress will be wider than the dress, so you’ll have the pull the elastic as you so. Go slowly and make sure the elastic right on top of the line that you drew.
Right side out:
Now take the long strip of fabric coming out of the back of the dress and cut it into three even strips. Mine was originally 3 inches wide, so I cut it into three 1″ wide strips. Braid the strips for about 2.5 inches.
Then, cut those strips in half, so you now have 6 strips. Take three strips and braid them all the way to the end, then tie a knot to secure the braid. Make another braid with the other three strips and you should have a nice braided Y like below.
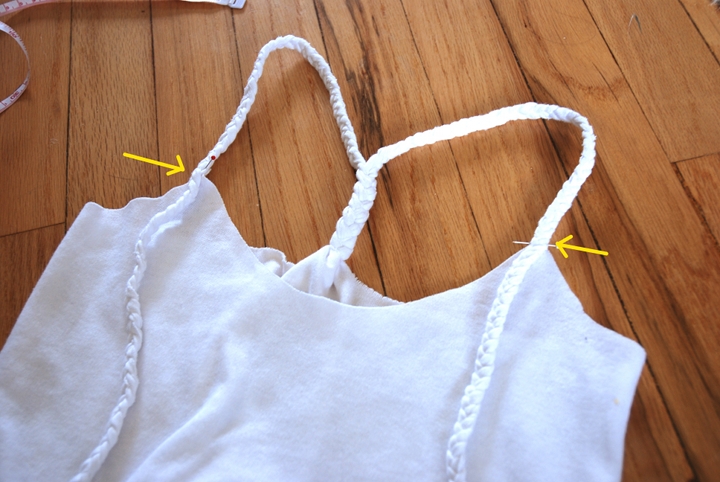
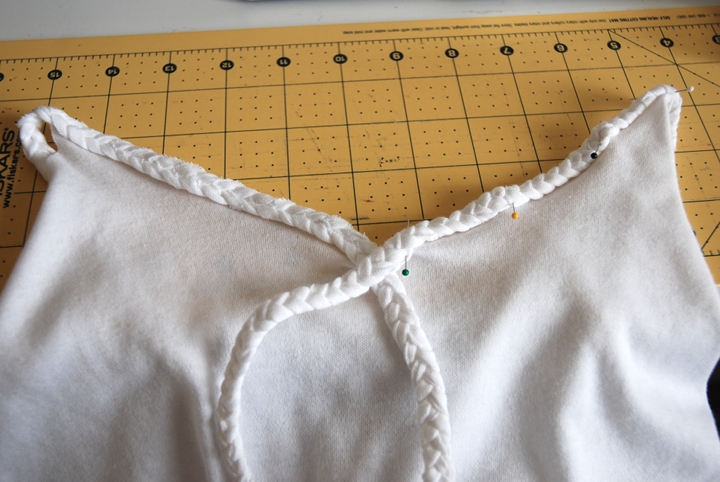
Flip the dress over to the front and making sure the straps are not twisted, pin them to the front of the dress. Sew the strap to the front of the dress. Go back and forth a few times to make sure they are secured firmly to the dress.
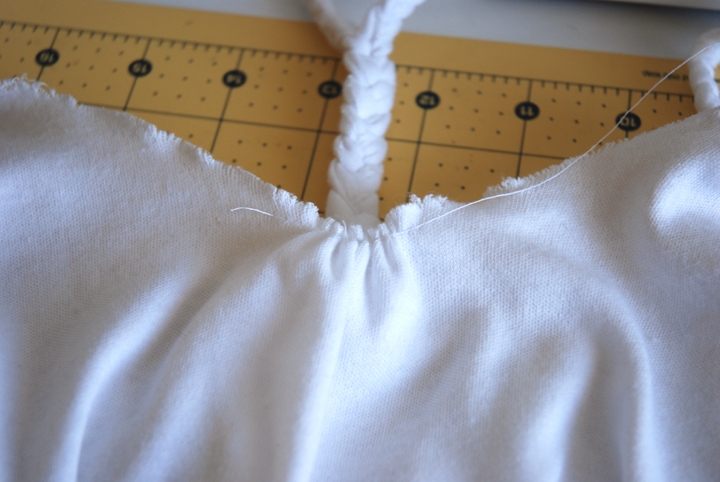
This is optional, but since my knit was so stretchy, I decided to bring the neckline in a bit with some gathers. Using your longest straight stitch, sew along the edge of the neckline without back stitching at either end. Pull one of the threads to gather the fabric for a few inches in the middle.
Pin your excess braids along the neckline of the dress and do a quick whipstitch to attach it. Make sure to catch only the back of the braid so the stitching does not show in the front. For the adult version, I brought the braids to the center and overlapped them.
For the kid version, I had more braid to work with so I brought one side all the way to the other and tied a bow. I’m sure there are many options for what you can do with the neckline here!
Now just trim the bottom to the desired length. I left the bottom unfinished, but you can hem it if you want. The armhole/back of the dress is also an unfinished raw edge. I like the casual look (and the fact that it requires less work). But if you want a more finished look, you can attach bias tape from the front along the armhole and then work the extra fabric into the braid.
You’re done!!! Now throw this baby on and go frolic in the waves!
I really hope you guys give this a try! Doesn’t it look fun? If you do make a Braided Beach Maxi Dress, please add it to the
you & mie flickr pool so I can see your awesome creations!
Before I go, I just wanted to say a big thank you to my sister for being my lovely model!
Take it easy, everyone! Happy summer and happy sewing!

 Thanks for stopping by!


 I made this dress in size 2T. It fits wonderfully when on, but the bodice is a bit snug getting her into it. Because of the design of the dress, I’m not sure how you can open up the bodice any deeper. Maybe place the heart cutout lower? Otherwise, it looks great on.

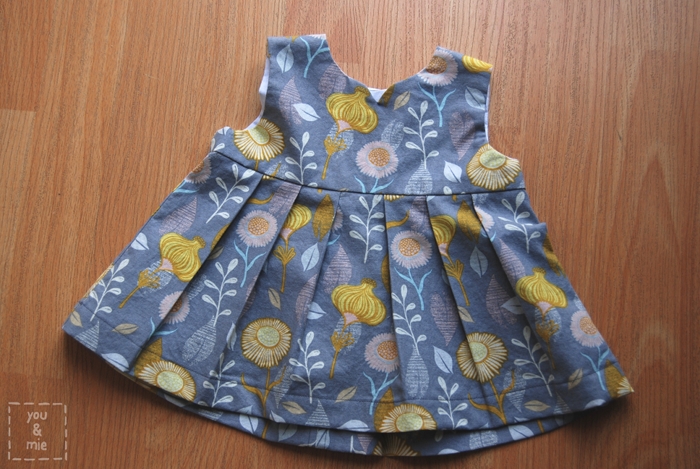
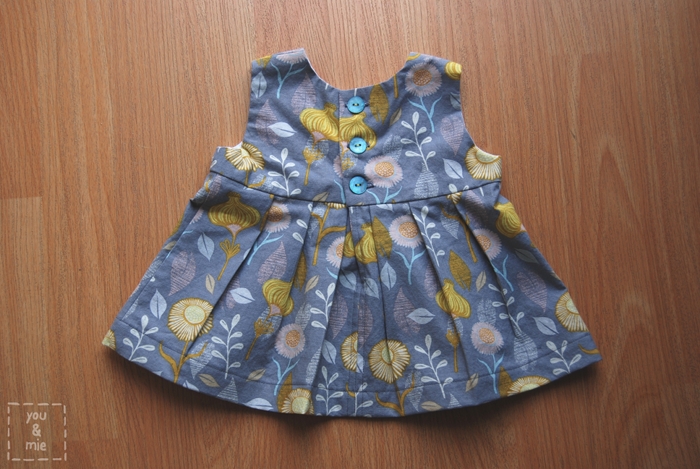


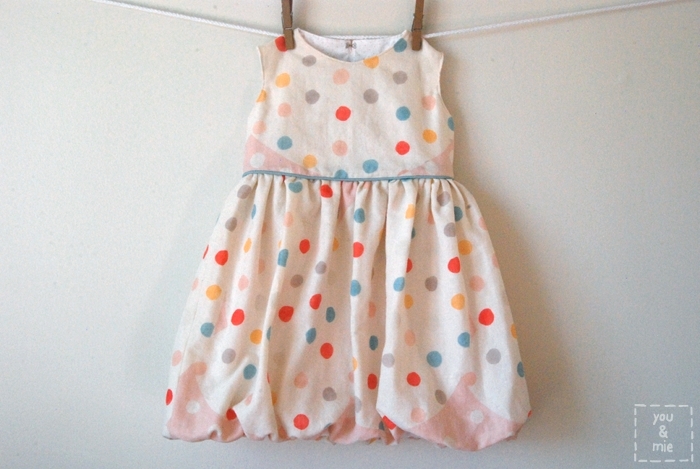
 There are 3 sleeve options, 3 neckline options, 2 skirt options, 2 length options, and an optional patch pocket. With this one pattern you can make a million variations!

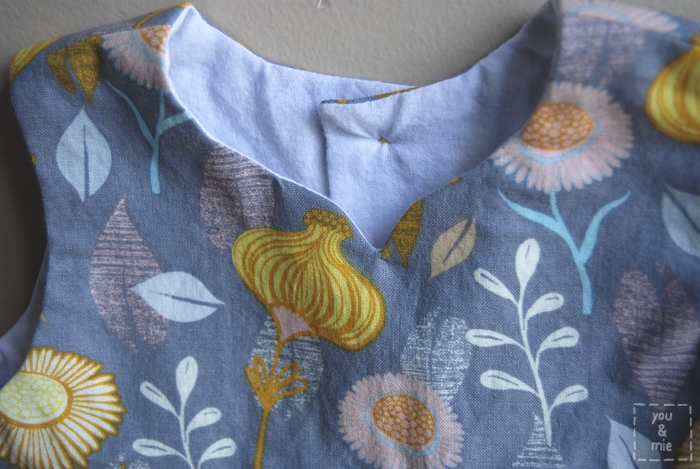
 Sewing with eyelet was a fun new challenge for me. It really wasn’t too difficult at all, but of course, required a few extra steps. For one, you’ll need more lining fabric than what the pattern calls for since you’ll have to line the entire skirt and I also double lined the bodice. After cutting out a lining piece for every eyelet piece, I basted them together along the edges and then sewed as directed. Because of all the stitching on the eyelet material, plus the lining fabric, it can get a bit thick in places, so just be aware of that and take it slow. One thing I had to do differently was instead of double folding for the hem and skirt seam, I just finished the edges with my serger and sewed it down. In the end, it was probably easier 🙂